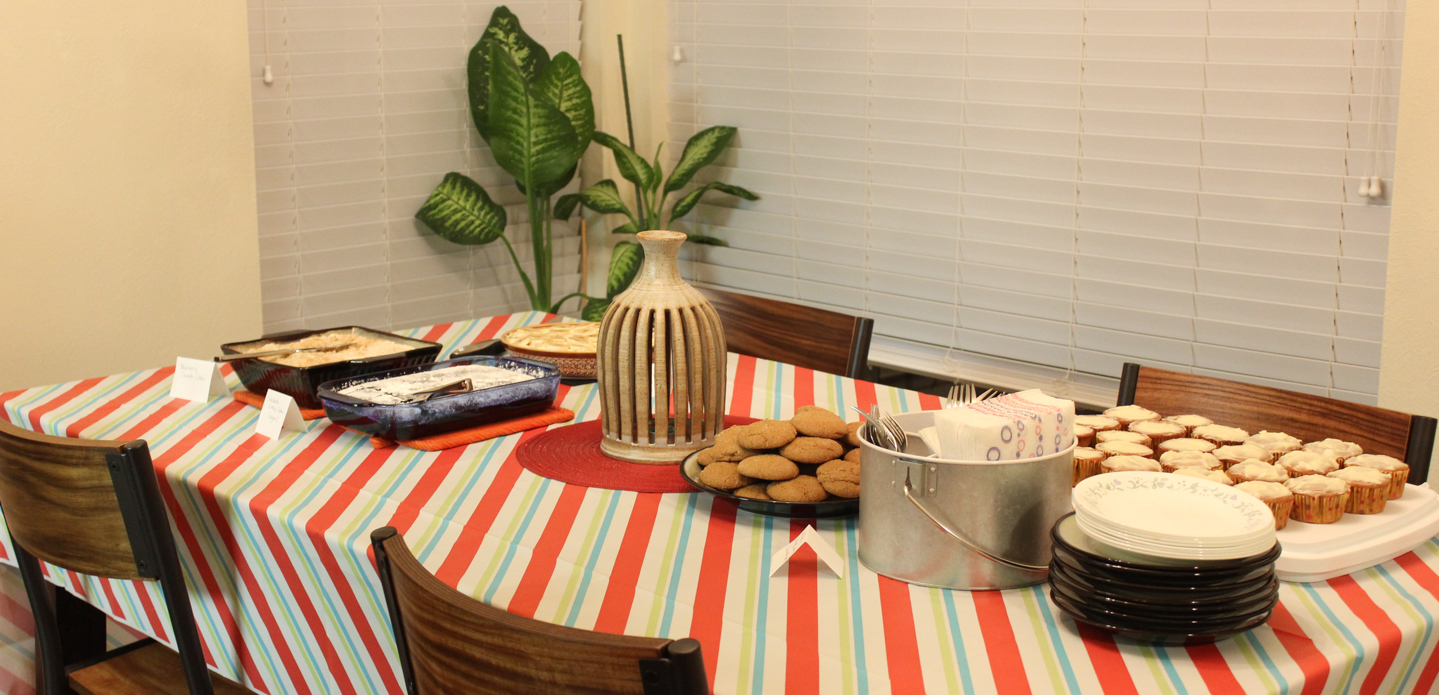
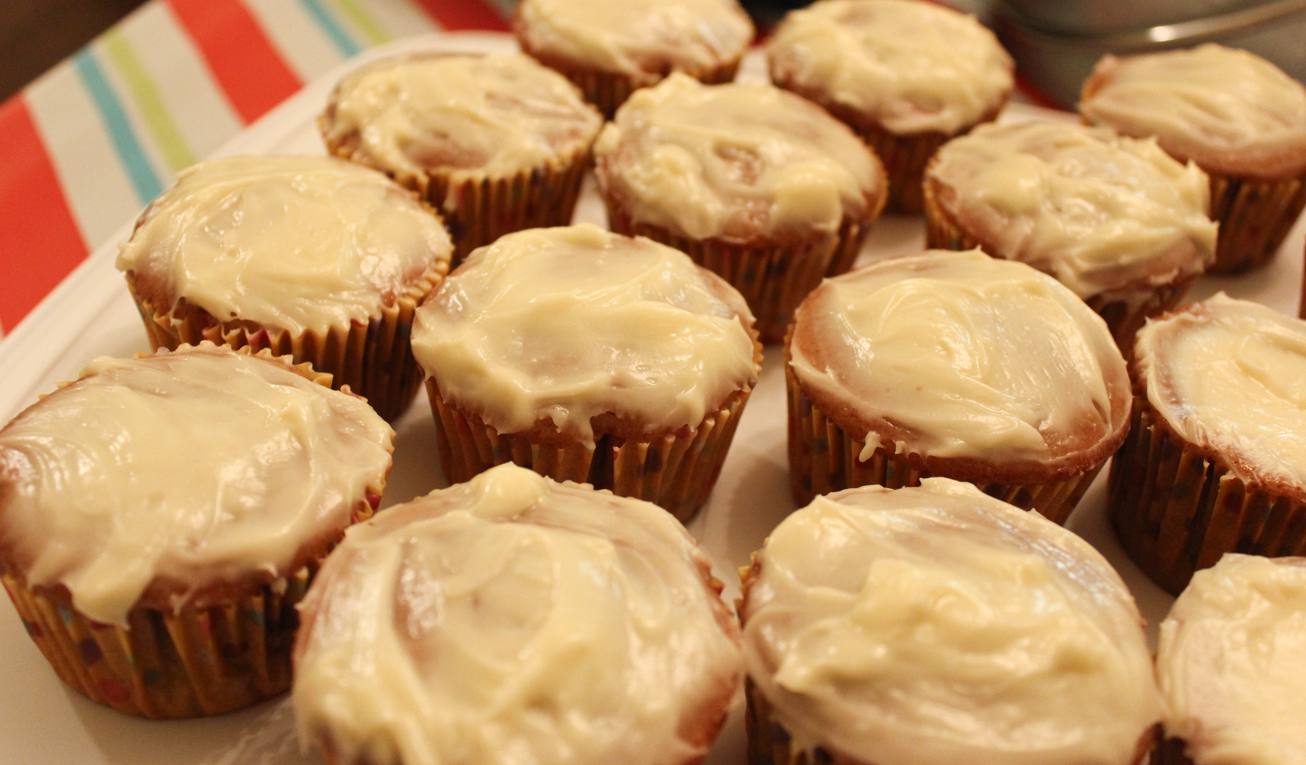
Can you guess the surprise ingredient?
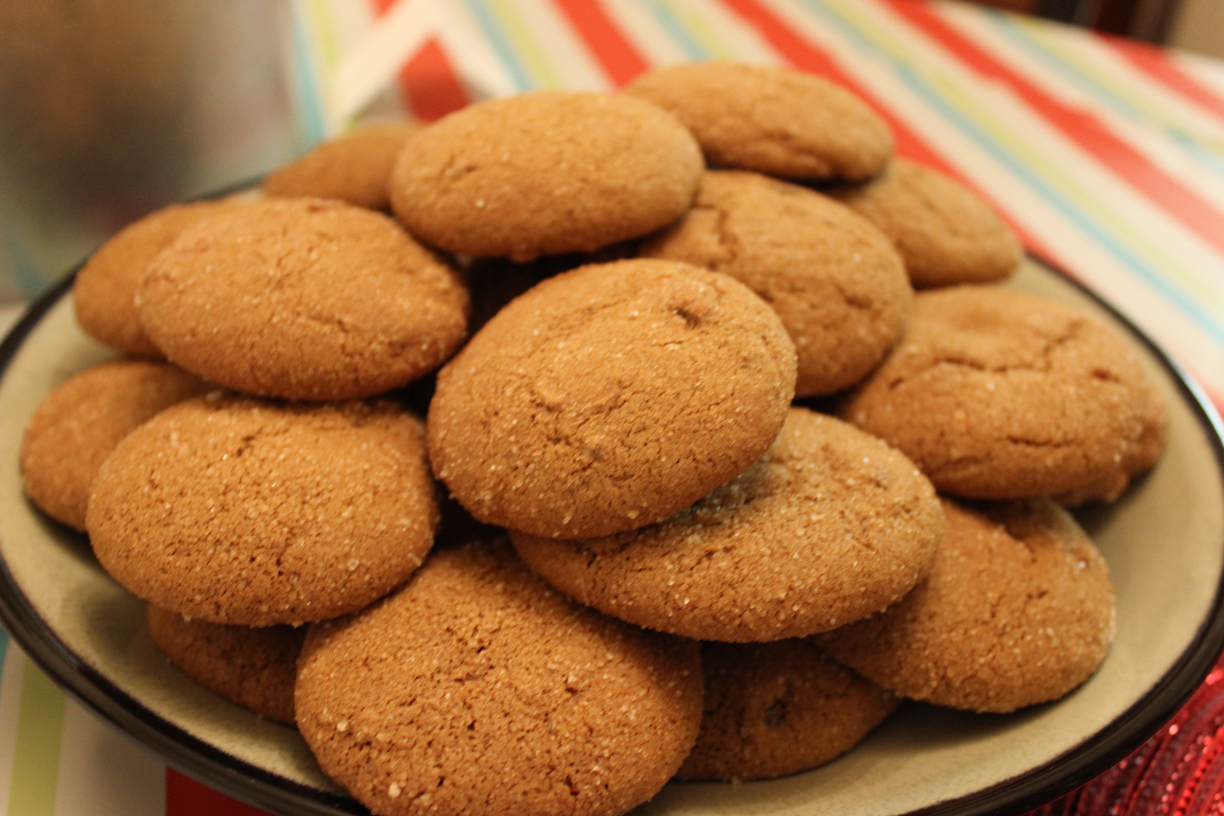
Now that you see the cookies, can you guess the surprise? Actually, they’ve got two surprises. One is that they were made with beer and the second is that I tried a butter substitution to make them healthier. I know that applesauce can be substituted for butter in many baking recipes, but applesauce makes cookies have a more cake-like texture. After reading suggestions, I settled on using mashed avocado to replace half of the butter in the recipe. That’s right, those cookies have avocado! You can almost make out a very faint green tint in the picture. I even served these beauties at our superbowl party and no one caught on to the fact that they had avocado in them. They disappeared like hot cakes. The cookies were pleasingly soft and delicious. Avocado are fruits after all, so their sweetness is a nice addition to baked goods. Even if they add a green tint.
Recipe: Beer Sugar Cookies
Adapted from Bella Online
Ingredients:
- 2 ¾ cups all-purpose flour
- 1 teaspoon baking soda
- ½ teaspoon baking powder
- 1/2 cup butter, softened
- 1/2 cup mashed avocado
- 1 ½ cups white sugar
- 1 egg
- 1 teaspoon vanilla extract
- 1 bottle malty, fruity style of beer
- Parchment paper
- Some sugar and cinnamon mixture to sprinkle on top
Method:
Reduce beer of your choice by simmering on the stove top until consistency resembles syrup. This can take a while. Be careful not to let it boil over (from experience).
Preheat oven to 375 degrees and line your baking sheets with parchment paper.
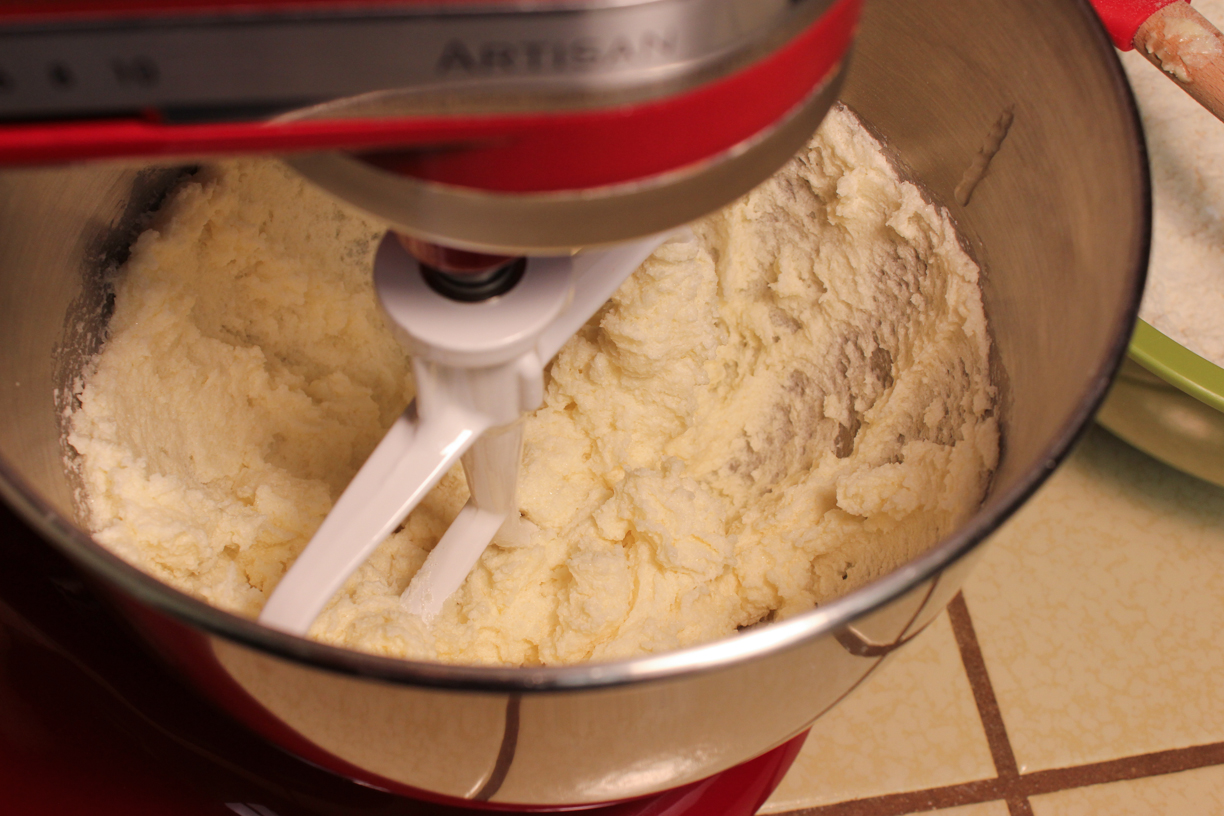
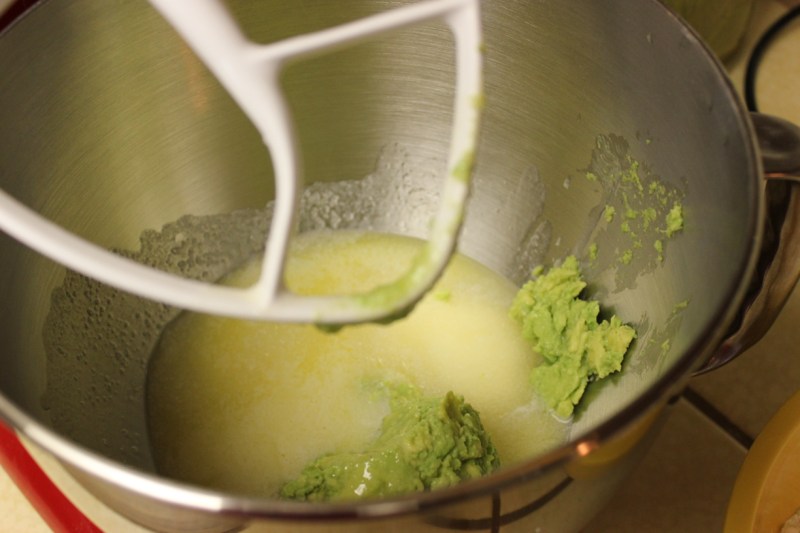
Cream together sugar, butter, and mashed avocado until smooth and fluffy. Beat in egg and vanilla.
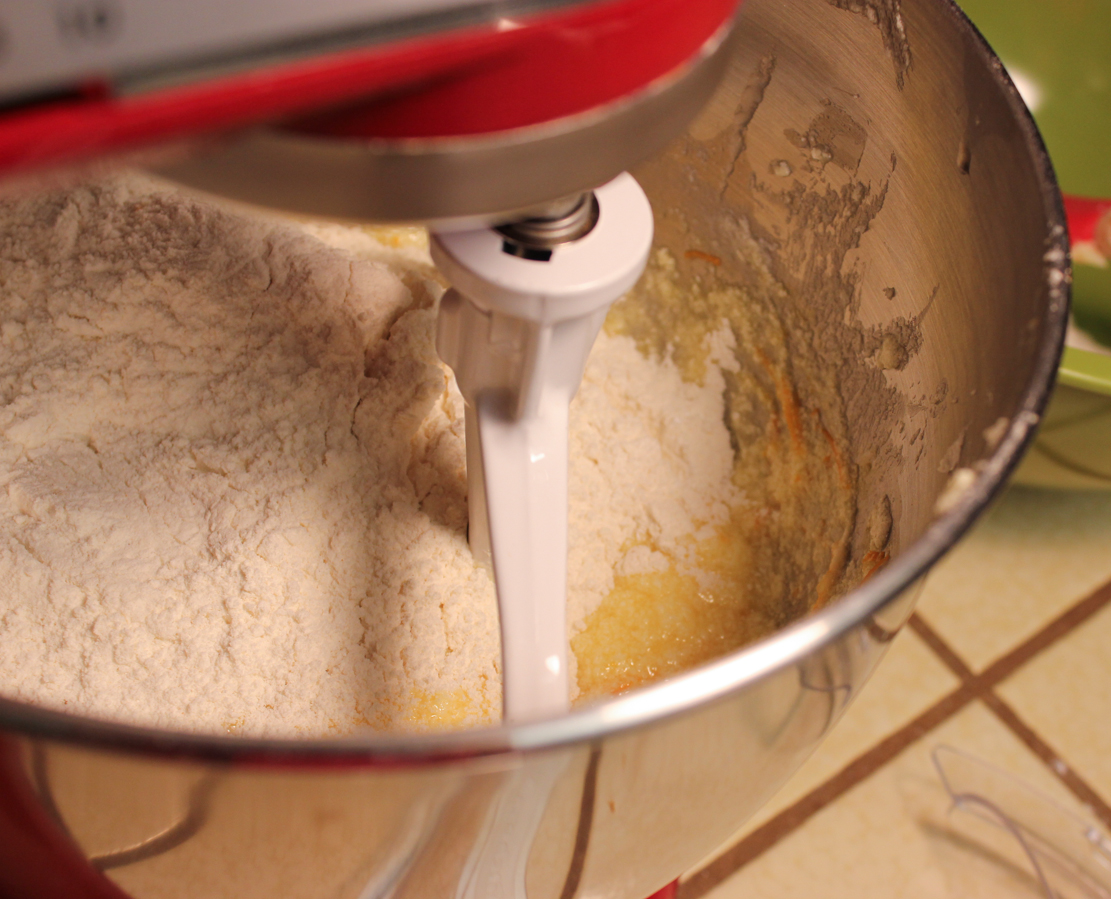
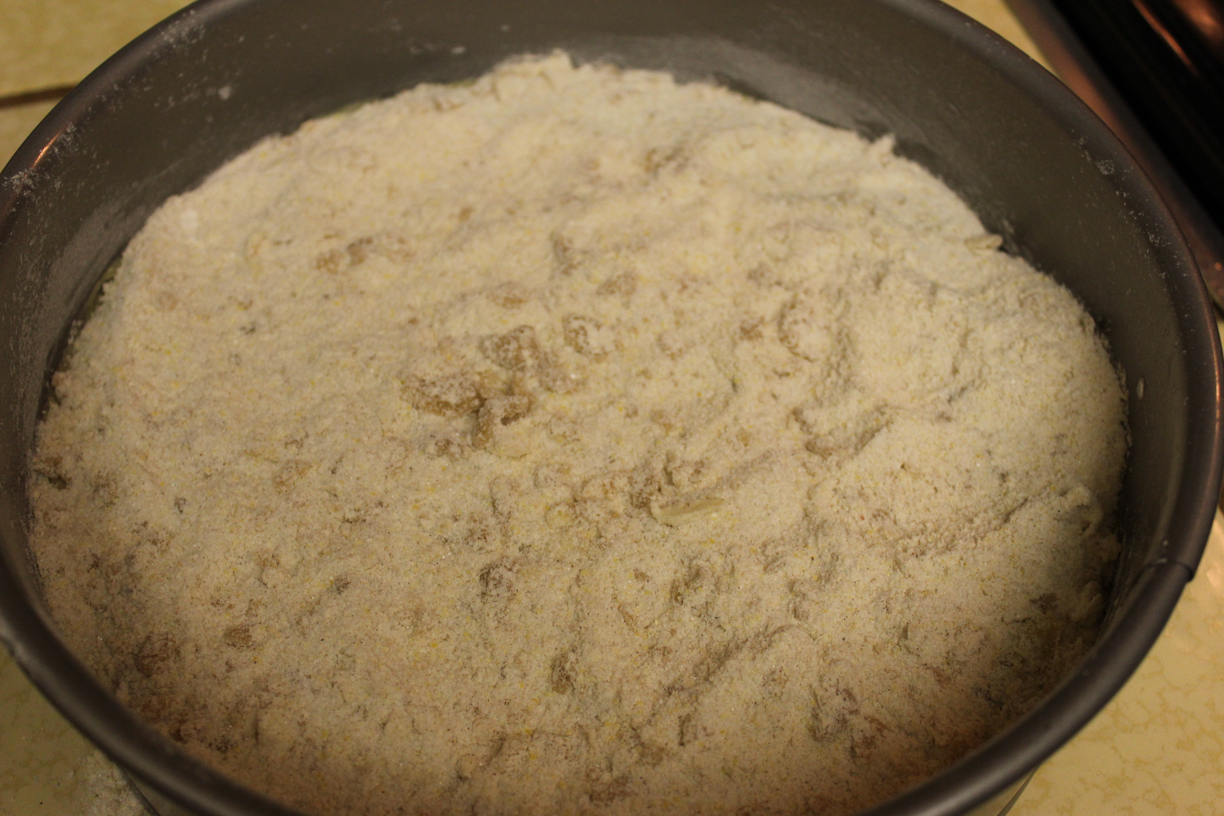
In another bowl, combine dry ingredients and mix together. Gradually mix in dry ingredients to the wet ingredients.
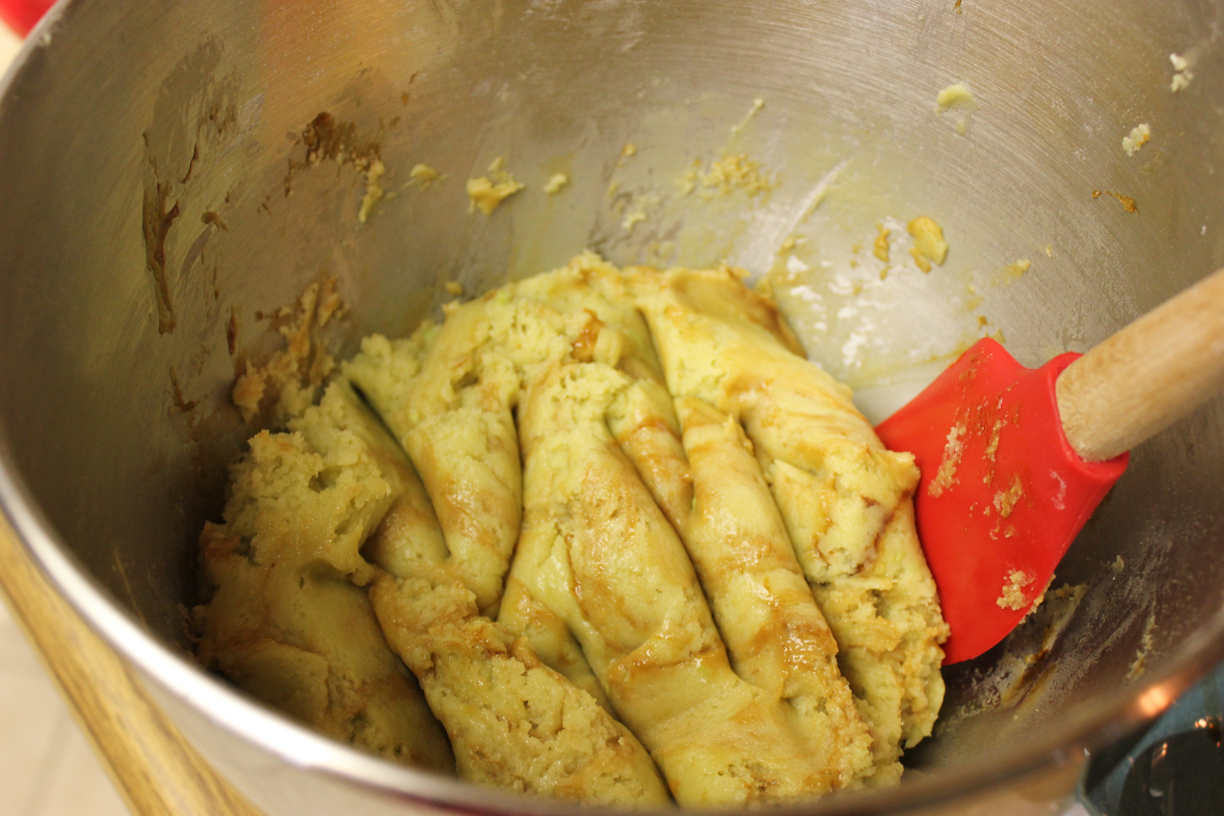
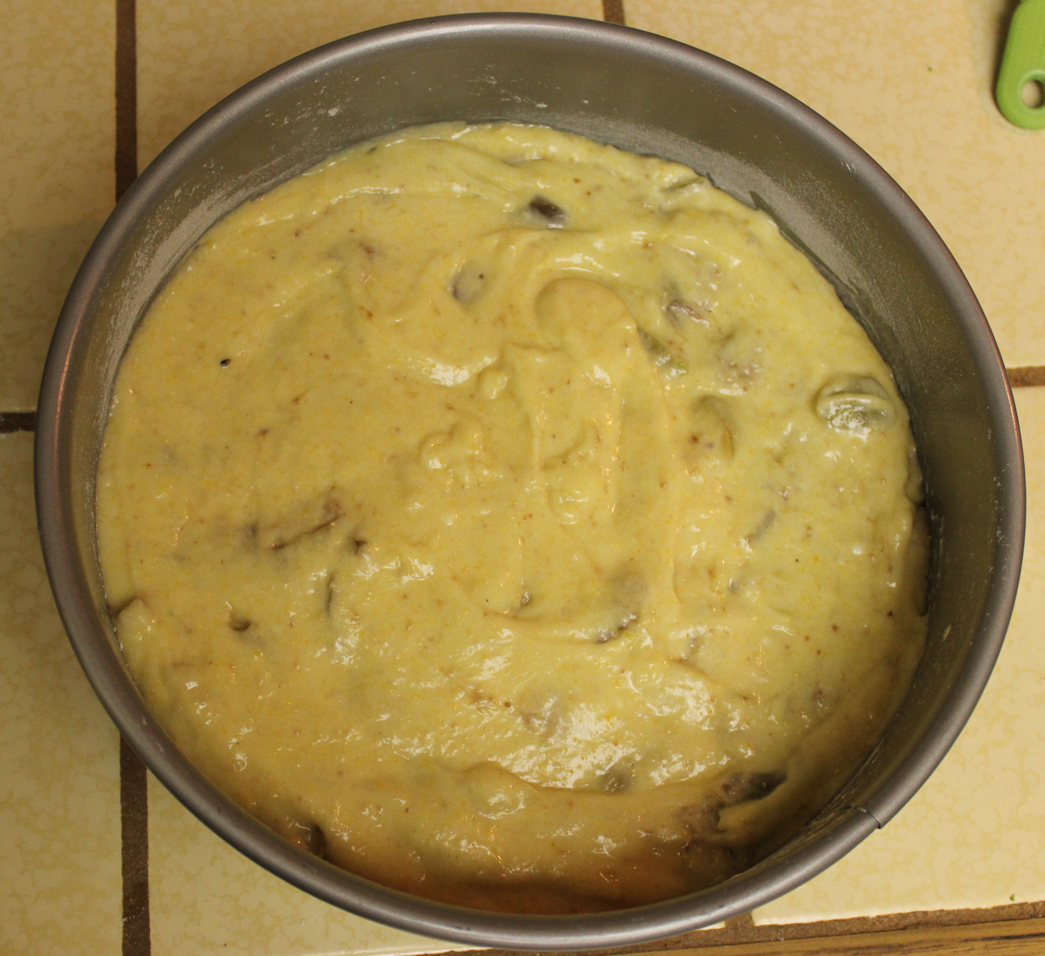
After all ingredients are combined, add beer syrup and stir it in by hand, the batter will look marbled.
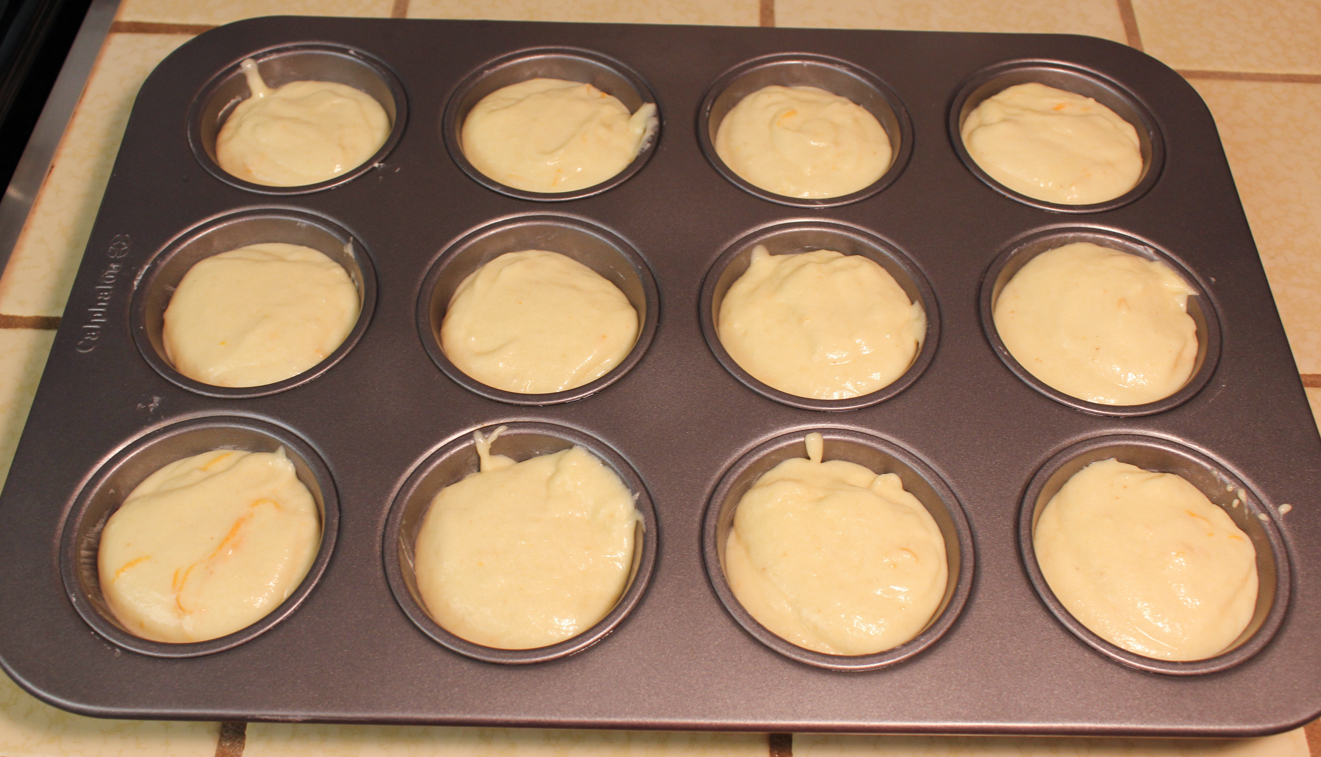
Drop tablespoon sized scoops of cookie dough onto the baking sheets. Flatten down a bit (they don’t flatten out on their own much) and sprinkle with cinnamon and sugar mixture. Bake for 10 minutes, or until a bit golden and set in the middle. Place on racks to cool.

I used Winter Solstice Seasonal Ale from Anderson Valley Brewing, a winter warmer style.

Reducing the beer to syrup.
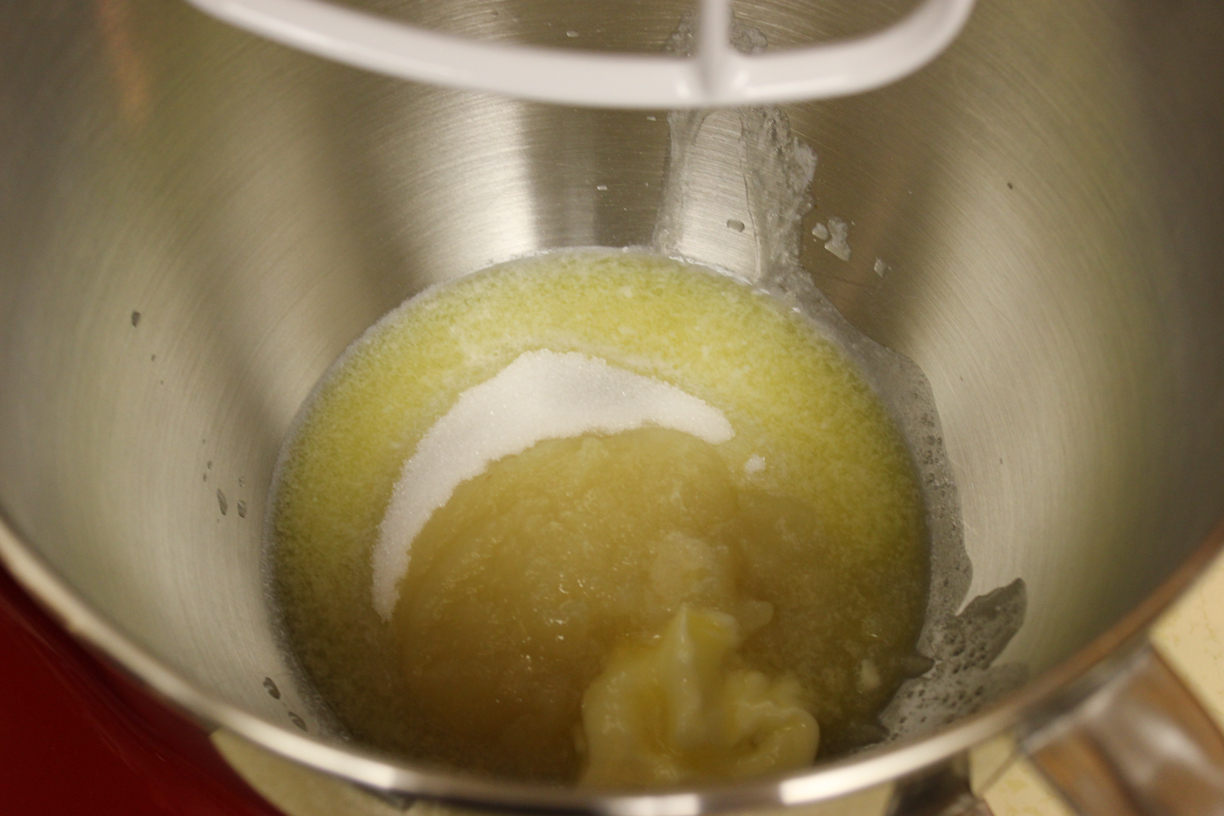
Getting ready to beat the butter, sugar, and avocado.
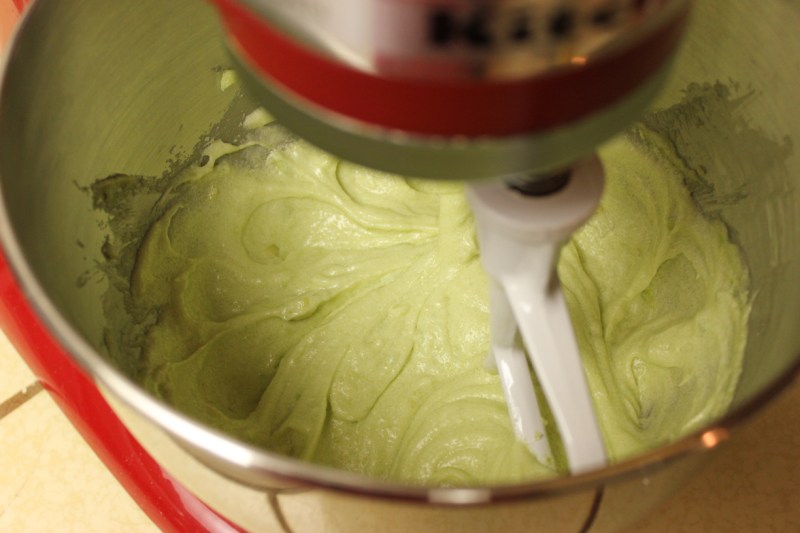
Wet ingredients all mixed up. Notice the slightly green batter.

After mixing in the dry ingredients.
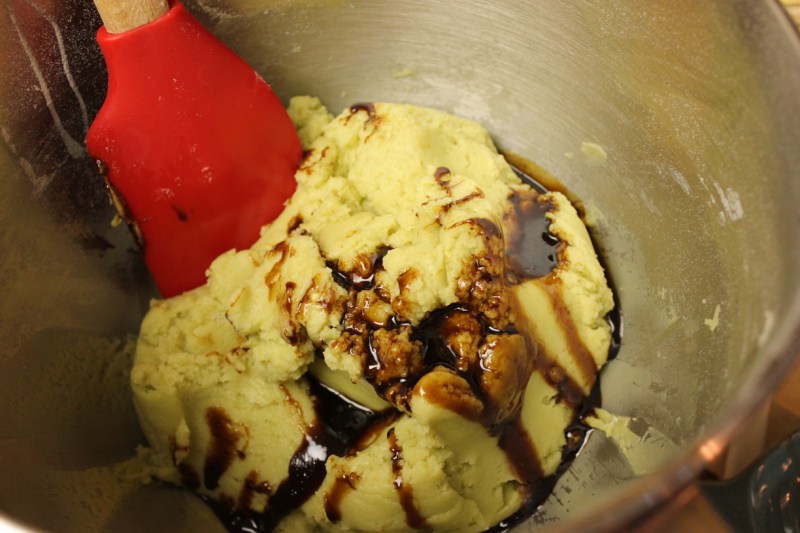
Adding the beer syrup.

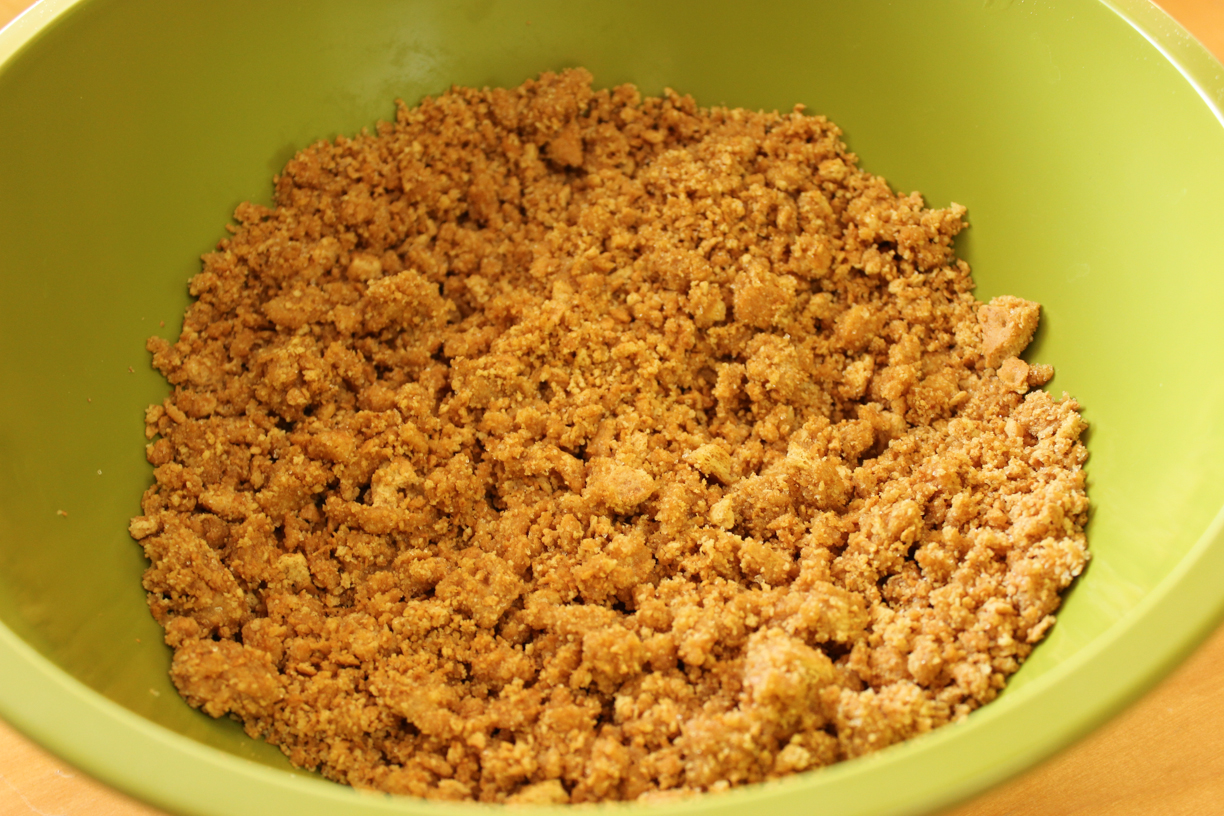
Marbled batter after mixing in the beer syrup.

Mmmm… the final, slightly healthier cookie.