A simple baby bib

A friend recently had a baby boy, and to commemorate the occasion I wanted to make her a simple gift so I settled on a baby bib. This free pattern from Delia Creates was the perfect solution. I love the simple way it fastens – with a little knot that is pulled through a button hole. My friend’s baby shower was Nascar themed, and the baby’s namesake has to do with her alma mater, so I decided on a football theme for the bib in her university’s colors. I was lucky to find the helmet pattern and then used a solid red for the back of the bib. The pattern was easy to follow and went together quickly.

BabyBib-3  BabyBib-2

Hand stamped infinity scarf

Making a dog bed cushion

I think I finally completed the last of my tasks to make my dining and sitting room renovations complete! That task was to make a new cushion for my dog’s awesome window bed (which I made myself). Since I made the bed, she (and the cats) have been sleeping on an old dog bed that I made in our other house. It is a fleece cover with two bed pillows inside, covered by a layer of eggshell foam. It does the job, but the cover is the wrong color now and it has a large indent in the center from use. I bought new gray fleece and nice thick green foam from Joann Fabrics quite some time ago. I kinda can’t believe I waited this long, as it took me less than an hour to make her the new cushion. What a bad dog parent I am.

I bought one section of green foam that was the thickest they had, when it was on sale for 50% off. To make the bed thicker, I also bought two chair cushions that were about the right size. The thick foam wasn’t the right size to fit in the dog bed, so I had to cut it to size. It was so thick I had to cut the top half first and then the bottom half with my scissors.

Measuring the foam to fit:

DogBedCushion-1 DogBedCushion-3


Molly lays on her old cushion watching me:

DogBedCushion-2

After cutting the foam to size, I basically sewed a large pillow case. I wasn’t too concerned with dimensions, just that it needed to be large enough to fit.

DogBedCushion-4 DogBedCushion-5

After sewing the fleece, I wrestled it over the foam and installed it in the dog bed. Here you can see the nice new cushion next to the old sad one:

DogBedCushion-6

And Molly agreed to model for me. She’s the cutest!

DogBedCushion-9 DogBedCushion-8 DogBedCushion-7

Fixing my Timbuk2 Maya bag

So I bought a custom Timbuk2 shoulder bag to act as my purse on our recent Europe trip because it was big enough to fit a water bottle, kindle, guidebook, camera lens… and more. It arrived the night before we left. Strangely, it had a twisted strap that I hurriedly fixed so the bag would still work. Timbuk2 and their perpetually great customer service gave me a partial refund for their mistake.

Yay! My new bag took off for Ireland with me.

On the fifth night of our trip I set the bag down on a table at the pub and walked up to the bar to order. I came back to our table and smelled something odd… It was a candle, slowly melting a hole in my lovely bag 😦

image


I looked for a patch to cover up the hole for the rest of our trip but only found patches that were orange and green, and they didn’t look that great on my bag.

Very soon after our vacation I was reading Bicycling and they conveniently had a blurb about patches, with one that matched my bag perfectly. Doesn’t it look great??

image

image

Enhanced by Zemanta

Simple felt hand-embroidered ornaments

I’ve gotten into the habit of making ornaments each year to give to my family as gifts. Last year I made simple hand-embroidered felt ornaments after seeing this post from nini on Pinterest. Once I got started, I ended up making two kinds, one with 3 hearts like nini made and another with just 2 hearts.

Embroidered ornaments, one uses 3 hearts and the other uses 2 hearts.

Embroidered ornaments, one uses 3 hearts and the other uses 2 hearts.

To make these ornaments, I used the following supplies:

  • Off white felt fabric
  • Red embroidery floss and appropriate sewing needle
  • Red ribbon
  • Vanishing fabric marker
  • Paper to make a pattern, pins, scissors

The first step was to create my heart patterns. I made two different sizes for the two ornaments. I used the elementary school trick of folding my piece of paper in half and then drawing half of a heart and cutting it out to make sure that my patterns were symmetrical.

The two different heart patterns for the ornaments

The two different heart patterns for the ornaments

Next, I pinned down the hearts and cut the fabric.

Pinning down the heart pattern to cut the fabric.

Pinning down the heart pattern to cut the fabric.

I used the large pattern for the ornament with two hearts and the small pattern for the ornament with three hearts.

I used the large pattern for the ornament with two hearts and the small pattern for the ornament with three hearts.

Once the hearts were cut out, I used a vanishing fabric marker to draw the word I wanted to embroider on each heart. The ink vanishes quite quickly, so I drew each word right before embroidering.

Drawing the word before embroidering.

Drawing the word before embroidering.

Next, I used a simple backstitch to embroider the word.

Embroidered words for the ornaments.

Embroidered words for the ornaments.

For the ornament with two hearts, I matched them up and then did a simple stitch around the edges. I found it easiest to add the ribbon for hanging the ornament if I positioned the ribbon before I finished sewing the hearts together. I also used some scrap felt in the middle of the ornament to add a bit of “puff”.

Sewing the edges together.

Sewing the edges together.

One side of the larger ornament.

One side of the larger ornament.

Side two of the larger ornament.

Side two of the larger ornament.

For the ornament with three hearts, I sewed together the straight edges of the smaller hearts so that they formed a sort of triangle shape. I also used the red thread to to attach the three hearts at their apex and then looped the hanging ribbon around that thread. This also made it so that you don’t see the back side of each heart when you look at the ornament from the top.

Ornament using three hearts.

Ornament using three hearts.

The ornaments were well received by their recipients last year 🙂

Enhanced by Zemanta

Hand stamped infinity scarf

Two infinity scarves.

Sometimes I’m not so sure where my time goes, but I do know that I finally have a craft project to share! Now that we’ve had like two whole fall days in Austin, I decided it was time for a new scarf. I’m pretty bad at wrapping traditional scarves around my neck and looking fashionable, so I decided to make an infinity scarf, which is a loop scarf that you can typically wear as a single long loop or short double loops if it’s cold. It’s hard to mess up wearing a loop. There are a number of tutorials about sewing an infinity scarf. I read quite a few and relied on this video from Craft Gemini to show me the step where you have to join the two ends to form a loop. It can be a bit confusing if you don’t take your time. More on that later. My Supplies:

  • 1.5 yards of knit fabric, pre-washed and ironed as much as possible
  • Hand carved stamps (stamp blocks carved with a speed ball cutter)
  • Fabric paint in a few colors
  • Standard sewing stuff – matching thread, sewing machine, etc.

First I decided on a design using tear drop shapes, sketched them on my stamp blocks and carved three separate stamps so that I could use them in a variety of patterns.

The three stamps I carved, tear drop shapes.

Then, I tested them out on some paper to make sure they stamped well.

Stamp test!

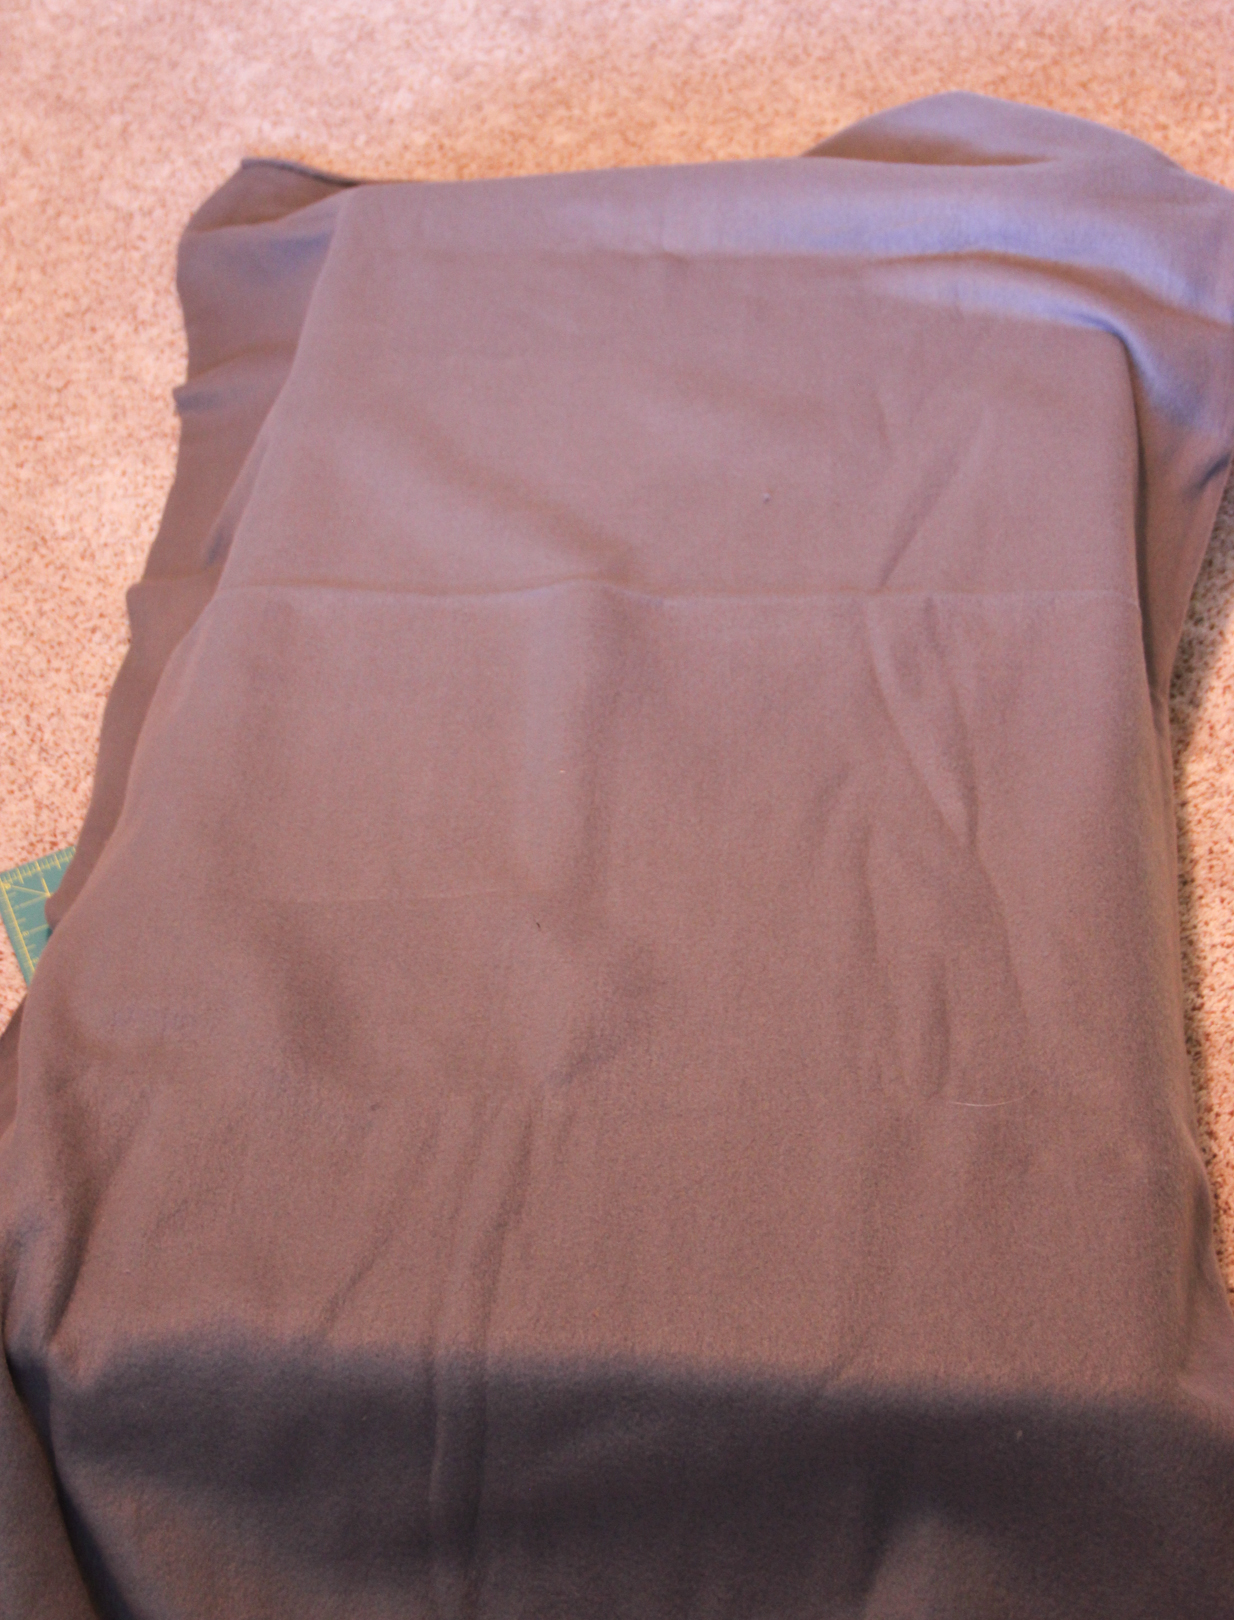
I cut my knit fabric in half, so that I had two pieces of fabric, 1.5 yards long by 24 inches wide. Because you fold the fabric in half length wise and sew, this gives a scarf about about 12 inches wide (minus seam allowances). I got a nice dark brownish/grayish knit fabric with a small weave.

Knit fabric

I then used my stamp set and fabric paint to hand stamp a design down the middle of both pieces of fabric.

Three fabric paints – linen, light green and light blue.

For one design I only used linen and green paints.

For the other design, I used all three colors.

If you do this, make sure to put something under the fabric as you stamp, the paint will seep through in some places. The next step was sewing. The first step to make an infinity scarf is to fold the fabric length wise, with the correct side of the fabric (in my case, the stamped side) touching. Then pin along the whole length of the fabric, but leave four inches on each side not sewn so that you can connect the loop in a later step.

Fabric pinned length wise. I measured in 4 inches from both ends and used a pin to mark the spot where I would start and stop sewing.

When it comes time to sew, make sure to backstitch a bit on both ends so that your seams are secure!

Annie the cat helps me sew. Or really just gets in the way.

Remember to start and stop sewing four inches from each edge and to backstitch to secure your seam.

After the fabric is sewn lengthwise, the tricky part begins. Definitely view the video I mentioned above if you are unsure about these steps. First, turn the fabric so that the correct side is facing out (the way it should be at the end). Notice the four inches that aren’t sewn on either side. Position the fabric so that the seams match and there are no twists in the fabric.

Fabric, turned so that the correct side is on the outside. Seam is lined up so that there are no twists in the scarf.

Next, you have to pin the ends of the fabric together, which is what feels a bit tricky. This is the part where you actually join your scarf into a loop. You start with matching corners and keep the correct side of the fabric facing in so that it touches the entire time you are pinning. Continue to pin around in a circle until you hit the other corners. The extra four inches you left on each side of the scarf is what allows you to do this – the rest of the fabric ends up being contained in those 8 inches after you are done pinning.

Pin the fabric, starting from matchin corners with the correct side of the fabric facing in and touching.

Pin around the entire circle until you come to the other corners. You’ll then see the main part of the scarf coming through the 8 inch opening. That part of the scarf has the correct side of the fabric facing out.

Then, you sew. Start at one corner and go to the other. Make sure to backstitch at both ends.

Sewing the two ends of the scarf together.

When you’re done, you’ll flip that section of the scarf so that the right side is facing out for the entire section. You’ll have an eight inch section left to hand sew to complete the scarf.

After sewing the ends together, you’re left with an 8 inch section to hand stitch.

Pin the opening closed using the same seam allowance you used on the rest of the scarf.

Pinned and ready to hand sew.

I used a slip stitch to close the seam, with help of a tutorial from Michelle patterns. Then, I positioned the scarf so that the seam was positioned in the back. Lastly, I wore the scarf around town. You can see the loop in the scarf on the left and the view of the scarf when it’s flattened out on the right. I’m quite happy with the finished product!

Make your own hand stamped infinity scarf - lauramakes.com

The finished scarves.

Enhanced by Zemanta

Recycling bike inner tubes into a phone case

Okay, so I only used a small part of a bicycle inner tube to make a phone case.

Next week I start training for a half marathon that takes place in November. I also decided to start using a fitness tracking application called Endomondo. To use Endomondo, I need to carry my phone with me on my runs which I’ve never done before because it’s big and I’ve not a found a good case for carrying it. At the Urban Assault Ride put on by New Belgium brewery, one of the schwag items we came home with was a little pouch made out of a bike inner tube which gave me this idea. The inner tube will help the phone stay dry while I sweat like crazy in the Texas heat.

This weekend I decided it was time to make the phone case with the start of training on the horizon.  I grabbed an old mountain bike inner tube and cut off a piece of it. After my first attempt at making the case ended up just a tad too small, I succeeded on the second try.

One of the trickiest parts of this case was the zipper. I had to deconstruct a zipper so that it would be on continuous piece by folding it in half and putting each end into the zipper pull. You’ll see what I mean in the pictures at the end.

First I cut the tube down the middle and washed it. Next, I sewed on the zipper to one side:

Next, I folded the zipper over and top-stitched it:

Then, I added the piece needed to put a strap through (normally I wear a dog leash around my waist, which is the best place to attach a phone).  Then, I folded it in half and sewed the bottom together.  I then had to turn it to the right side and try to attach the zipper pull, which turned out to be quite tricky the second time. After enlisting the help of pliers and my husband, I got the zipper pull attached and turned the case back inside out and sewed the smaller end together.

After that, I trimmed the edges near the seam and turned it right side out. Complete!

Some useful tips: rubber isn’t that hard to sew, but it’s tricky to get it to feed correctly through the sewing machine. I had to play with both thread tension and the foot tension to get it to work correctly.  Sewing through more than two layers  gets more difficult.

Making buttons (out of shrinky dink)

So it turns out that you can make buttons out of shrinky-dink plastic! You know, that plastic from your childhood that you could draw on and then put into the oven to make useless shapes out of?

This tutorial from Scissors.Paper.Wok inspired me to give this a shot because I  need buttons for two knitted baby bibs currently in the works. One is for a boy and the other a girl and from previous button shopping I remember not being terribly excited about options to match my knitted bibs.

Because I didn’t have a large round paper punch as used in the tutorial, I started with 2 inch squares and then used a corner round punch to remove the sharp edges.  I used a paper pattern to get the holes in the right spots and punched them with a normal paper punch.

I drew designs on the four buttons, some inspired from the button tutorial and other from icons I pulled up on Google.

Before shrinking:

After baking between parchment paper on 300 degrees for a few minutes:

I must say that they turned out better than I could have hoped. Now the hard part is choosing which button goes one which bib! I think the girl should get the rocket ship of course.

Making my jeans fit

The average height of women in the US is 5’ 4”. I wish jeans makers would read that wikipedia article.

Anyhow, when I go jeans shopping, I get to look for the length “short” or shop in the petite section despite being fairly close to average height. On my last jeans shopping trip even the “short” jeans were way too long. They fit so perfectly every where else that I brought them home with me and decided just to wear them with heels. Unfortunately only my tallest heels could be worn which wasn’t very practical.

The solution? The internet. It taught me how to hem my own jeans. I found a number of sets of instructions but ended up following the instructions on the Cardigan Empire.  Luckily, despite my only mediocre sewing skills, I have a super fancy sewing machine given to me by my mom who used to work at a sewing machine company.

Pinning the jeans to the right length:

The sewing machine all set up with a zipper foot, the needle size for jeans, and some dark gray thread:

The finished product after ironing! I think they’ll do.

Also, spoiling cats

Along the lines of my post yesterday about spoiling my dog, I thought I’d share how we spoil our cats.

Recently we renovated our living and dining rooms. In the process we’ve replaced some of our furniture. And now this is what the cats have:

How did we get to this point?

We had a stand-alone cat perch that Mojo loved to play one. It was leopard print colored and didn’t really match the new improved decor.

My husband suggested that we make cat shelves up the wall. Being the sucker I am (and recognizing the chance to get rid of the leopard print) I agreed! And then here’s what you do:

  • Buy some sturdy shelves and brackets at Ikea
  • Cut them to size for cats
  • Wrap a long 1” x 4” board with sisal rope (they love scratching sisal rope!)
  • Attach all to wall at reasonable intervals, all the way up to the vaulted ceiling
  • Sew not one but two cat beds and velcro them to the shelves
  • Feel great satisfaction when you find cats sleeping up there. Ok, so really only Mojo goes up unprompted but if you lure Carston up he’ll lay there. Annie doesn’t go up at all. I blame her lack of claws.

Yesterday I made a dog bed cover.Instructions:Measure dog.

Yesterday I made a dog bed cover.

Instructions:

  1. Measure dog.
  2. Triple her size.
  3. Cut a giant piece of fleece, randomly adding inches for the seam allowance.
  4. Sew the fleece like it’s a pillow case, with the opening on the long side.
  5. Try to be smart by planning the placement of velcro to close the cover.
  6. Finish sewing velcro and find out you planned wrong (a usual occurrence in my sewing escapades).
  7. Give up because the dog doesn’t seem to mind.