The cutest ornaments: Almond shell birds

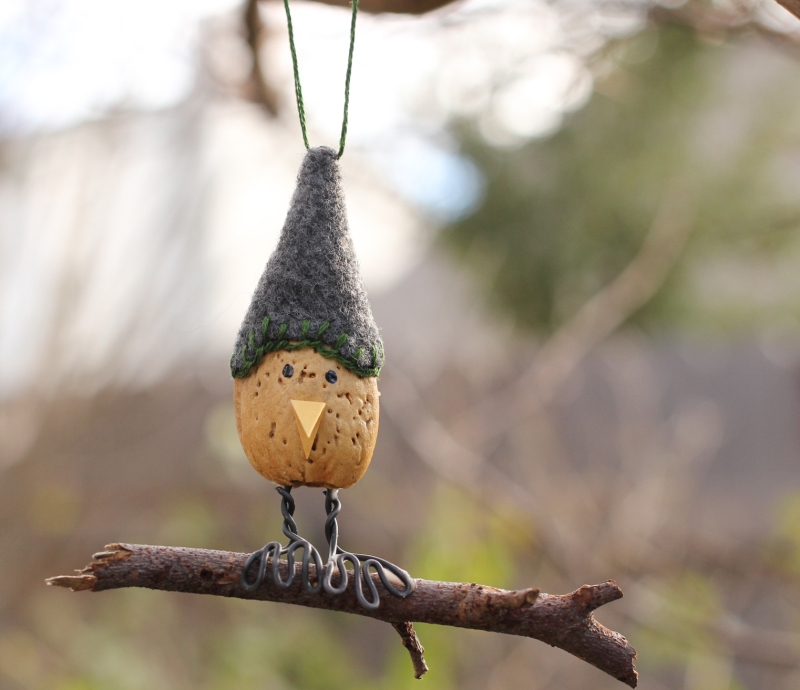
My handmade holiday ornaments for last year were these little almond shell birds, and they were a big hit. I followed the instructions pretty much line by line, but instead of shellac to seal my almond shells, I used a matte Delta Ceramcoat sealant that I had left over from a wood painting project. I made at least 10 of these little guys and am happy to have a few left over to hang on my tree this year.

We even held a little photoshoot for a few of them:

Almond_Bird_Ornaments-3


During the outside portion of the photo shoot, we were photo bombed by my favorite photo bomber. Do you see her?

Almond_Bird_Ornaments-5

Almond_Bird_Ornaments-4

Almond_Bird_Ornaments-6


Acorn jingle bell ornaments

Simple hand-embroidered ornaments

Hand-painted wooden ornaments

Beer cap ornaments

2014 Gifting: Leaf imprinted bowls

Every Christmas, I try to make one or two handmade gifts for my favorite people. One of those gifts is typically an ornament, which I will share with you in time to make your own during the next holiday season 🙂

However, I did make a gift that isn’t an ornament, and it is this polymer clay dish by Crafts Unleashed. It’s a small, decorative dish that could be used to hold some earrings or something similarly small. I basically followed the method in the post, but used a few different supplies. I bought white Sculpey clay III, which from the review seems to be a bit easier to work with than Premo by Sculpey. I also picked up a really cheap Sculpey clay tool set at Joann Fabrics for the cutting tools, but found that the little white roller worked better than a cheap rolling pin I bought at HomeGoods. The main thing I used the actual rolling pin for was to press the fresh leaf into the clay after it was flattened. The leaves came from a tree in our yard, and I used the ring from a glass jar as a circular cutout. I had a gloss clear coat from previous projects, and a bowl in our cupboard that I could use for this project and then dedicate for future craft projects. I’ve read that kitchen dishes should not be used for polymer clay projects. I made 10 dishes in total.

My supplies:

LeafBowls-1


Close-ups:

LeafBowls-4

LeafBowls-3 LeafBowls-2


A simple baby bib

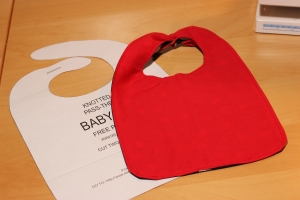
A friend recently had a baby boy, and to commemorate the occasion I wanted to make her a simple gift so I settled on a baby bib. This free pattern from Delia Creates was the perfect solution. I love the simple way it fastens – with a little knot that is pulled through a button hole. My friend’s baby shower was Nascar themed, and the baby’s namesake has to do with her alma mater, so I decided on a football theme for the bib in her university’s colors. I was lucky to find the helmet pattern and then used a solid red for the back of the bib. The pattern was easy to follow and went together quickly.

BabyBib-3  BabyBib-2

Hand stamped infinity scarf

Acorn jingle bell christmas ornaments


AcornOrnaments-3

I whipped up these simple Christmas ornaments as gifts for my friends and family. I had the grand idea that we would harvest local acorn caps to use, but they ended up being too small for the bells I found at Joann.


They were pretty simple to make. It went something like this:

  1. Find acorn caps to order on ebay since our local caps were too small.
  2. Paint the acorn caps with gold, green, and red glitter paint.
  3. After they dry, glue the bells into the acorn caps. I found hot glue to be the easiest to work with, but reinforced it with some Elmer’s in the gap around the bell, if it existed.
  4. After that round of glue dries, attach matching embroidery thread to the stem by tying it and then add a bit of glue for security.
  5. Once that dries, tie the thread onto a loop of ribbon. I varied the length of thread so that the bells would hang at different lengths.
  6. Optional – add a small coordinating bow to the ribbon loop.

And done!

AcornOrnaments-2

Enhanced by Zemanta

Making a dog bed cushion

I think I finally completed the last of my tasks to make my dining and sitting room renovations complete! That task was to make a new cushion for my dog’s awesome window bed (which I made myself). Since I made the bed, she (and the cats) have been sleeping on an old dog bed that I made in our other house. It is a fleece cover with two bed pillows inside, covered by a layer of eggshell foam. It does the job, but the cover is the wrong color now and it has a large indent in the center from use. I bought new gray fleece and nice thick green foam from Joann Fabrics quite some time ago. I kinda can’t believe I waited this long, as it took me less than an hour to make her the new cushion. What a bad dog parent I am.

I bought one section of green foam that was the thickest they had, when it was on sale for 50% off. To make the bed thicker, I also bought two chair cushions that were about the right size. The thick foam wasn’t the right size to fit in the dog bed, so I had to cut it to size. It was so thick I had to cut the top half first and then the bottom half with my scissors.

Measuring the foam to fit:

DogBedCushion-1 DogBedCushion-3


Molly lays on her old cushion watching me:

DogBedCushion-2

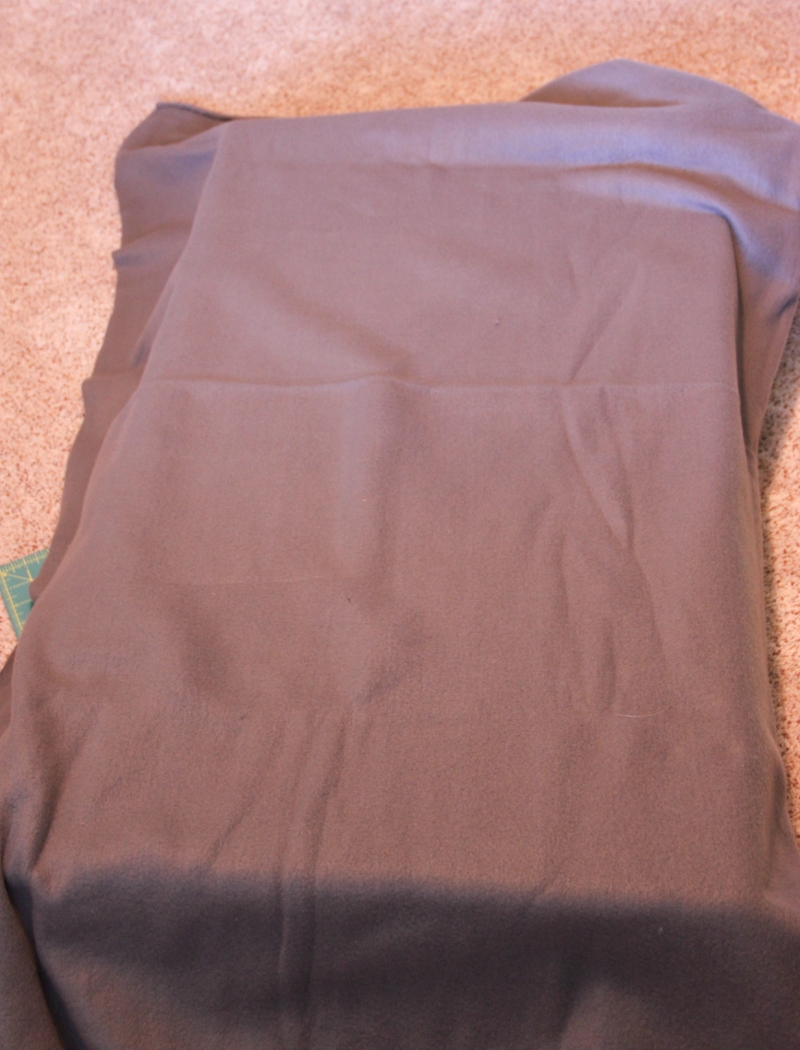
After cutting the foam to size, I basically sewed a large pillow case. I wasn’t too concerned with dimensions, just that it needed to be large enough to fit.

DogBedCushion-4 DogBedCushion-5

After sewing the fleece, I wrestled it over the foam and installed it in the dog bed. Here you can see the nice new cushion next to the old sad one:

DogBedCushion-6

And Molly agreed to model for me. She’s the cutest!

DogBedCushion-9 DogBedCushion-8 DogBedCushion-7

Making a rustic industrial free-standing corner shelf set

Sometime soon I’m going to share the details of our sitting room and dining room renovation, but for now I’m going to share the set of corner shelves I built. I call them rustic industrial because I left the wood in it’s raw state and I used black metal pipes spray painted oil rubbed bronze as support for the shelves, in the same style as the rustic industrial dog bed I built for my favorite pup. I wanted a set of corner shelves more substantial then the set I had for many years, about 5 feet tall with 5 small shelves in a light oak color. After I sketched out my idea for the new shelves, it took me about a month to find enough time to finish the job.

I used 12″ wide pine boards. I cut 6 sections of one foot and two feet long each so that I could attach the sections together to make corner shelves. This isn’t where I actually cut the boards, but I did use that table saw. I just thought you might enjoy my dog photobombing my picture, like she always does.

CornerShelf-1


In order to attach the metal pipe to the side of the shelf, I used a 1″ x 2″ pine board to support the shelf. To attach the support board to the shelf, I used a counter sink bit to drill through both boards.

CornerShelf-2


Counter sink bits:

CornerShelf-3


Close up of the countersunk screw. Before I stained the wood, I used wood filler to fill the hole.

CornerShelf-4


After I attached the support board to all of the shelf pieces, it was time to attach the one foot and two foot boards together, but first I had to plan the supports for the bottom shelf so that all of the brackets would fit. I spray painted the hardware with oil rubbed bronze.


CornerShelf-6


To attach the one foot and two foot sections together, I used wood glue and a clamp before putting the screws into the brackets.


CornerShelf-7


After the shelves were assembled, I stained them with TimberSoy Walnut stain and then finished them with quick drying polyurethane. While being watched by my dog.


CornerShelf-8


Attaching supports to the bottom shelf (6″ black metal pipes and floor flanges):


CornerShelf-11


Try to ignore our very messy workbench in the background of this next picture. I assembled the shelf layer by layer, making sure that the shelves were level and that the brackets were attached in relatively the same place. it wasn’t the easiest task. The back corner was supported by threaded rods screwed into something called “ceiling flanges” that were all spray painted with oil rubbed bronze. I used some super glue to lock the threaded rods to the flanges so that they were all the same length. You can see the side supports which are 72″ black metal pipes spray painted oil rubbed bronze.


CornerShelf-12

A close up of the bracket used in the back corner of the shelf for extra support:

20160922_201831

After the shelves were assembled, I put them in the dining room corner. And then took many photos of them for you to enjoy and to see how they fit in with the other furniture. I haven’t full accessorized the shelves yet.

CornerShelf-14 CornerShelf-15 CornerShelf-16 CornerShelf-17


I took a photo of the dog bed next to the new curtains so you could compare them to the corner shelves and of course the dog chose to lay in her bed at that moment. She’s the best photo bomber 🙂


CornerShelf-18

Recent projects: Boot cuffs and a neck cowl

I recently finished off two quick projects, one as a Christmas gift and one for myself. For my sister, I crocheted a set of boot cuffs after I attempted to buy her some last year on Etsy, a transaction that fell through. I found the boot cuff pattern on Ravelry. It was easy, just single and double crochet. I found a teal wool yarn to use, since that was close to the color I originally tried to order for her.

BootCuffs-2 BootCuffs-1


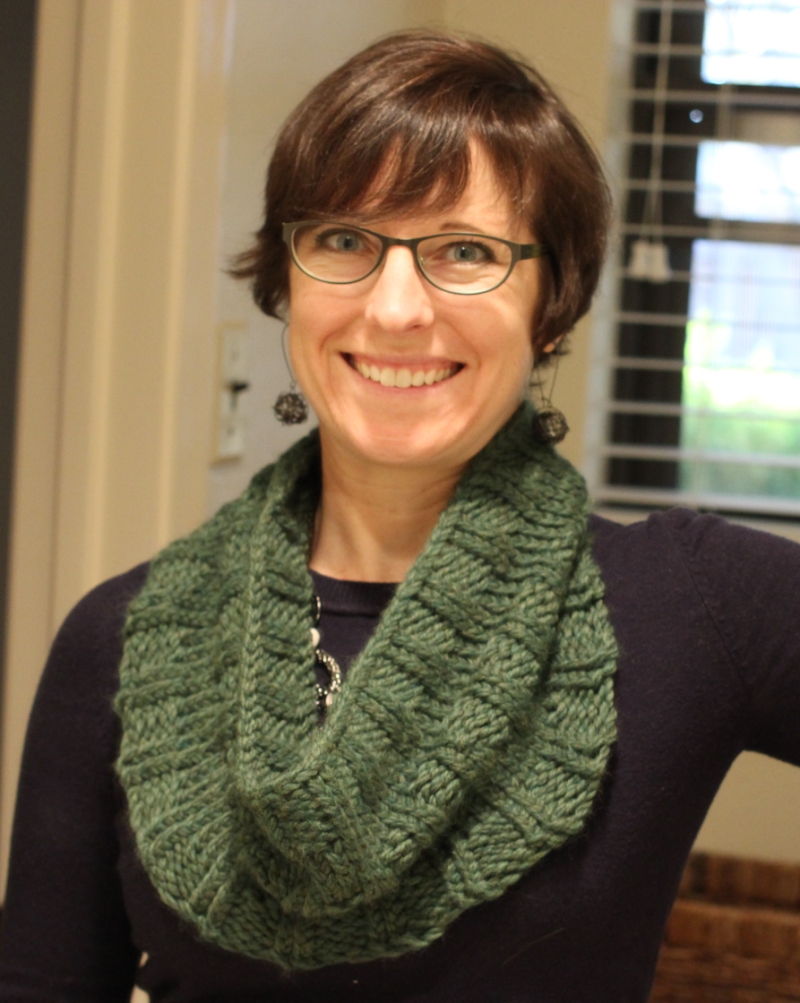
The second project was a neck cowl for myself. I get really excited about wearing scarves in the winter so I decided to make yet another one for myself. I found the pattern on Ravelry again. I ordered Forest Heather Biggo yarn from Knit Picks. The yarn is very thick, and the pattern calls for large needles, so it was a project that went fast also. The yarn is pleasingly soft.

RibbedCowl-1


My cat Annie decided to get in on the photo action.


RibbedCowl-2

I learned how to take my own photo in the mirror.

IRibbedCowl-3

Enhanced by Zemanta

A quick & easy holiday gift – felt coasters

A very short post to show you one of the gifts I made for my family this Christmas – felt coasters. I came across a blog post about geometric coasters by Ciera Design on Pinterest that inspired me. However, cutting all of the individual hexagons she uses became overwhelming right away so I created my own larger designs.

I used my paper cutter to cut 4″ x  4″ squares out of a stiff felt fabric. I then created paper patterns that I traced with marker onto the softer contrasting felt pieces so that I could cut them out by hand. I used a fabric glue to glue down the contrasting pieces on the stiff coaster bottom.  Below you can see a sampling of the coasters I made. I created 6 sets in all. Still have to make myself a set!

Coasters-1

Enhanced by Zemanta

Fixing my Timbuk2 Maya bag

So I bought a custom Timbuk2 shoulder bag to act as my purse on our recent Europe trip because it was big enough to fit a water bottle, kindle, guidebook, camera lens… and more. It arrived the night before we left. Strangely, it had a twisted strap that I hurriedly fixed so the bag would still work. Timbuk2 and their perpetually great customer service gave me a partial refund for their mistake.

Yay! My new bag took off for Ireland with me.

On the fifth night of our trip I set the bag down on a table at the pub and walked up to the bar to order. I came back to our table and smelled something odd… It was a candle, slowly melting a hole in my lovely bag 😦

image


I looked for a patch to cover up the hole for the rest of our trip but only found patches that were orange and green, and they didn’t look that great on my bag.

Very soon after our vacation I was reading Bicycling and they conveniently had a blurb about patches, with one that matched my bag perfectly. Doesn’t it look great??

image

image

Enhanced by Zemanta

Simple felt hand-embroidered ornaments

I’ve gotten into the habit of making ornaments each year to give to my family as gifts. Last year I made simple hand-embroidered felt ornaments after seeing this post from nini on Pinterest. Once I got started, I ended up making two kinds, one with 3 hearts like nini made and another with just 2 hearts.

Embroidered ornaments, one uses 3 hearts and the other uses 2 hearts.

Embroidered ornaments, one uses 3 hearts and the other uses 2 hearts.

To make these ornaments, I used the following supplies:

  • Off white felt fabric
  • Red embroidery floss and appropriate sewing needle
  • Red ribbon
  • Vanishing fabric marker
  • Paper to make a pattern, pins, scissors

The first step was to create my heart patterns. I made two different sizes for the two ornaments. I used the elementary school trick of folding my piece of paper in half and then drawing half of a heart and cutting it out to make sure that my patterns were symmetrical.

The two different heart patterns for the ornaments

The two different heart patterns for the ornaments

Next, I pinned down the hearts and cut the fabric.

Pinning down the heart pattern to cut the fabric.

Pinning down the heart pattern to cut the fabric.

I used the large pattern for the ornament with two hearts and the small pattern for the ornament with three hearts.

I used the large pattern for the ornament with two hearts and the small pattern for the ornament with three hearts.

Once the hearts were cut out, I used a vanishing fabric marker to draw the word I wanted to embroider on each heart. The ink vanishes quite quickly, so I drew each word right before embroidering.

Drawing the word before embroidering.

Drawing the word before embroidering.

Next, I used a simple backstitch to embroider the word.

Embroidered words for the ornaments.

Embroidered words for the ornaments.

For the ornament with two hearts, I matched them up and then did a simple stitch around the edges. I found it easiest to add the ribbon for hanging the ornament if I positioned the ribbon before I finished sewing the hearts together. I also used some scrap felt in the middle of the ornament to add a bit of “puff”.

Sewing the edges together.

Sewing the edges together.

One side of the larger ornament.

One side of the larger ornament.

Side two of the larger ornament.

Side two of the larger ornament.

For the ornament with three hearts, I sewed together the straight edges of the smaller hearts so that they formed a sort of triangle shape. I also used the red thread to to attach the three hearts at their apex and then looped the hanging ribbon around that thread. This also made it so that you don’t see the back side of each heart when you look at the ornament from the top.

Ornament using three hearts.

Ornament using three hearts.

The ornaments were well received by their recipients last year 🙂

Enhanced by Zemanta