Baking pretzel rolls for Thanksgiving

I haven’t baked any sort of bread that requires yeast in quite a while. That all changed when I read the pretzel parker house rolls recipe on Smitten Kitchen recently. While I don’t have a clue what a parker house roll is (yes, I could look it up), I did know that the rolls sounded (and looked) delicious. Following her recipe, and using the baking soda wash instead of lye, I now have made two batches of these rolls and froze them for Thanksgiving. I’ve taste tested a roll from each batch and can tell you that not only are they easy to make, they are also delicious. I’m not really a fan of kneading dough by hand, so I used my KitchenAid to take care of that part.

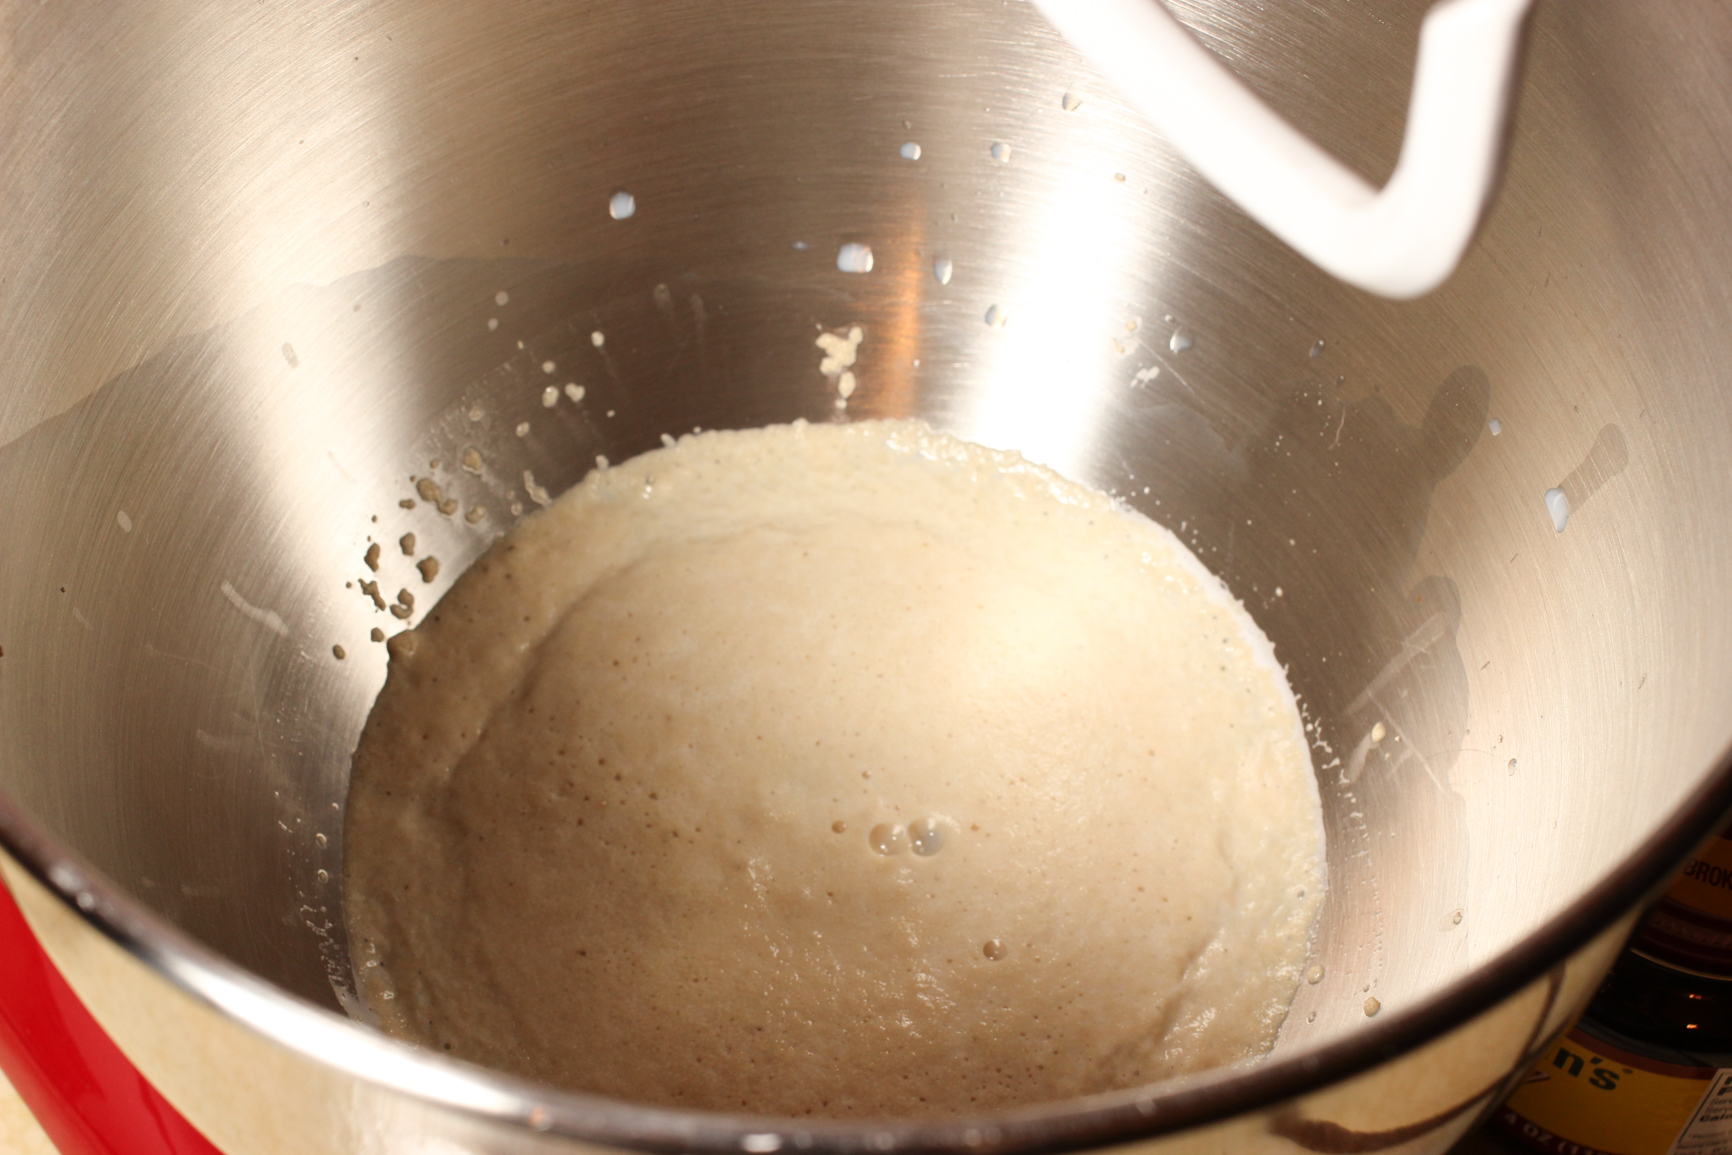
The yeast comes alive:

PretzelRolls-1


The dough hook does the hard work:


PretzelRolls-2


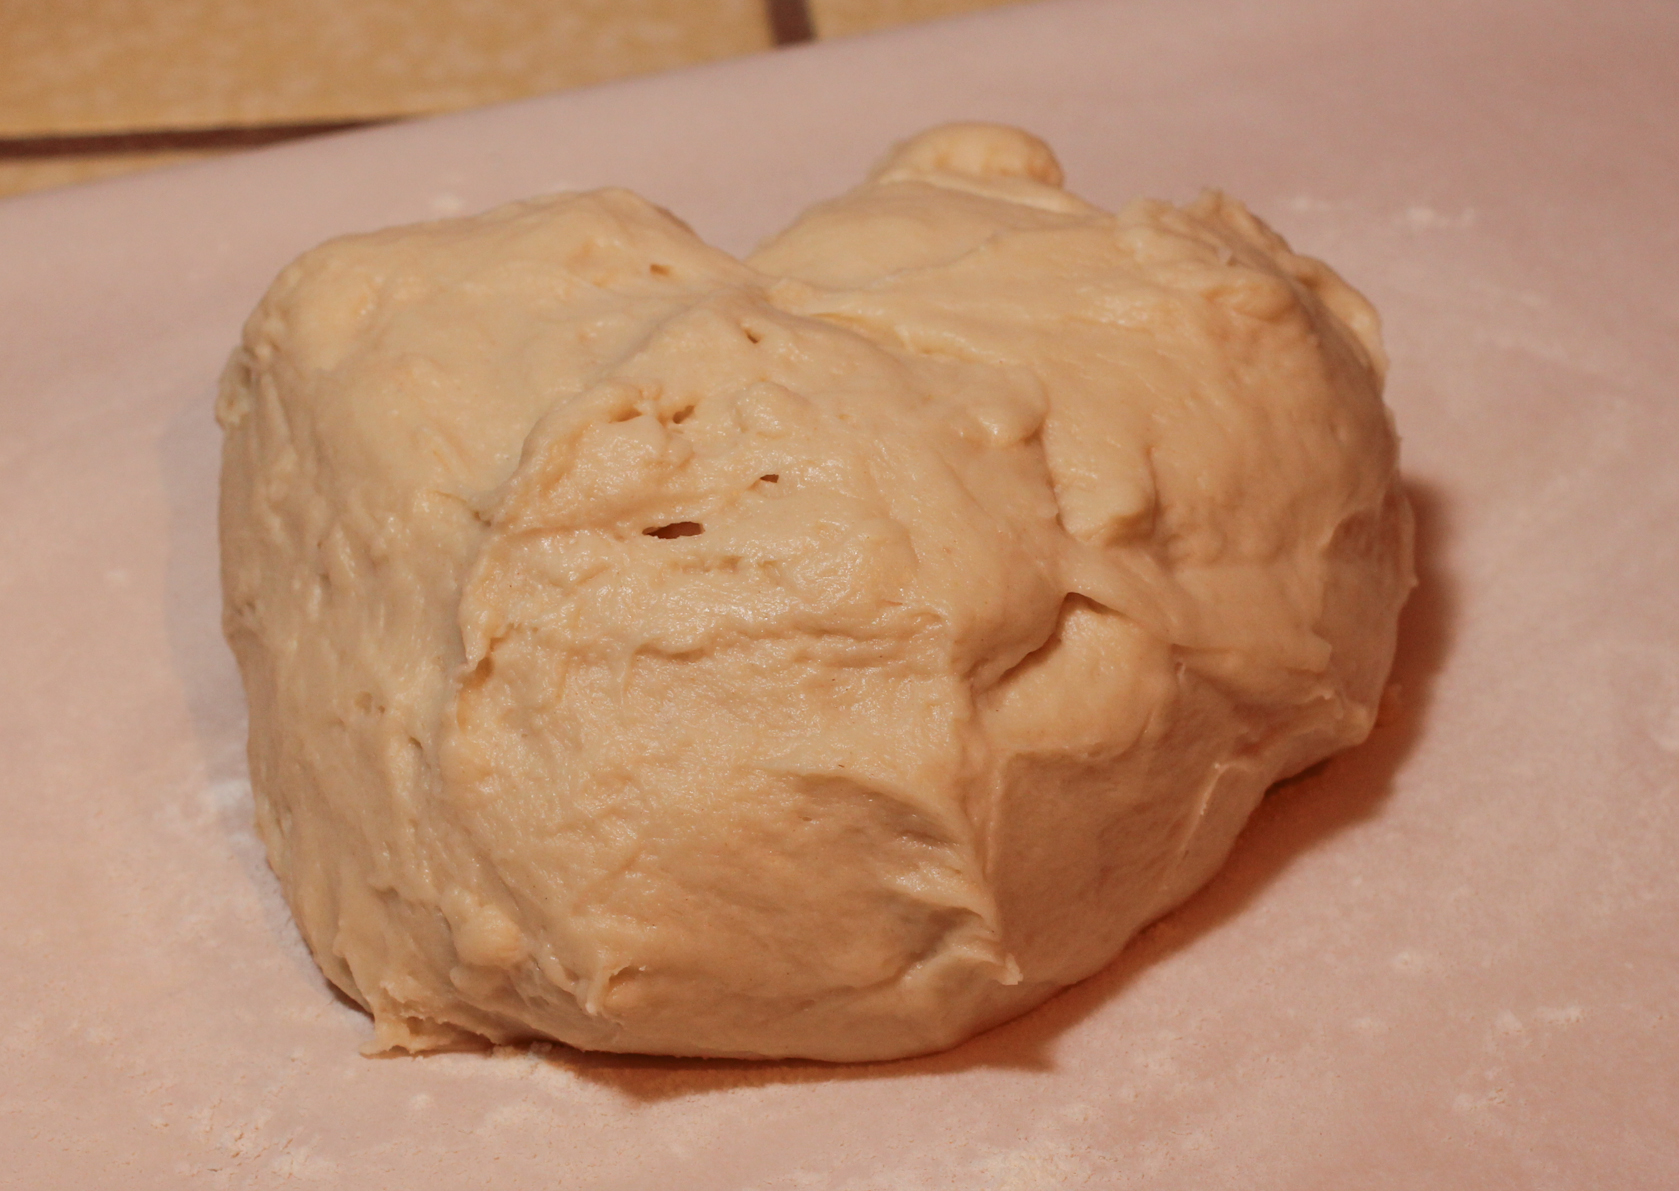
The dough after kneading:


PretzelRolls-3


The dough after first rise – I used a pizza cutter to cut up the dough into 16 kinda equal slices, like a pie, as the recipe suggests:


PretzelRolls-4


The dough formed into rolls, prior to the second rise:


PretzelRolls-5


After second rise, before washing in baking soda / water and egg rinses:


PretzelRolls-6


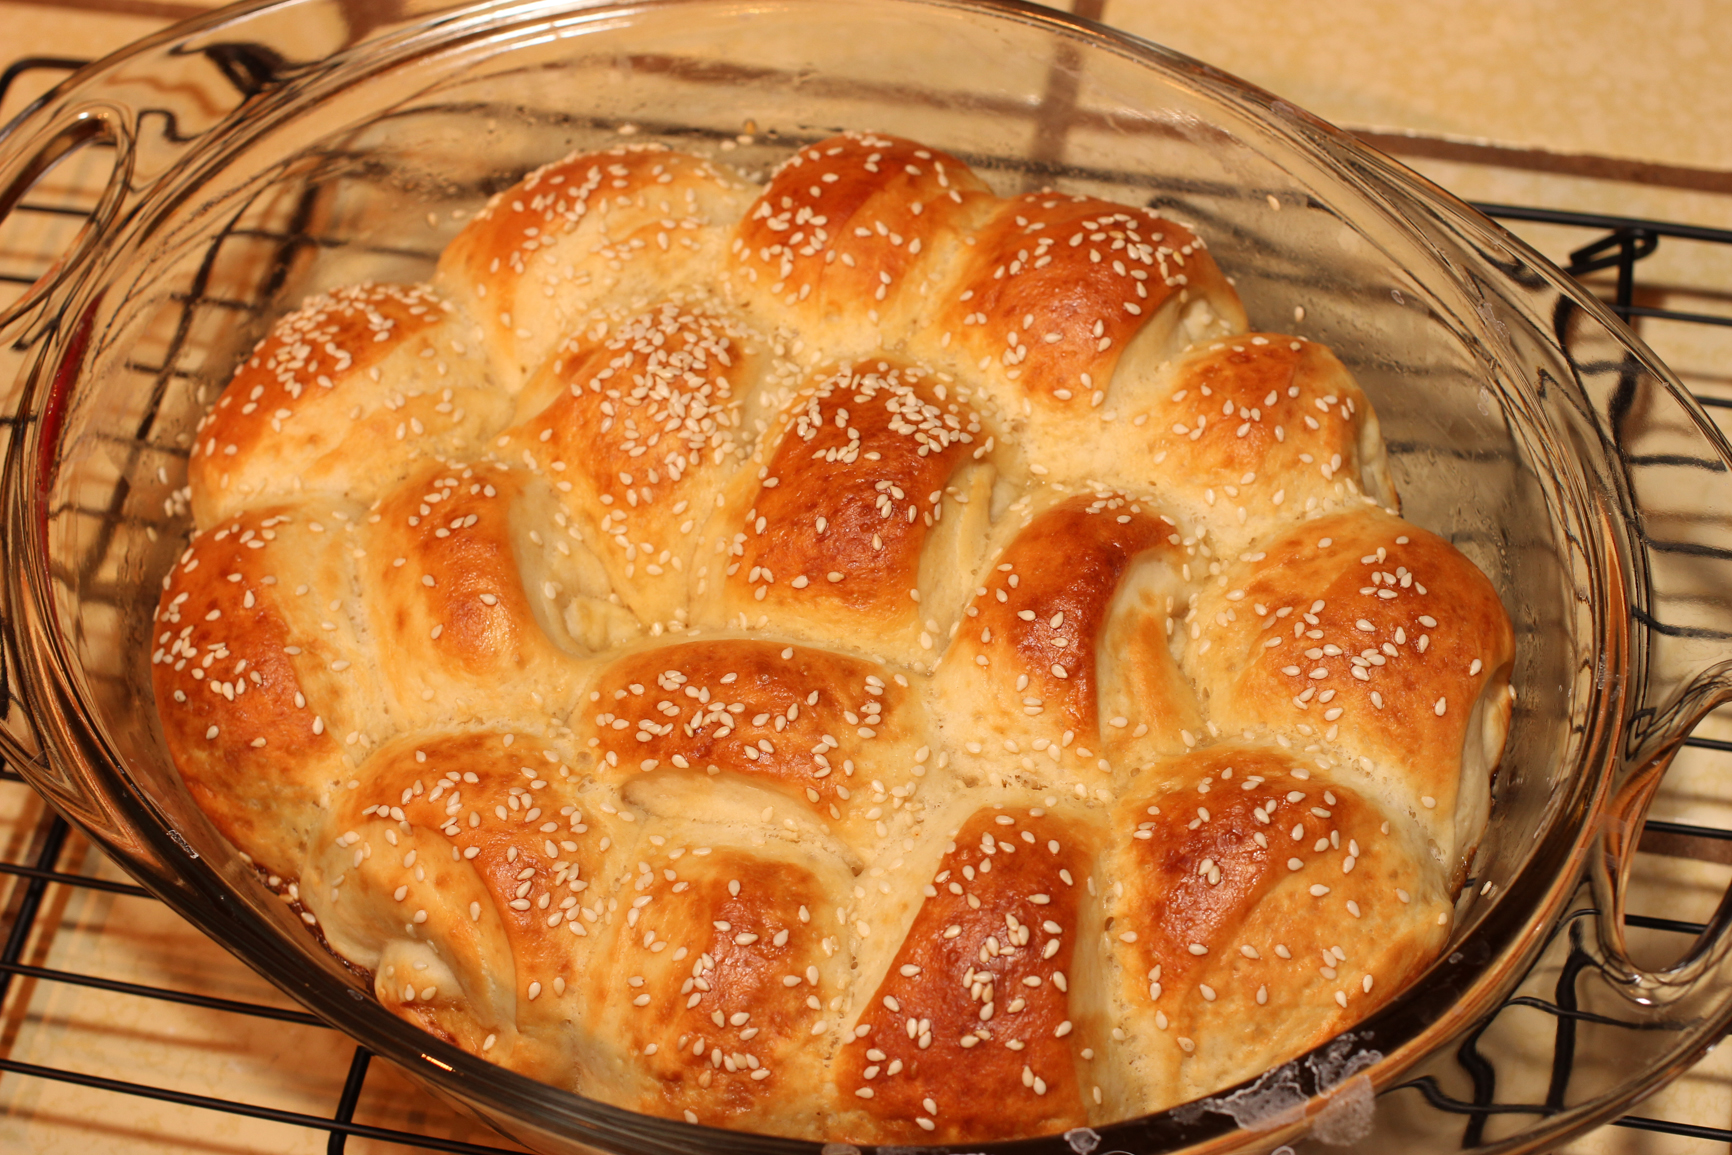
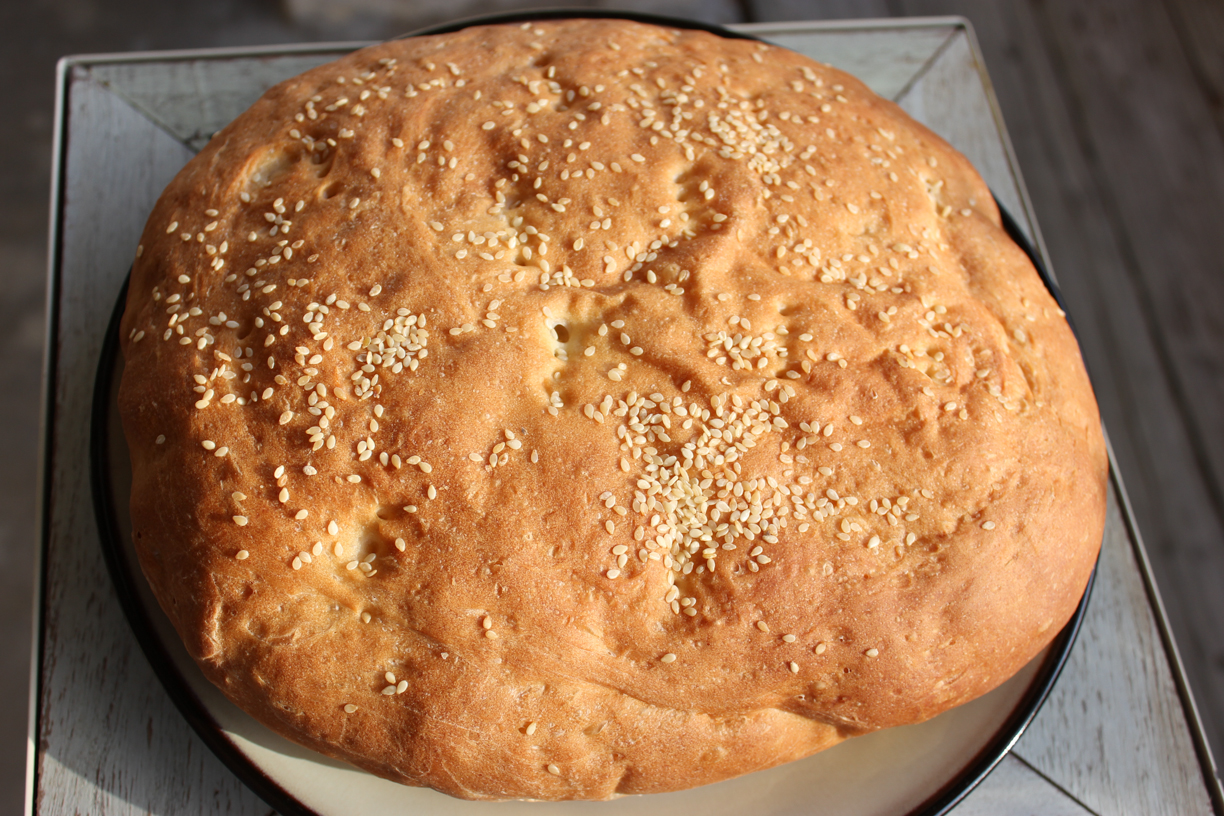
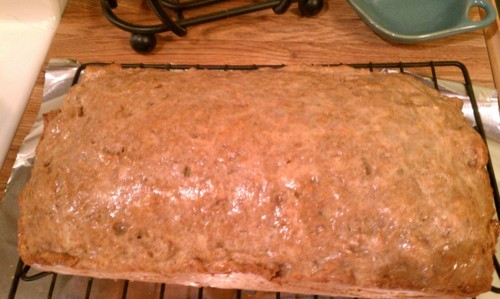
The finished product – so good!

PretzelRolls-7


Delicious fresh fig bread

In an effort to use more figs during this never-ending fig season, I tried a new recipe. Since I love banana bread, I looked for bread recipes that use fresh figs. I found a fig bread recipe on Renee’s Kitchen Adventures. It used almonds so I adapted it to remove the almonds, since I’m not a fan of nuts in baked goods. I also added lemon zest because in the fig crumble cake I like to make, lemon zest makes it awesome.
FigBread-8
The fig bread came out delicious, so I’m sharing the recipe of course.
To make 2 loaves, I used:
  • 3 cups all purpose flour + 1 cup whole wheat pastry flour
  • 2 tsp baking powder
  • 2 heaping tsp ground cinnamon
  • 1 tsp baking soda
  • 1 tsp salt
  • 4 large eggs
  • 1.5 cups unsweetened applesauce
  • 1/2 cup canola oil
  • 1 tsp vanilla extract
  • 2/3 cup reduced fat sour cream
  • 3/4 cup granulated sugar
  • 3 cups coarsely chopped brown turkey figs from my tree
  • Zest of 1 small lemon (next time, I will increase this to 1 small lemon per loaf)
  • 2 additional figs cut into 4 vertical slices to place on top of each loaf before baking, if desired

Preheat the oven to 350. Prepare 2 loaf pans with your favorite method. Combine the dry ingredients in a bowl (flour through salt). Beat together eggs, applesauce, oil, vanilla, sour cream, and sugar. Add the dry ingredients in approximately 3 parts and mix just until combined, don’t over mix. Fold in the figs and lemon zest by hand. Divide the batter between the two loaf pans, and place four fig slices on each loaf. Bake for about 50 minutes, or until a toothpick comes out clean.

Figs and zest:

FigBread-1

Batter:

FigBread-4

Ready to bake:

FigBread-5

Yum!

FigBread-7

Deliciously full of figs:

FigBread-9


Making bread cakes for bike training season

The Feed Zone Cookbook, source of the original recipe

The Feed Zone Cookbook, source of the original recipe

In recent bike training seasons I’ve found that I have to eat relatively simple foods while out on my rides. Power bar style foods haven’t been cutting it. I’ve found some products that I can buy like Thunderbird Energetica bars (cashew fig carrot is my favorite) and Honey Stinger chews that agree with me, but I’ve also been experimenting with making my own portable snacks. I recently picked up the Feed Zone Cookbook to help my experimentation. One recipe called savory bread cakes caught my interest since I have a special place in my heart for bread. I changed the recipe a bit of course, since I decided to omit the bacon.

Savory bacon bread cakes

Savory bread cakes

I halved the recipe to find out if I liked it or not. My recipe:

  • 2 cups cubed rosemary sourdough bread
  • 1 cup skim milk
  • 2 eggs, lightly beaten
  • 1/4 cup shredded cheese, cheddar and cotija (I used extra since I skipped the bacon)
  • Salt
  • Brown sugar
Mmmm... rosemary sourdough is delicious and give the bread cakes good flavor

Mmmm… rosemary sourdough is delicious and give the bread cakes good flavor

First, cube the sourdough bread.

First, cube the sourdough bread.

Pour the milk on the bread cubes and let it soak a bit.

Pour the milk on the bread cubes and let it soak a bit.

Whisk up the eggs.

Whisk up the eggs.

Add the eggs, cheese and salt to the bread and mix it up.

Add the eggs, cheese and salt to the bread and mix it up.

After greasing a bread pan, pour in the mixture.

After greasing a bread pan, pour in the mixture. Bake at 350 until firm. About 25 minutes for my batch.

Finished bread cakes.

Finished bread cakes.

Sliced up, ready to eat.

Sliced up, ready to eat.

After baking the bread cake, I let it cool, sliced it into four pieces and wrapped the pieces up in parchment paper and froze them. I ate one during my latest Bike MS training ride, the Real Ale Ride. The bread cake was soft by the time I stopped to eat it, so it definitely could not be eaten while riding, which I would have preferred. However, it was quite tasty. I might go with a bit less cheese next time because there were a few large cheddar chunks that I wasn’t too excited about eating in the heat.

Enhanced by Zemanta

A few delicious sandwiches

So I know the Superbowl was like a month ago now, but I have some pictures from our party preparation ready to share. Because the Superbowl was played in New Orleans, we decided to make muffuletta sandwiches for our party guests. If you’re not familiar, a full size muffuletta sandwich will feed multiple people because it’s prepared on a very large round bun. I’ve never actually seen a muffuletta sandwich bun for sale anywhere, and I’ve been on a bread baking kick lately, so I decided to make two muffuletta buns for our sandwiches.

A giant muffuletta bun that takes up a whole plate.

A giant muffuletta bun that takes up a whole plate.

Cut muffuletta bun

Cut muffuletta bun

I used a recipe from about.com for the muffuletta buns that worked perfectly. We made both a vegetarian and a meat muffuletta for our party, as well as an italian sub and a portobello spinach sandwich. Among the sides, we made this very tasty marinated vegetable salad.

For the muffuletta, we created a very large amount of olive salad (recipe from Nola Cuisine) to top the sandwiches. It was delicious and we ate the left overs on salads for a few days after the party. The vegetarian muffuletta was vaguely based on this recipe, but I used the olive salad that we made. My husband used this recipe to make the meat muffuletta.

Veggie muffuletta

Veggie muffuletta

Start of the meat muffuletta. In the end, it had waaaaay more olive salad on top.

Start of the meat muffuletta. In the end, it had waaaaay more olive salad on top.

While baking beer sugar cookies for the party, I also roasted some garlic that I then used on the portobello and spinach sandwiches. The recipe for those sandwiches was loosely based on this recipe from Vegetarian Times, but I didn’t make the tofu spread. they were my favorite of the night actually.

Portobello, spinach, shallot, roasted garlic and cotija cheese sandwiches.

Portobello, spinach, shallot, roasted garlic and cotija cheese sandwiches.

I’m still experimenting with bread baking, but I’ll have an update soon. Stay tuned!


Enhanced by Zemanta

Making no knead bread

I recently stumbled across this recipe from five years ago, published in the New York Times about how to make bread without kneading. And it includes yeast. I had never made bread with yeast other than in a bread maker before and I was anxious to try this method after getting a dutch oven as a gift.

My new dutch oven is 3 quarts and the recipe makes reference to a 6 to 8 quart dutch oven so I decided to try to divide the recipe in half. I tried this twice. The first time was a disaster after just halving the ingredients exactly. The second time I used more yeast and more water and had better results. However, I decided that it would be better with actual bread flour instead of whole wheat flour and that I should use fresh yeast. After getting the new ingredients I went straight for the whole batch the first try. Huge difference! The 3 quart dutch oven worked just fine. I also only let the dough sit for about 6 hours instead of 12 before kneading it just a bit and letting it rise for about 3 hours instead of 2. It was hard to work the bread’s schedule into my schedule this weekend.

Initial dough – it’s a bit shaggy:

After kneading into a round shape and allowing to rise under a cotton towel (in a bowl so that the dough rises up instead of flat):

After baking, the bread is beautifully crusty:

The crust is quite thick, but after wrapping in foil and refrigerating the loaf, it wasn’t quite so hard. Just out of the oven:

You can see the bread is light and fluffy inside. Very chewy and quite delicious especially when toasted:

I definitely plan to make this again! Probably will try adding some herbs like rosemary or thyme sometime soon.

Enhanced by Zemanta

A dinner made with beer

Recently we were on a salad eating kick, and we always like to have a slice of nice bread with our salad. However, we were out of bread so I decided to whip up a batch of beer bread yet again. This time I tried a recipe from Farmgirl Fare. I made the Garlic Herb version with a bottle of Avery White Rascal.

I skipped the glaze. It turned out pretty well, especially toasted with some butter.

Because it’s starting to feel like fall, I settled on making french onion soup for dinner this week. I wanted to make a vegetarian recipe, so I modified this recipe from the Craftzine blog. My modifications were:

  • Cooking the onions with a small amount of vegetable broth rather than a slew of butter
  • Using a bottle of Maredsous along with the vegetable broth to make the stock, instead of sherry. I used 4 cups of vegetable broth, one bottle of beer and probably about one extra cup of water to make sure we would have enough broth to go with all of the onion
  • I added dried thyme to the broth for some extra flavor
So many onions:
After simmering with the beer vegetable broth:
I then ladled the onion soup into a soup crock, topped it with a slice of the beer bread mentioned earlier, and covered it with cheese. After baking in the oven for a few minutes and then using the broiler to finish the top, it was ready to eat!

Zucchini bread tastes like fall!

Well, only in Austin do we call the high 80s / low 90s “fall-like” temperatures.  After months of well over 100 degree temperatures, this coolness is odd. Baking in the hot hot summer months is rather impractical, but now that my AC doesn’t have to strain as hard, I decided it was time for some zucchini bread.

I’m not sure what makes zucchini bread quite so delicious as the only flavors are cinnamon, vanilla, and zucchini. Some how these combine with the ordinary ingredients to create pure deliciousness.

As I like to pretend that my baking is healthy, I used this recipe from Cooking Light.  However, I didn’t have any applesauce so I used plain yogurt instead (as I do in banana bread as well). I also used 2 real eggs instead of egg substitute and added extra cinnamon.

Beside the step where you shred the zucchini, this recipe is extremely easy to make. You don’t even have to break out the mixer, you can mix the ingredients by hand.

Shredded zucchini draining on paper towels:

Zucchini, egg, yogurt, and vanilla combined:

The instructions say to hollow out the center of the dry ingredients and then add the wet ingredients to combine, so that’s what I did:

And then mixed it all up:

The end result:

This turned out so well that when I told my husband to eat as much as he wanted, he ate almost half of a loaf!

Making the most delicious banana bread

Have I ever mentioned that I love to eat bananas? To fuel my habit of eating them, I almost always buy more than I can eat before they go bad. Rather than putting them out into the compost where the rats will eat them, I throw them in the freezer once they are over-ripe.

Then every so often, I make them into some of the best banana bread I’ve ever tasted.  I always make two loaves at a time. The best part of that banana bread is the fact that it’s semi-healthy because you use yogurt instead of butter.  To make this delicious bread, I follow a recipe from Craftzine but I go heavy on the bananas, lighter on the nutmeg, and heavy on the cinnamon and ginger. The ginger gives the bread a nice bite.

First, I defrost 8 or more bananas (in case some aren’t good enough to use). I used to peel them while frozen but after a while my fingers were way too cold.

Eww… frozen and now defrosted bananas

All the ingredients ready for mixing:

The finished batter:

And after baking for an hour, the delicious product, so good that we eat some right away:

Making beer bread… again

After my last attempt at beer bread I decided to try again, this time with fresh baking powder. This time I made the plain variety from Bake at 350 using Anchor Christmas Ale:

I only baked the bread for 50 minutes at this time, in the hope that would make the bread fluffier with a softer crust.  The bread was somewhat less dense this time but still had a rather hard crust. I’m not certain why the crust is so hard but the bread is pretty tasty warm out of the oven:

Making beer bread

Since I came across this recipe for different types of beer bread on Bake at 350, I knew I wanted to try it. My previous experience with beer bread was delicious. A softball party for team “Beer Me” was the perfect opportunity to bake up a batch, or two as it turns out.

I decided to make a loaf of the orange nutmeg for the party and a loaf of gruyere and rosemary for my husband to take to work.

The recipe calls for self rising flour which we don’t have and I’ve never used it before. My husband pointed me to wikipedia which says you can make your own self rising flour by adding 1 tsp of baking power and 1/2 tsp of salt to regular flour. I combined those ingredients with a bottle of beer (Avery White for the orange nutmeg bread), 3 tablespoons of sugar, zest from an orange and freshly grated nutmeg.

For the gruyere and rosemary bread, I used a bottle of Real Ale Pale Ale.

I then baked the breads for 1 hour at 350. The bread smelled wonderful.  When I took it out, the orange rosemary bread was drizzled with a fresh squeezed orange juice and powdered sugar glaze.

The gruyere rosemary bread was covered with butter.

While the bread looked tasty, it wasn’t quite as good as I hoped.  The baking powder must have been too old because the bread turned out too hard.  I also think a sweeter bread would have been better.