Recent baking exploits

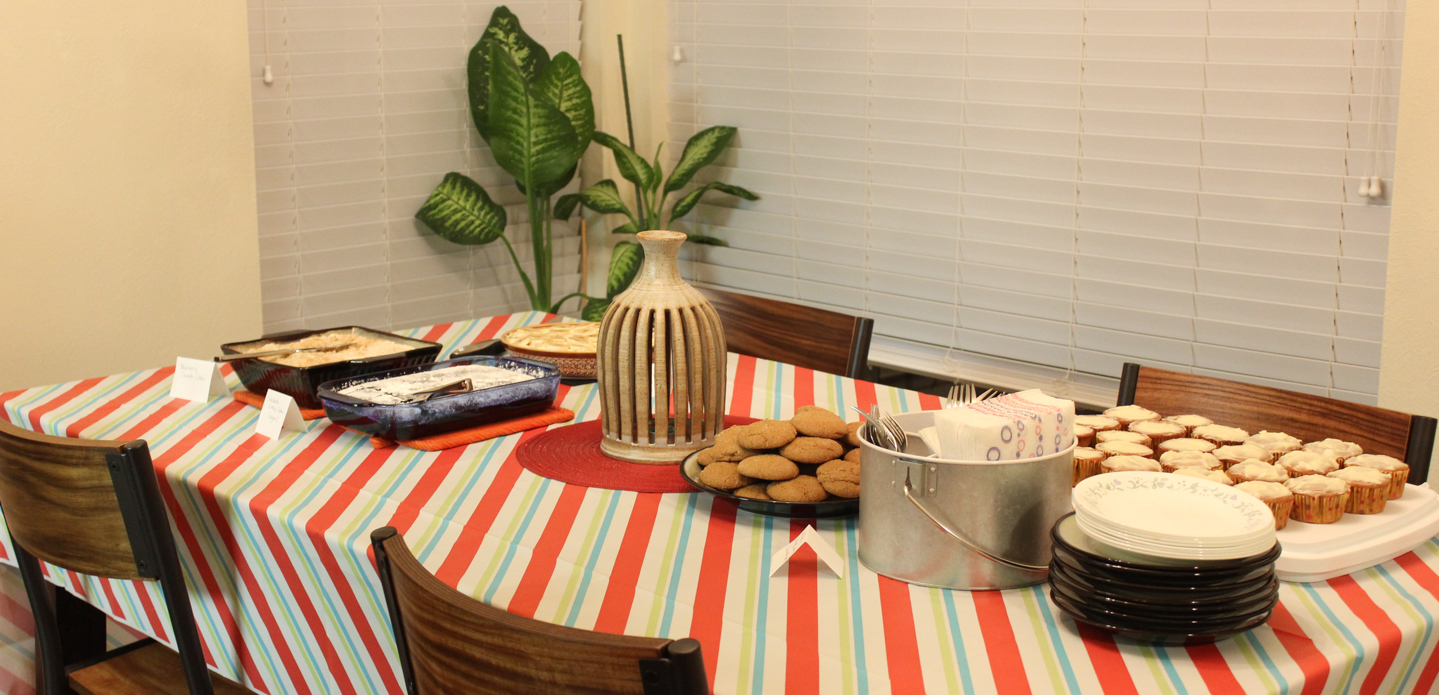
So I’ve been very, very bad about updating my blog. I have been baking and crafting, just not with the same frequency as I used to. Recently I got some good baking in and thought I’d share.

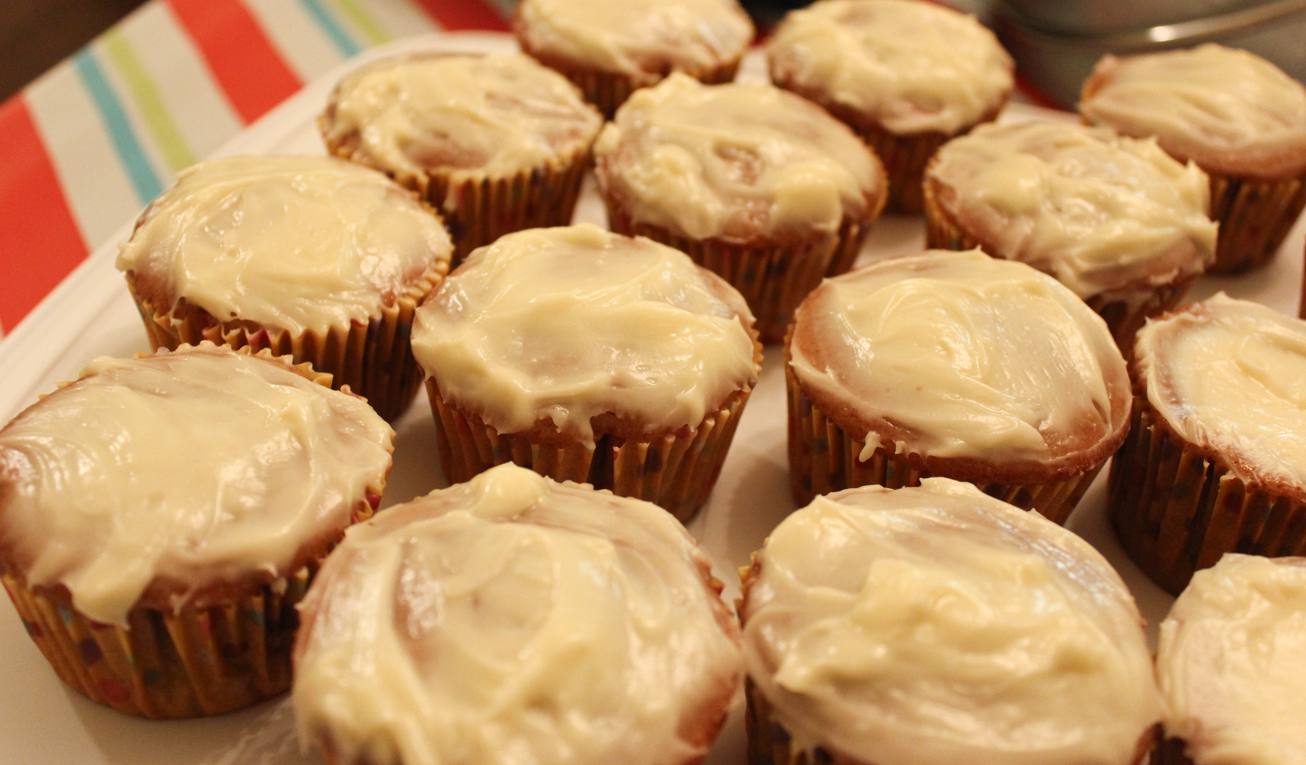
I’ve been craving apple fritters for multiple months now, but don’t eat them often since they’re fried. I came across a recipe for baked apple fritters and gave it a shot during the weekend where we stayed indoors due to nonstop rain from Harvey. I followed the recipe exactly and the only note I have was that you don’t have to make so much glaze.

20170827_202136.jpg

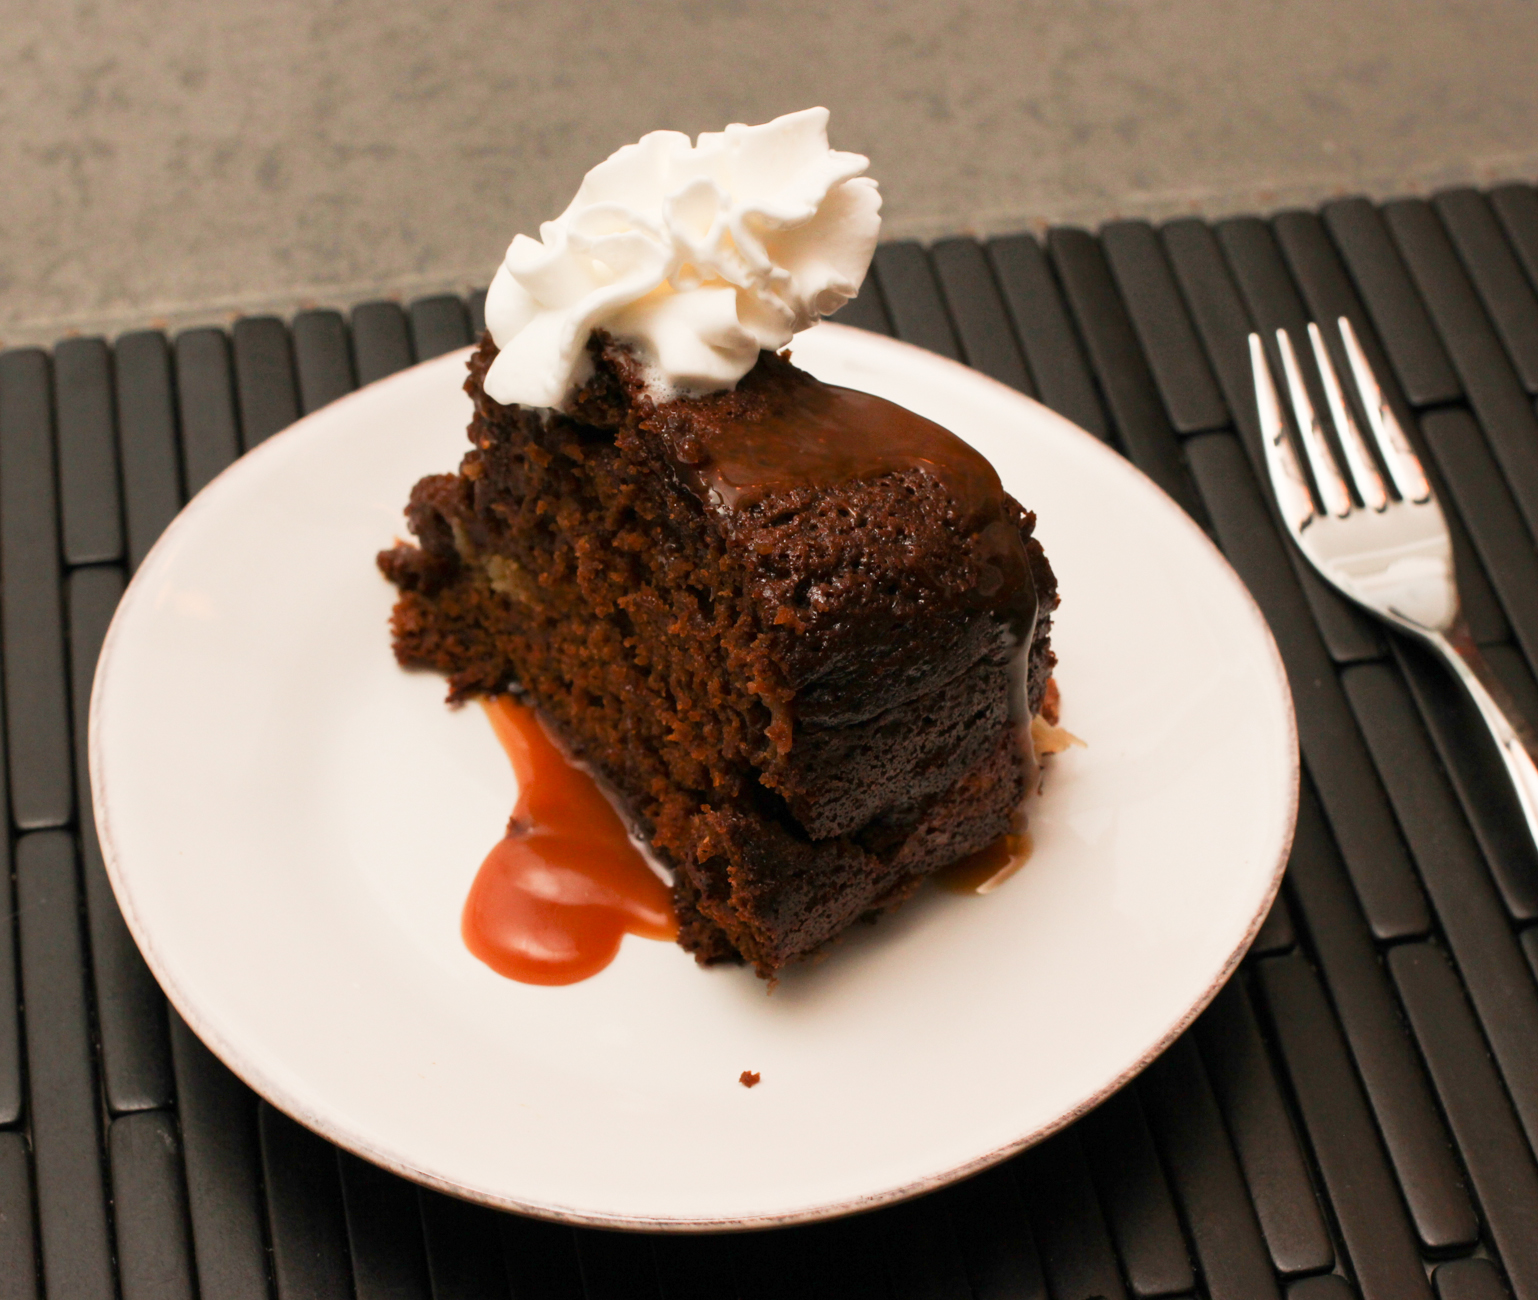
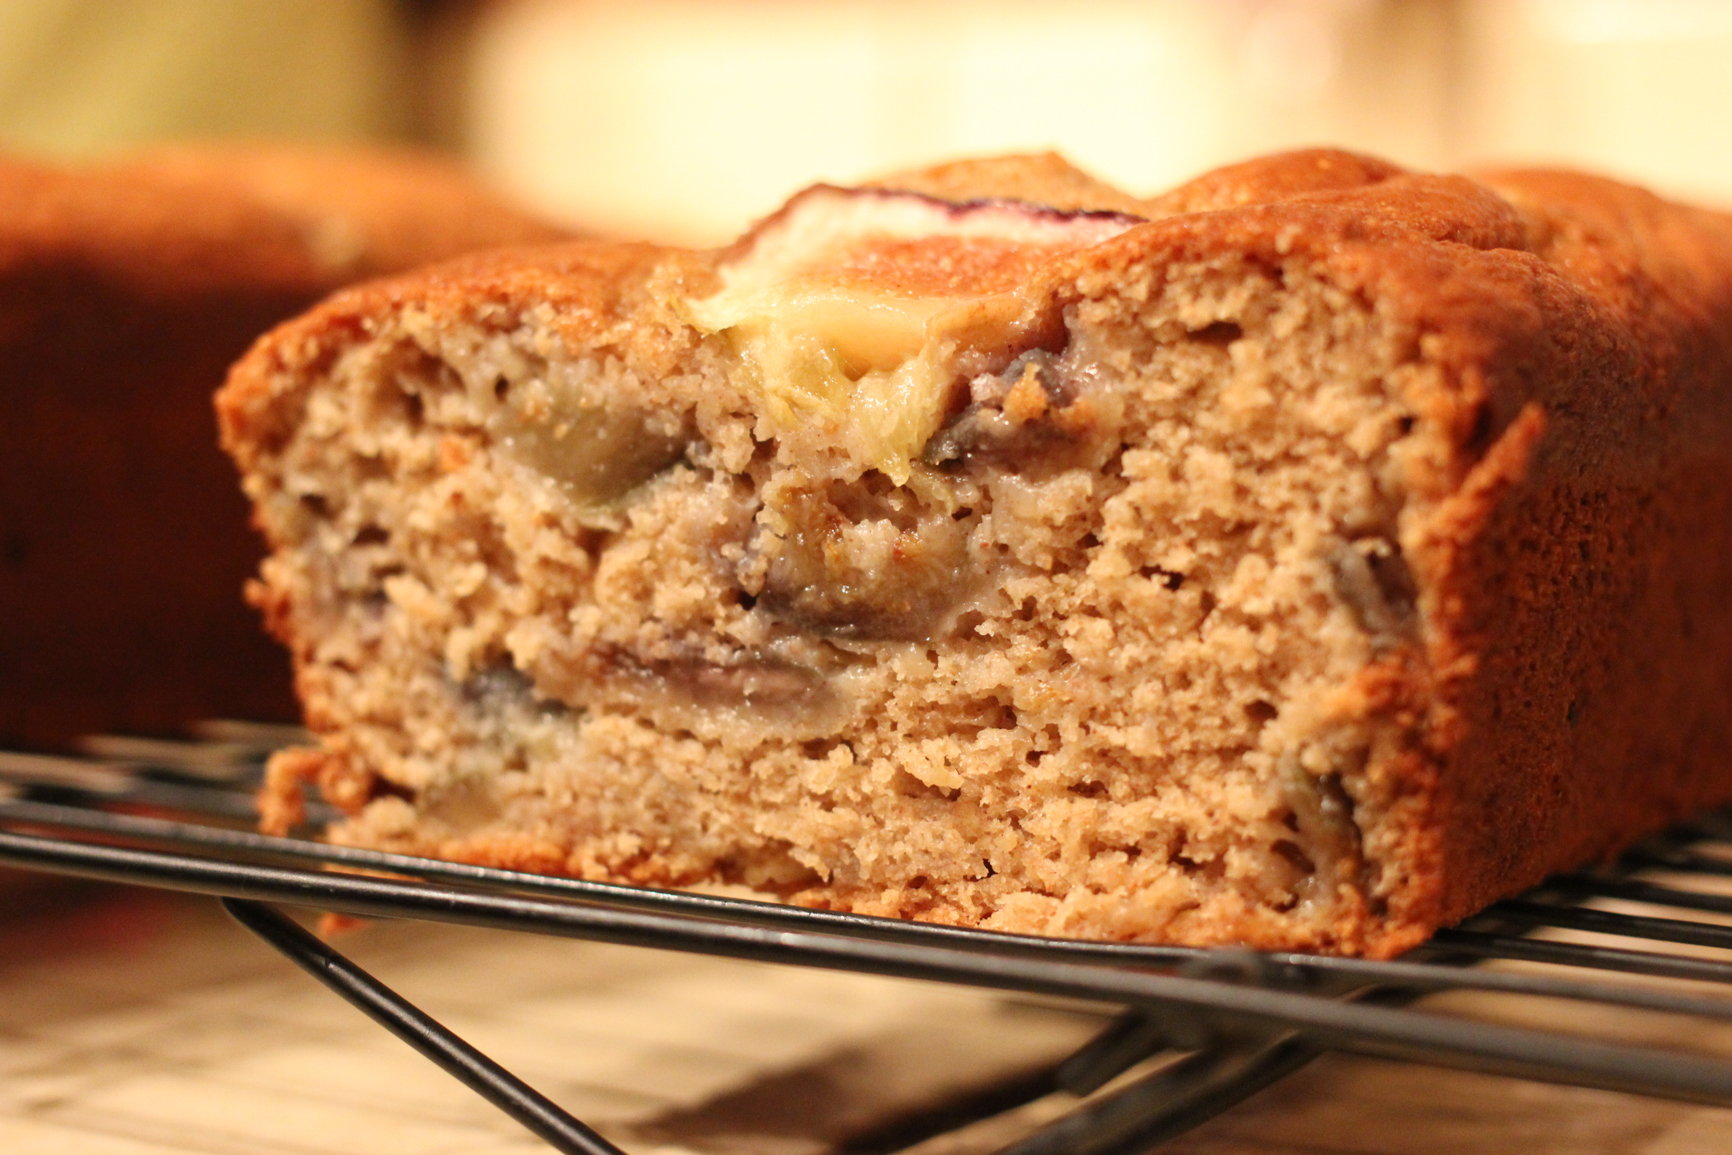
My second delicious baking adventure was a peach upside down cake using delicious in-season peaches that the grocery store has right now. I have a few changes / notes on this recipe:

  1. Used ginger in place of nutmeg. Ginger and peaches are delicious together!
  2. I made extra caramel topping after reading the comments, but I think the original amount would be better. If I were to make extra of anything in the future, it could have used a bit more cake batter.
  3. I baked it in a springform pan because it’s the only cake pan I have that size. I put foil around the bottom to catch any caramel leaks. It did leak a tiny bit.
  4. I did not serve the cake with creme fraiche since Whole Foods was out of it. It was delicious eaten on its own.
  5. The cake took much longer to bake than the recipe called for, like 45 – 50 min instead of 30 min.

20170902_165857.jpg

Very shortly I’ll start posting about biking since this year’s Bike MS is just a month away. So stay tuned!

Two fresh fig recipes: fig blueberry crisp and fig cookie bars!

It finally happened… the figs on our monster fig tree started to ripen! I tried two new recipes this year with figs that both turned out fantastic.

Fig and Blueberry Crisp

I basically followed this Food Network recipe with some slight modifications:

  • I used 3 cups blueberries and 3 cups figs and added a bit of lemon zest to the fruit mixture
  • I did not add nutmeg or pecans
  • I did add some ground ginger, probably about 1/2 teaspoon

Fruit mixture and topping:

20160710_161111 20160710_161118

The final, delicious product:20160710_165231

Fig Cookie Bars

While the crisp was super easy to throw together, fig cookies bars (also called fig newtons) required more work, spread across two days for me. For the cookie part, I mostly followed this Fresh Fig Newtons recipe from Sugar Dish Me. For the jam in the middle, I looked around at a number of recipes and ended up using:

  • 2 lbs fresh figs, chopped
  • 1 cup sugar
  • 1/3 cup honey
  • Juice from 1 lemon

Put all ingredients in a saucepan and bring to a boil, stirring frequently. After the boil starts, reduce to a simmer and continue to stir / mash from time to time. After 45 min or so, the jam should be thickened.

Note: this jam did turn out quite sweet, so next time I’d reduce the sugar to 3/4 cup probably.

For the cookie part, I changed the Sugar Dish Me recipe by:

  • Reducing the butter – I used 1/2 cup butter and 1/4 cup applesauce
  • Omitting the orange zest – I didn’t have an orange and wasn’t sold on this anyhow.

The bars were a huge hit. If only they weren’t so much work!

Making jam:

20160716_170214

Finished jam:

20160717_194437

Finished cookie bar sheet:

20160717_203837

Mmmm… delicious!

20160717_221302


Baking soft pretzels, not as hard as you might think!

After a recent trip to Philadelphia, the land of soft pretzels, I came across the recipe for Alton Brown’s soft pretzels and figured it was a sign that I should make them. The technique is fairly straightforward, make the dough, let it rise, divide and roll it out, form pretzels, dunk in pretzel bath, apply egg wash, and bake.
The only change I recommend is to divide the dough into 12 or 16, instead of 8 if you don’t want enormous pretzels. I found it was easiest to hold the dough in the air and roll between my hands rather than try to roll on the counter.
The result was delicious and I will definitely make them again!
I also whipped up a batch of roasted poblano queso for a dip and highly recommend it.

image

image

image

image

image

A Cornucopia Thanksgiving Feast

The cover of this year’s Thanksgiving issue of Vegetarian Times had the loveliest food I’ve ever seen: a bread cornucopia stuffed with colorful roasted vegetables. I knew I had to have it, so I made one for Thanksgiving! I mean, vegetables and bread are my two favorite things to eat, so there was really no way I wasn’t going to try it.

I started off following the dough recipe for the cornucopia. The dough rises overnight in the fridge into a massive amount so make sure you use a large bowl.

Thanksgiving-9

To create the cone of the cornucopia, you have to form a cone out of poster board and then cover it in foil and cooking spray.

Thanksgiving-8

I then used sections of the dough to roll it out into rectangular sheets, cutting 20″ x 1.5″ strips and then wrapping them around the cone while it was standing up, starting the bottom. The last bit of dough was used to create 3 additional strips and braid them. I laid the cornucopia on its side and then added the braided strip, so it did not go all the way around.

Thanksgiving-10

The cone then went into the oven. About half way, I had to remove the foil / posterboard cone from the dough, which was not the easiest thing to do.

In the meantime, we prepped many colorful veggies to prepare using the recipe Fork and Knife Roasted Vegetables. We used mushrooms, acorn squash, butternut squash, purple sweet potato, onion, and cauliflower. We also made the recommended Essence of Thanksgiving Gravy.

Thanksgiving-11Thanksgiving-12

We very carefully transported the cooled cornucopia to our friend’s house, and kept the veggies in a separate container until it was time to put everything together on the table. Thanksgiving-16

I was soooo pleased with the final result. And it was good too, not just pretty! Everyone ate a bit of the cornucopia bread, and we even took home the leftovers and continued to eat the bread with our thanksgiving leftovers until it was gone.Thanksgiving-17Thanksgiving-18

Ginger fig cake recipe

I recently made quite the birthday meal for my husband, making two of our favorite recipes, and trying out two new ones. I made Food & Wine’s Roasted beets with pistachios, herbs, and orange, Smitten Kitchen’s Swiss chard and sweet potato gratin and Mushroom Bourguinon and this Ginger fig cake, adapted from Kitchen Konfidence. I made the recipe healthier and also added figs and we loved it, so here it is for others to love!

Birthday foods-5 Continue reading

Baking pretzel rolls for Thanksgiving

I haven’t baked any sort of bread that requires yeast in quite a while. That all changed when I read the pretzel parker house rolls recipe on Smitten Kitchen recently. While I don’t have a clue what a parker house roll is (yes, I could look it up), I did know that the rolls sounded (and looked) delicious. Following her recipe, and using the baking soda wash instead of lye, I now have made two batches of these rolls and froze them for Thanksgiving. I’ve taste tested a roll from each batch and can tell you that not only are they easy to make, they are also delicious. I’m not really a fan of kneading dough by hand, so I used my KitchenAid to take care of that part.

The yeast comes alive:

PretzelRolls-1


The dough hook does the hard work:


PretzelRolls-2


The dough after kneading:


PretzelRolls-3


The dough after first rise – I used a pizza cutter to cut up the dough into 16 kinda equal slices, like a pie, as the recipe suggests:


PretzelRolls-4


The dough formed into rolls, prior to the second rise:


PretzelRolls-5


After second rise, before washing in baking soda / water and egg rinses:


PretzelRolls-6


The finished product – so good!

PretzelRolls-7


Delicious fresh fig bread

In an effort to use more figs during this never-ending fig season, I tried a new recipe. Since I love banana bread, I looked for bread recipes that use fresh figs. I found a fig bread recipe on Renee’s Kitchen Adventures. It used almonds so I adapted it to remove the almonds, since I’m not a fan of nuts in baked goods. I also added lemon zest because in the fig crumble cake I like to make, lemon zest makes it awesome.
FigBread-8
The fig bread came out delicious, so I’m sharing the recipe of course.
To make 2 loaves, I used:
  • 3 cups all purpose flour + 1 cup whole wheat pastry flour
  • 2 tsp baking powder
  • 2 heaping tsp ground cinnamon
  • 1 tsp baking soda
  • 1 tsp salt
  • 4 large eggs
  • 1.5 cups unsweetened applesauce
  • 1/2 cup canola oil
  • 1 tsp vanilla extract
  • 2/3 cup reduced fat sour cream
  • 3/4 cup granulated sugar
  • 3 cups coarsely chopped brown turkey figs from my tree
  • Zest of 1 small lemon (next time, I will increase this to 1 small lemon per loaf)
  • 2 additional figs cut into 4 vertical slices to place on top of each loaf before baking, if desired

Preheat the oven to 350. Prepare 2 loaf pans with your favorite method. Combine the dry ingredients in a bowl (flour through salt). Beat together eggs, applesauce, oil, vanilla, sour cream, and sugar. Add the dry ingredients in approximately 3 parts and mix just until combined, don’t over mix. Fold in the figs and lemon zest by hand. Divide the batter between the two loaf pans, and place four fig slices on each loaf. Bake for about 50 minutes, or until a toothpick comes out clean.

Figs and zest:

FigBread-1

Batter:

FigBread-4

Ready to bake:

FigBread-5

Yum!

FigBread-7

Deliciously full of figs:

FigBread-9


Making bread cakes for bike training season

The Feed Zone Cookbook, source of the original recipe

The Feed Zone Cookbook, source of the original recipe

In recent bike training seasons I’ve found that I have to eat relatively simple foods while out on my rides. Power bar style foods haven’t been cutting it. I’ve found some products that I can buy like Thunderbird Energetica bars (cashew fig carrot is my favorite) and Honey Stinger chews that agree with me, but I’ve also been experimenting with making my own portable snacks. I recently picked up the Feed Zone Cookbook to help my experimentation. One recipe called savory bread cakes caught my interest since I have a special place in my heart for bread. I changed the recipe a bit of course, since I decided to omit the bacon.

Savory bacon bread cakes

Savory bread cakes

I halved the recipe to find out if I liked it or not. My recipe:

  • 2 cups cubed rosemary sourdough bread
  • 1 cup skim milk
  • 2 eggs, lightly beaten
  • 1/4 cup shredded cheese, cheddar and cotija (I used extra since I skipped the bacon)
  • Salt
  • Brown sugar
Mmmm... rosemary sourdough is delicious and give the bread cakes good flavor

Mmmm… rosemary sourdough is delicious and give the bread cakes good flavor

First, cube the sourdough bread.

First, cube the sourdough bread.

Pour the milk on the bread cubes and let it soak a bit.

Pour the milk on the bread cubes and let it soak a bit.

Whisk up the eggs.

Whisk up the eggs.

Add the eggs, cheese and salt to the bread and mix it up.

Add the eggs, cheese and salt to the bread and mix it up.

After greasing a bread pan, pour in the mixture.

After greasing a bread pan, pour in the mixture. Bake at 350 until firm. About 25 minutes for my batch.

Finished bread cakes.

Finished bread cakes.

Sliced up, ready to eat.

Sliced up, ready to eat.

After baking the bread cake, I let it cool, sliced it into four pieces and wrapped the pieces up in parchment paper and froze them. I ate one during my latest Bike MS training ride, the Real Ale Ride. The bread cake was soft by the time I stopped to eat it, so it definitely could not be eaten while riding, which I would have preferred. However, it was quite tasty. I might go with a bit less cheese next time because there were a few large cheddar chunks that I wasn’t too excited about eating in the heat.

Enhanced by Zemanta

Our birthday dessert spread

Birthday desserts, ready to be eaten!

Birthday desserts, ready to be eaten!

A few weeks ago, it was that time again. Time for the husband and I to jointly celebrate our birthdays by inviting people over and providing waaaaaayyyyy more desserts than the group could possibly consume. Last year’s selections were a hit and this year was no exception.

The menu:

We had left overs of everything. Luckily I hid some of the extra banana cream pie that wouldn’t fit in the pie pan, because that pie pan was clean by the end of the night!


Blueberry crumble cake (bottom left), banana cream pie (top), chocolate crazy cake (bottom right)

Blueberry crumble cake (bottom left), banana cream pie (top), chocolate crazy cake (bottom right)

Chai cupcakes with cream cheese frosting

Chai cupcakes with cream cheese frosting

Fat free ginger cookies

Fat free ginger cookies

First time using this nice pie pan. Definitely need to make banana cream pie again.

First time using this nice pie pan. Definitely need to make banana cream pie again.


Crumbled graham crackers, sugar and mashed bananas made up the crust.

Crumbled graham crackers, sugar and mashed bananas made up the crust.

Crust ingredients mixed together

Crust ingredients mixed together

Crust pressed into pan and baked. The small white crocks were for the left over crust. The recipe made way too much for my pie pan.

Crust pressed into pan and baked. The small white crocks were for the left over crust. The recipe made way too much for my pie pan.

Cooking the cream filling.

Cooking the cream filling.

First layer of cream filling and first layer of bananas.

First layer of cream filling and first layer of bananas.

Second layer of cream filling and the final layer of banana slices. The pie then just had to set for hours in the fridge, so make this early if you decide to make it!

Second layer of cream filling and the final layer of banana slices. The pie then just had to set for hours in the fridge, so make this early if you decide to make it!


Enhanced by Zemanta

Baking orange ginger cupcakes

Cupcakes for my birthday!

Cupcakes for my birthday!

I recently came across a recipe for these orange ginger cupcakes on Instructables that I just had to try. Conveniently, my birthday gave me a good excuse to bake something I wanted to eat, and then force my co-workers and softball teammates to eat it for me.

I edited the recipe a bit, to cut down on the butter of course. My next updates to this recipe will include using more orange zest and adding some chopped candied ginger to the batter. However, here’s the recipe I used for the pictured cupcakes. They were pretty good after all.

Ingredients – Orange ginger cupcakes

  • 3 cups all-purpose flour
  • 1 tablespoon baking powder
  • 1/2 teaspoon salt
  • 1 sticks (4oz) unsalted butter, softened
  • 1/2 cup unsweetened applesauce
  • 2 cups sugar
  • 4 large eggs
  • zest of 1 orange
  • 1/2 teaspoon ground ginger
  • 1 1/8 cup milk
  • 1/2 teaspoon vanilla

Ingredients –  Buttercream frosting

  • 6 tablespoons unsalted softened butter
  • 1 cup powdered sugar (you may end up adding more)
  • 1 tablespoon milk (you may need more)
  • 1/2 teaspoon vanilla


Steps – Cupcakes

  1. Cream the butter, sugar and applesauce together in a large bowl until fluffy.
  2. Mix the flour, baking powder, salt and ginger together in a smaller bowl and set aside.
  3. Add the eggs, one at a time and mix well between each.
  4. Add the orange zest and vanilla.
  5. Add the milk and dry ingredients mixture, alternating and mixing between the two until the batter is smooth.
  6. Since I didn’t have cupcake liners, I greased my cupcake pan well. Definitely grease the pan well if you do this and use a knife to loosen up the cupcakes when you try to remove them!
  7. Fill the cupcake holes 2/3 of the way full. You should get 22 – 24 cupcakes.
  8. Bake in a 350 degree oven for 20 – 22 minutes. The cupcakes are done when golden and they spring back when touched. Use the toothpick test if you’re not sure.
  9. Allow the cupcakes to cool for a few minutes before removing and putting on a cooling rack.

Steps – Frosting

  1. Once the cupcakes are cool, you’re ready to frost them!
  2. Cream the butter until nice and smooth.
  3. Add in half the powdered sugar.  Mix until well combined.
  4. Add the rest of the powdered sugar, the milk and vanilla and beat until smooth.
  5. If the frosting is too thick, add more milk. If it’s too thin, add more sugar.
  6. Frost your cupcakes! I like just a thin layer of frosting. If you like more, you may want to double this recipe.
Butter, applesauce and sugar mixed until fluffy.

Butter, applesauce and sugar mixed until fluffy.

Orange for the zest. I really like this little zester - it catches the zest and is easy to hold.

Orange for the zest. I really like this little zester – it catches the zest and is easy to hold.

Batter after mixing in the eggs, and adding the zest.

Batter after mixing in the eggs, and adding the zest.

Mixing in the dry ingredients.

Mixing in the dry ingredients.

Finished batter.

Finished batter.

Cupcakes, pre-baking.

Cupcakes, pre-baking.

Cupcakes on the cooling rack.

Cupcakes on the cooling rack.

Frosting in the mixer.

Frosting in the mixer.

Yum!

Yum!


Enhanced by Zemanta