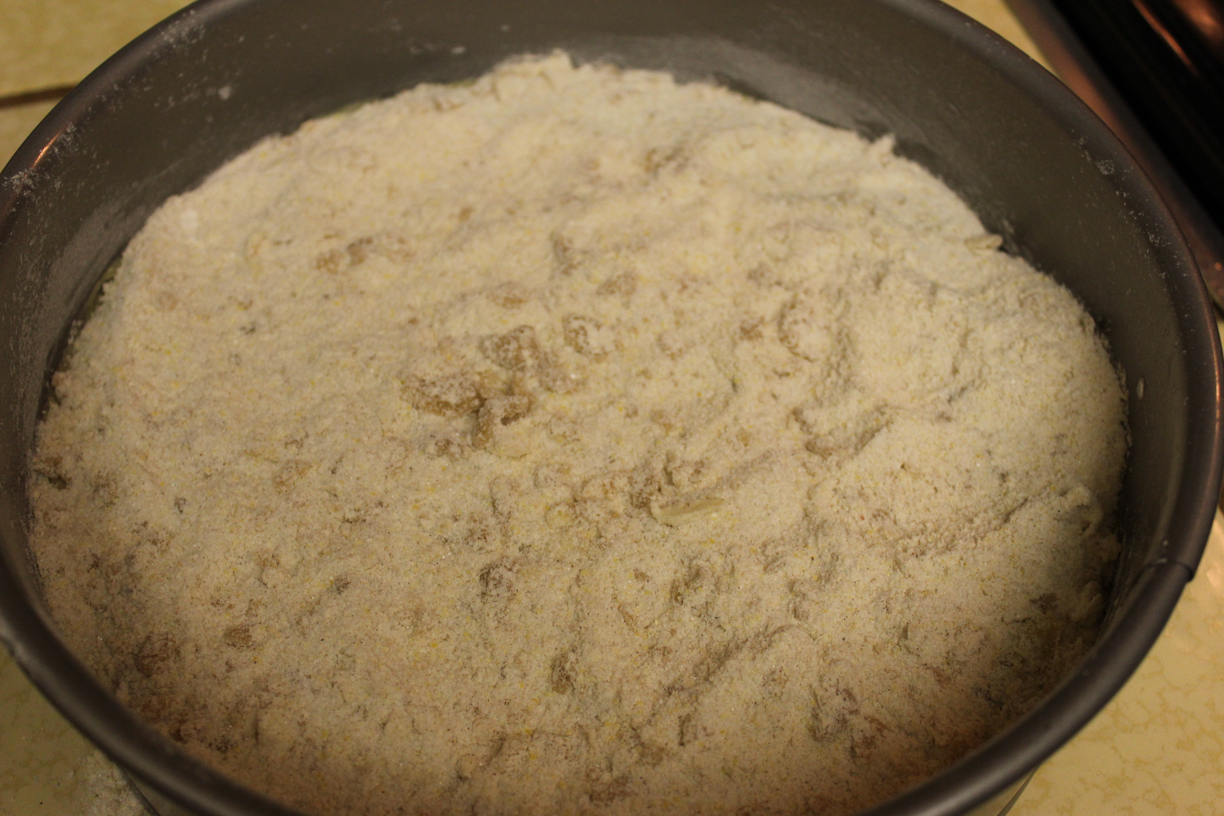
So I know the Superbowl was like a month ago now, but I have some pictures from our party preparation ready to share. Because the Superbowl was played in New Orleans, we decided to make muffuletta sandwiches for our party guests. If you’re not familiar, a full size muffuletta sandwich will feed multiple people because it’s prepared on a very large round bun. I’ve never actually seen a muffuletta sandwich bun for sale anywhere, and I’ve been on a bread baking kick lately, so I decided to make two muffuletta buns for our sandwiches.
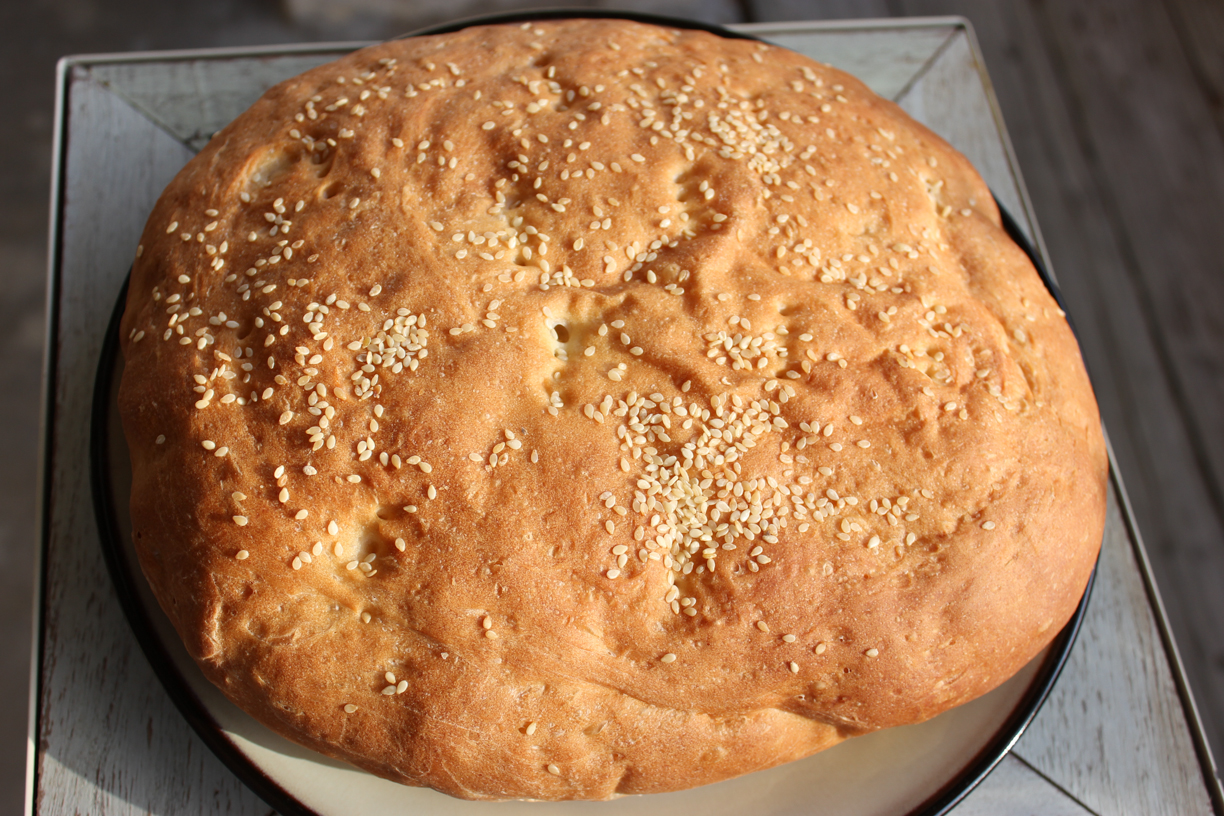
A giant muffuletta bun that takes up a whole plate.

Cut muffuletta bun
I used a recipe from about.com for the muffuletta buns that worked perfectly. We made both a vegetarian and a meat muffuletta for our party, as well as an italian sub and a portobello spinach sandwich. Among the sides, we made this very tasty marinated vegetable salad.
For the muffuletta, we created a very large amount of olive salad (recipe from Nola Cuisine) to top the sandwiches. It was delicious and we ate the left overs on salads for a few days after the party. The vegetarian muffuletta was vaguely based on this recipe, but I used the olive salad that we made. My husband used this recipe to make the meat muffuletta.

Veggie muffuletta
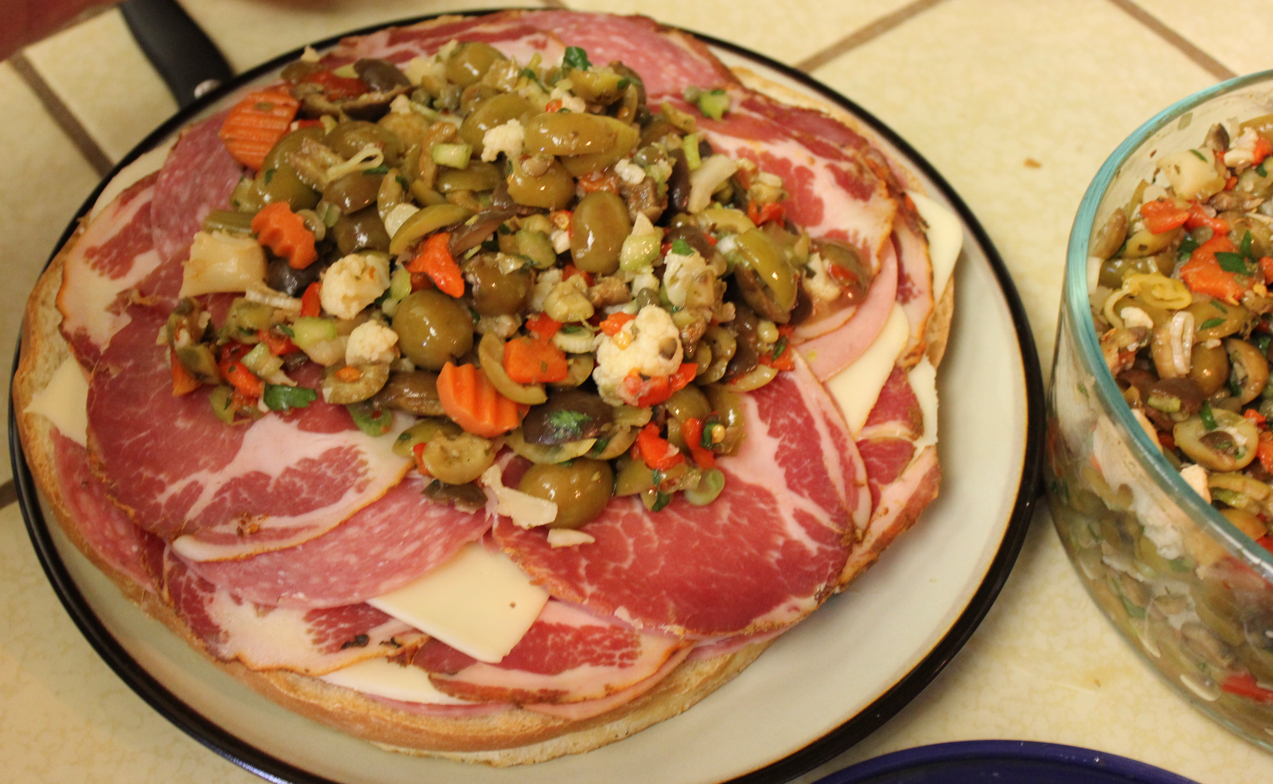
Start of the meat muffuletta. In the end, it had waaaaay more olive salad on top.
While baking beer sugar cookies for the party, I also roasted some garlic that I then used on the portobello and spinach sandwiches. The recipe for those sandwiches was loosely based on this recipe from Vegetarian Times, but I didn’t make the tofu spread. they were my favorite of the night actually.
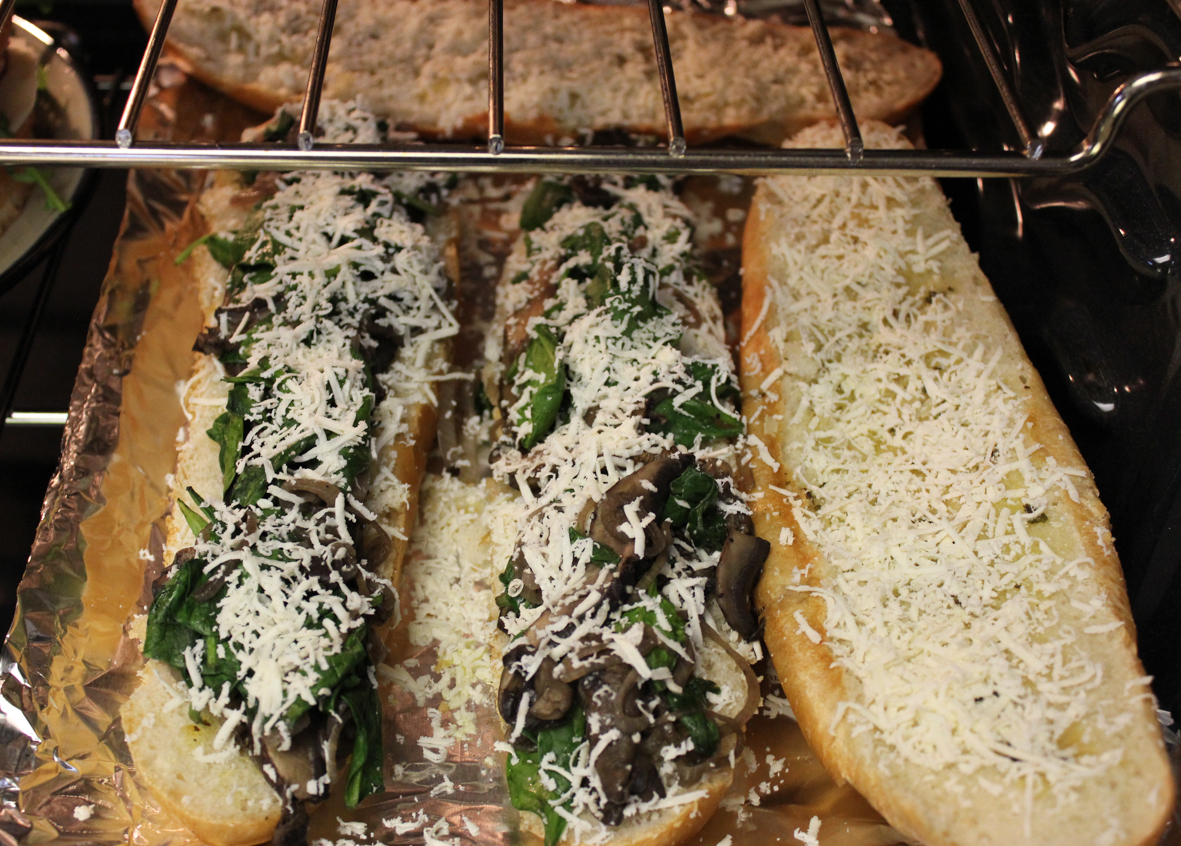
Portobello, spinach, shallot, roasted garlic and cotija cheese sandwiches.
I’m still experimenting with bread baking, but I’ll have an update soon. Stay tuned!