Bike training, March 1st: North to Bertram

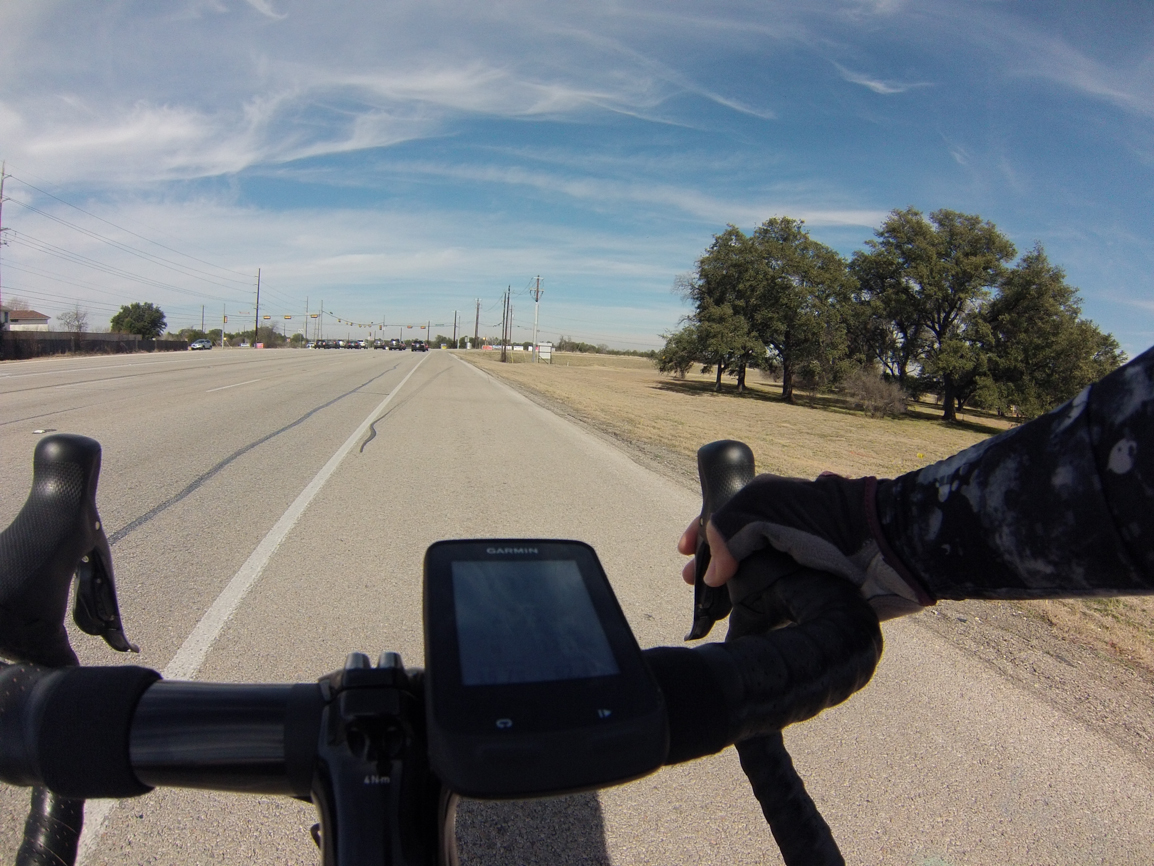
It’s that time of year when my schedule gets crazy, so I sometimes have to be creative to work in my Bike MS training. This weekend, we had plans to head out to Enchanted Rock State Park with some friends on Saturday. The weather forecast for Sunday was cold and rainy so I devised a plan to ride from home, north on Parmer Lane, and then west to Bertram where my husband would pick me up along our route to Enchanted Rock.

Saturday morning started out foggy and misty. Can you see the droplets on my glasses in my selfie?

DCIM100GOPRO

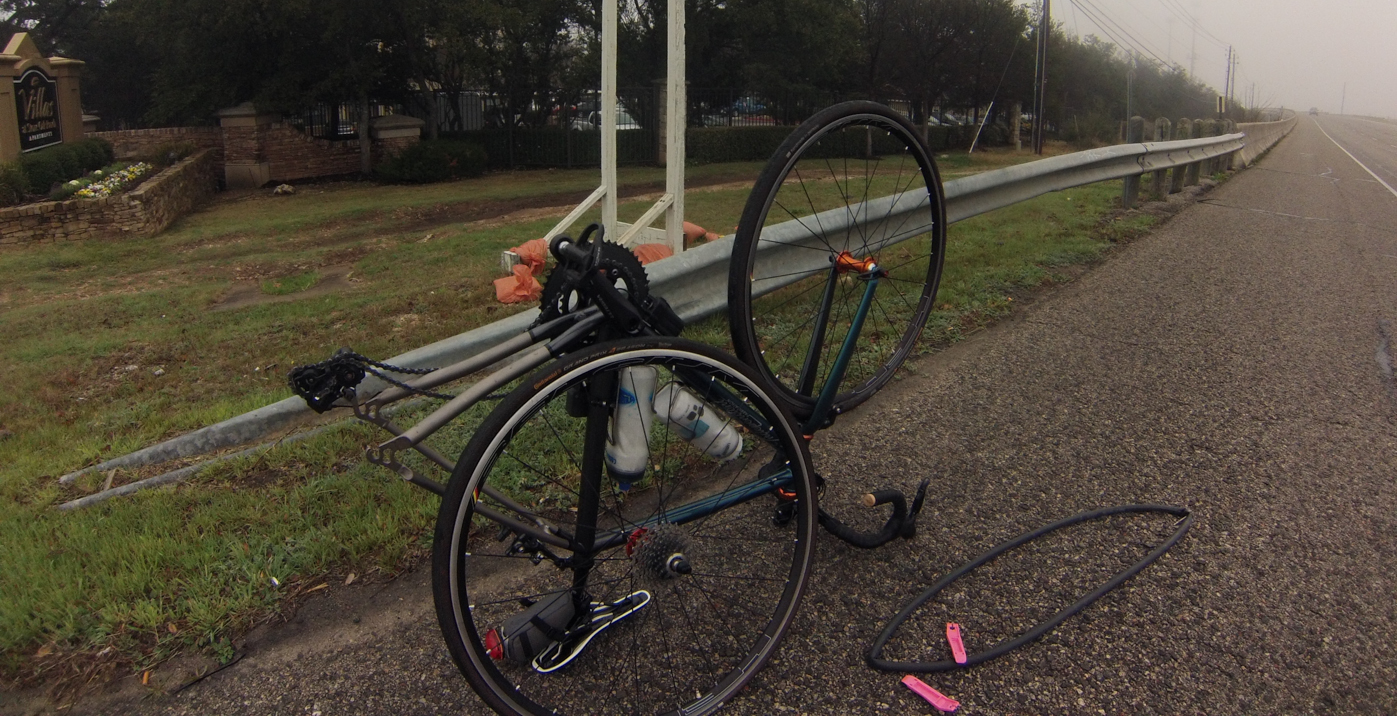
Five miles from home, my rear tire flatted for the first time on this bike. It happened on a bridge and I walked my bike down to the bottom. I changed the tube, which was surprisingly easier to do than changing the tube on my other bike. Unfortunately, I quickly realized that I couldn’t inflate the new tube. One cyclist pulled over and tried to help me with the CO2 cartridge, which I couldn’t get to work. He let me try his hand pump, but that didn’t work either. I called my husband to come help me. Right after I made the call, a very nice woman pulled over who was on her way to a ride that was delayed because of the weather. After trying her floor pump, I knew for certain my new tube was shot. I found a giant hole in it when I removed it. It was definitely a manufacturing defect. The woman gave me a new tube, I put it in and pumped it up. My husband pulled up and I no longer needed his help. Thank you stranger!

DCIM100GOPRO

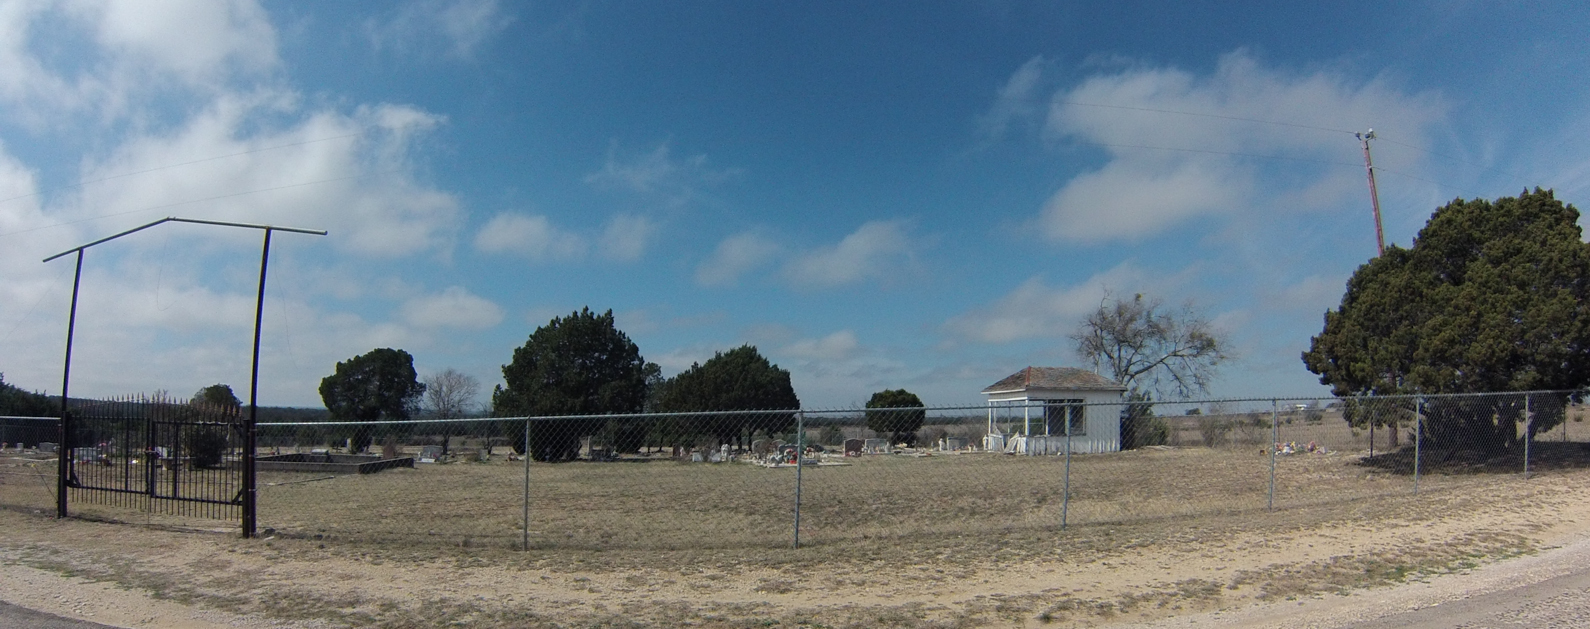
I continued along my route, 45 minutes delayed. Around Andice, the skies finally started to clear. I passed a number of cemeteries with colorful flowers.

DCIM100GOPRO

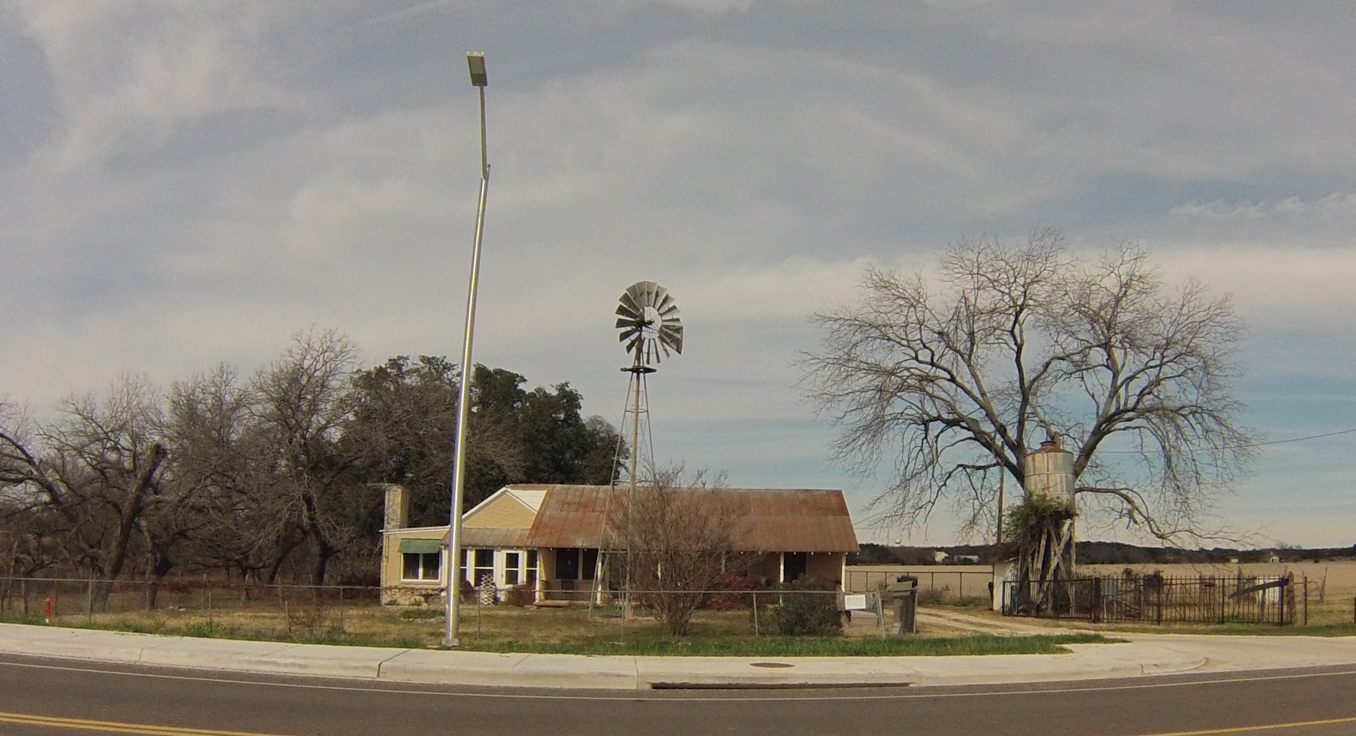
In Andice I went by the General Store and a new church building.

DCIM100GOPRO

DCIM100GOPRO

Along the route, I came to the end of a road where I had to turn and these cows were intently watching me.
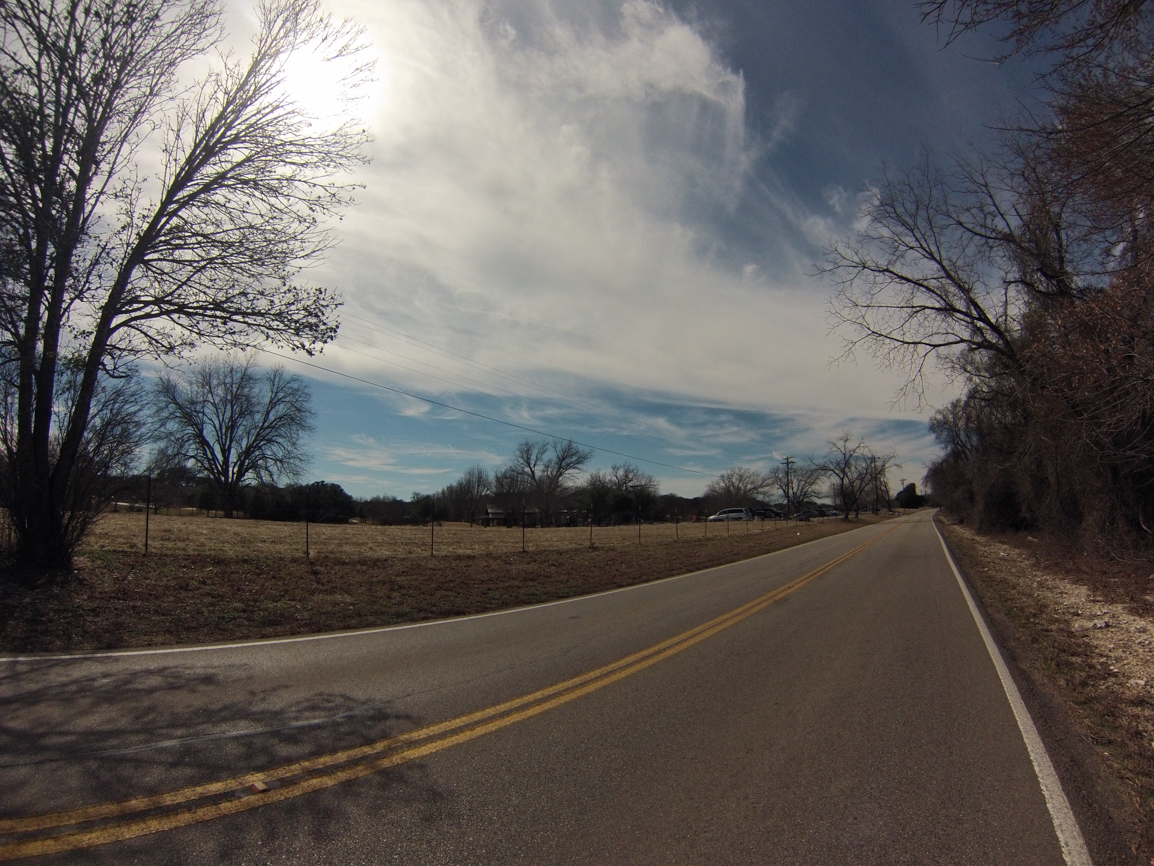
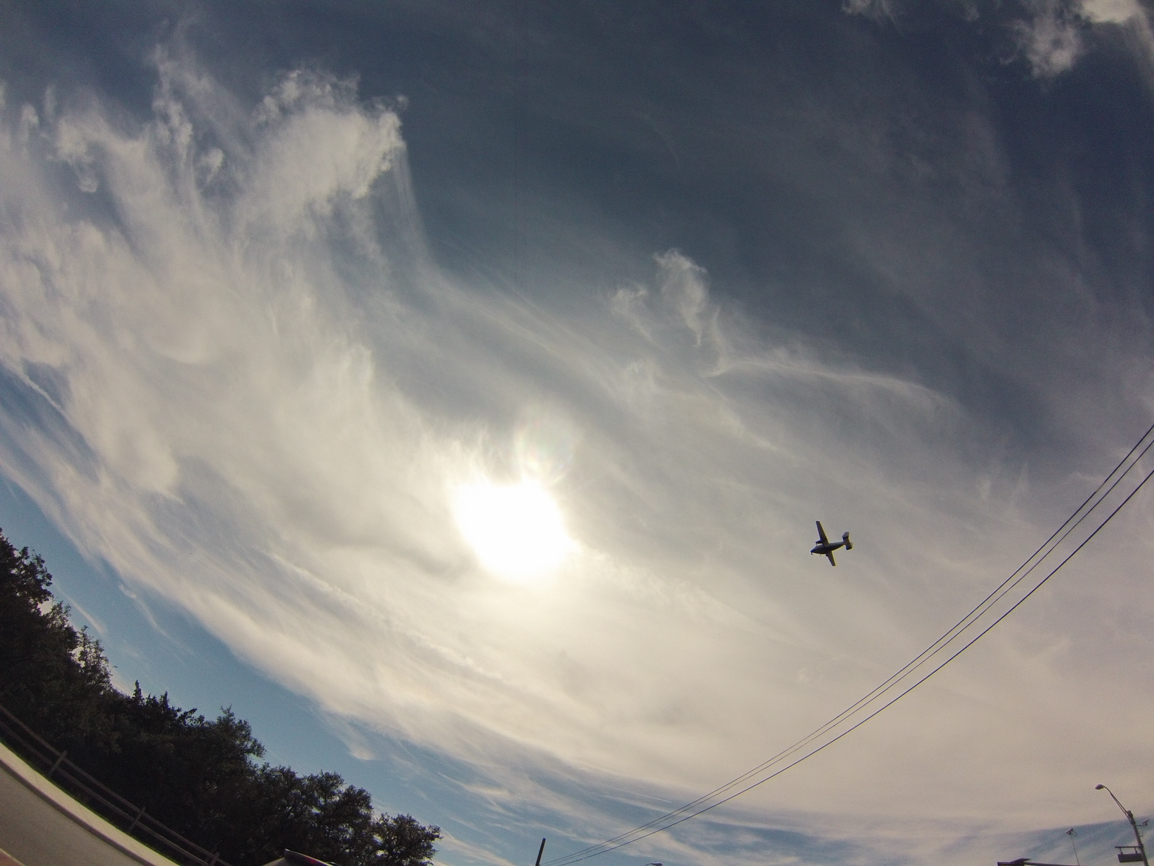
DCIM100GOPRO

Big sky!

DCIM100GOPRO

After not seeing other cyclists for quite a while, I was coming close to Bertram. The last few miles had more car traffic than I’d seen in a while and I happened across this group of recreational cyclists.

DCIM100GOPRO

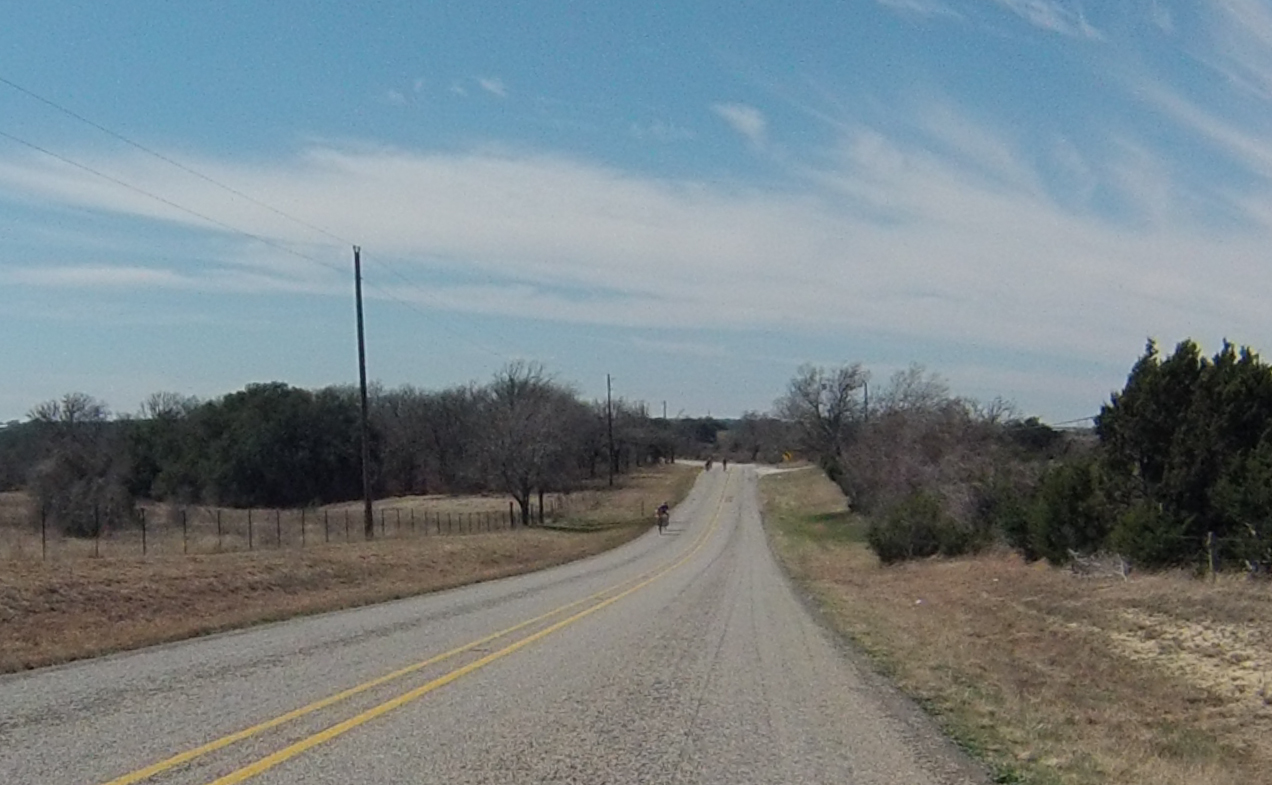
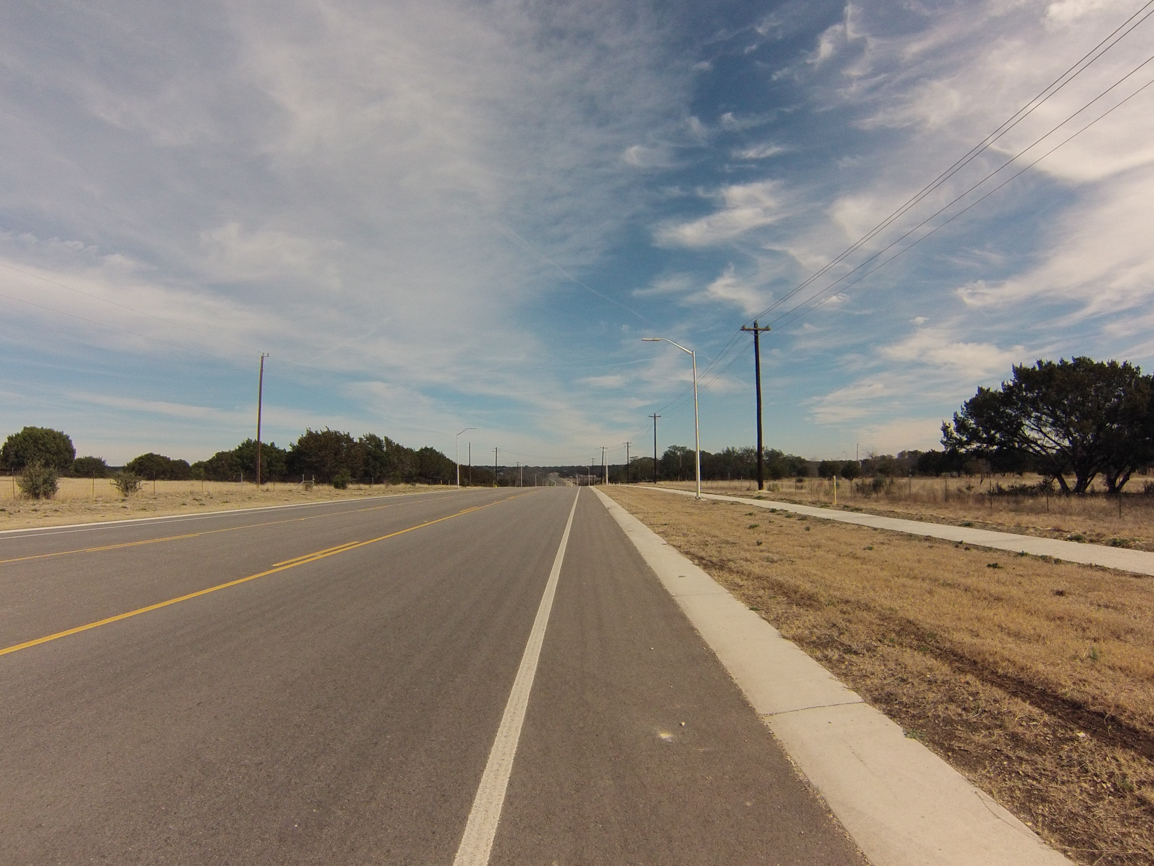
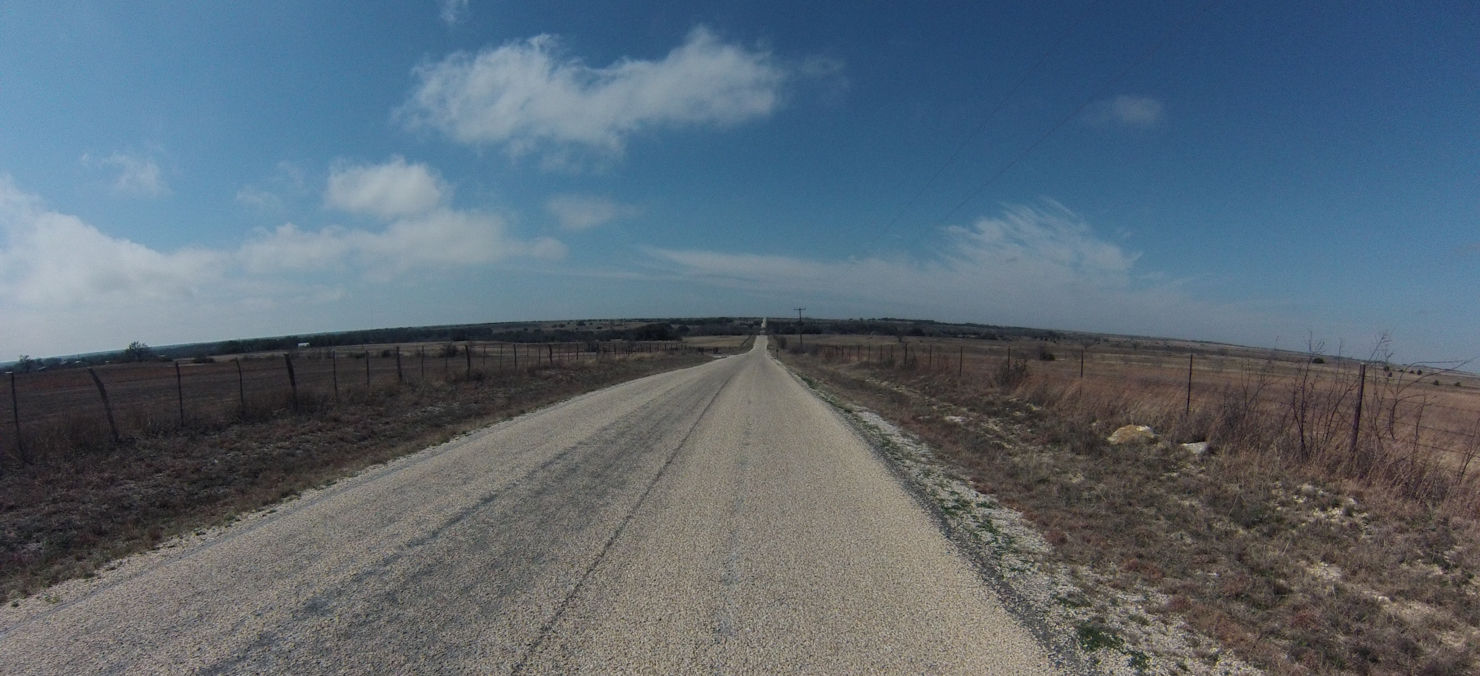
A very long, straight road.

DCIM100GOPRO

Creek crossing.

DCIM100GOPRO

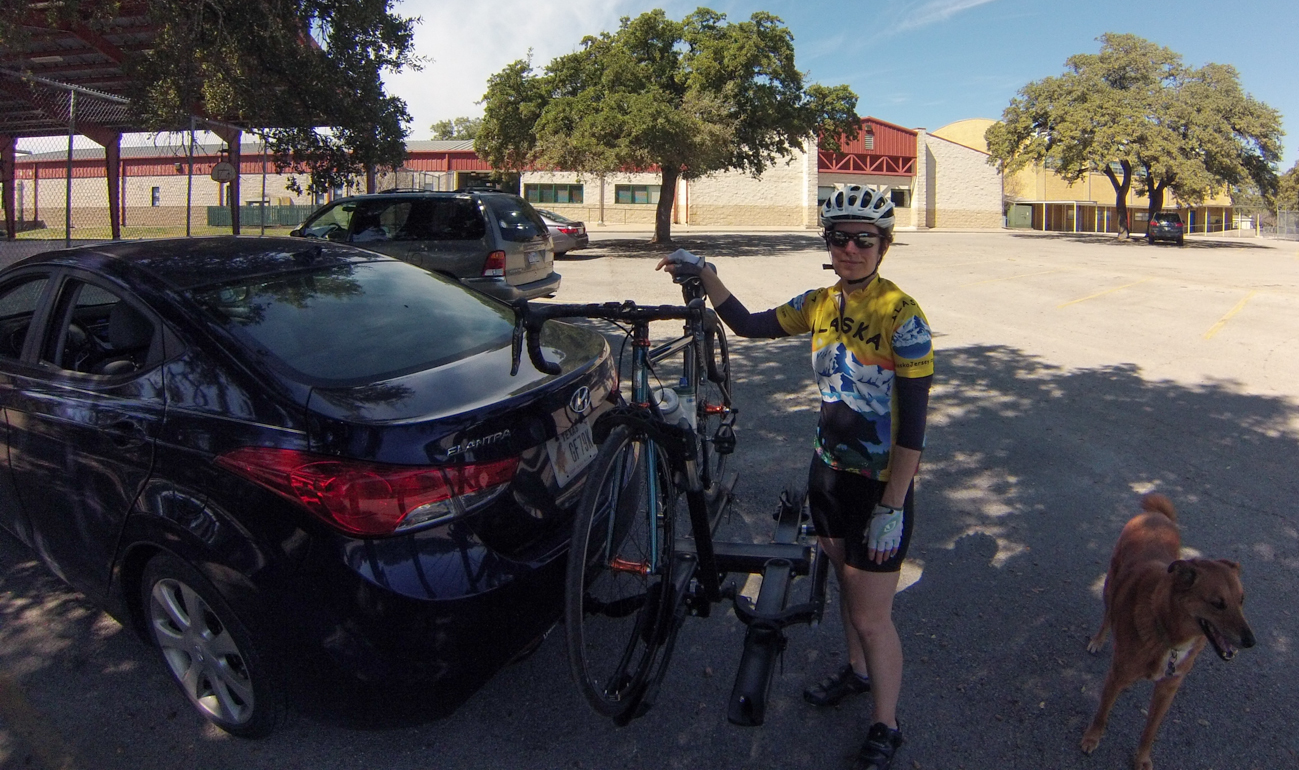
Putting my bike on the car in Bertram – work my yellow Alaska jersey that has a bear, mountains, and flowers on it.

DCIM100GOPRO

What a change in weather I experienced during those four hours!

Bike training, February 16: Exploring east Austin

For week 2 of my Bike MS training, I planned a 40 mile route out into east Austin from my house. I wanted to go east / south at the beginning of the ride and then come back north because of the wind pattern. And boy was it windy by the time I was finished! It was a dreary and humid day.


The route started by going due east. I soon went by what I thought was a reservoir, but turned out to be the city landfill. I had know idea where the landfill was, apparently.

DCIM100GOPRO


Of course, out in the countryside, near the landfill, a bunch of really close together houses were being built.

DCIM100GOPRO


I rode down to Loyola Lane, near the Expo center, a place I hadn’t ridden in quite a while:


IDCIM100GOPRO

The view down the hill from near the Expo center:

DCIM100GOPRO


Wait, what? Smoke or fog ahead (I saw neither)

DCIM100GOPRO


Old Manor Road, and the old bridge:

DCIM100GOPRO


Old water tower in Manor:

DCIM100GOPRO


Old town Manor:

DCIM100GOPRO


Random bar and grill in the country side:

DCIM100GOPRO


Riding next to 130, the toll road, with an abandoned toll plaza in the center. Why did we build so many unused toll booths?

DCIM100GOPRO


Horse stable – there were riders, but I didn’t get the camera out in time.

DCIM100GOPRO


New bike facilities in north Austin!

DCIM100GOPRO


Eventually, I rode through a neighborhood adjacent to mine. It was pretty cool. Can you see the black and white kitty?

DCIM100GOPRO

Best mailbox ever. A T-rex holding up the mailbox with its mouth, with three T-rex babies in front.

DCIM100GOPRO

New feature: what jersey did I wear? This weekend it was my Texas 4000 jersey from 2009 (acquired in a silent auction) along with my yellow visibility vest.

DCIM100GOPRO


Enhanced by Zemanta

Well hello bike training!

Over the last two weekends, I’ve officially started bike training for Bike MS: Sam’s Club Round Up, the Bike MS event I’m choosing to ride in for this year. The two day ride will be up in the DFW area. I haven’t set up my fundraising page, but don’t worry, I’ll share that soon. For now, I just wanted to share a few photos from my 35 mile training ride today because it was such a gorgeous day. I mean, look at the blue sky! I tried out a few new roads up in NW Austin. They weren’t even just new to me, but they also seemed to have been recently constructed or resurfaced.

Are you ready for my ride recap?

DCIM100GOPRO

My ride started by passing the new paved trail the city is building that connects Walnut Creek Metro Park with Balcones District Park, west of Mopac. The trail is behind the orange fence on the left:

DCIM100GOPRO


Just earlier today I read an article about the new Apple campus in Austin, looked at some photos, and then rode right by it. It’s just one building and a parking garage on Parmer Lane, but I believe they are planning to build more:


DCIM100GOPRO

A nice smooth road and a lovely sky:


DCIM100GOPRO


An old farmhouse along a new road:

DCIM100GOPRO


Repaved road with a new bike lane, headed east off of Parmer Lane, north of 1431.


DCIM100GOPRO


Lovely, big sky:


DCIM100GOPRO


There were 3 back to back churches along Sam Bass Road:


DCIM100GOPRO


The Dog House, an off leash dog park plus bar in Cedar Park!


DCIM100GOPRO


On the way back, I got a picture of the Apple sign:


DCIM100GOPRO


A little propeller plane!


DCIM100GOPRO


Enhanced by Zemanta

Recent projects: Boot cuffs and a neck cowl

I recently finished off two quick projects, one as a Christmas gift and one for myself. For my sister, I crocheted a set of boot cuffs after I attempted to buy her some last year on Etsy, a transaction that fell through. I found the boot cuff pattern on Ravelry. It was easy, just single and double crochet. I found a teal wool yarn to use, since that was close to the color I originally tried to order for her.

BootCuffs-2 BootCuffs-1


The second project was a neck cowl for myself. I get really excited about wearing scarves in the winter so I decided to make yet another one for myself. I found the pattern on Ravelry again. I ordered Forest Heather Biggo yarn from Knit Picks. The yarn is very thick, and the pattern calls for large needles, so it was a project that went fast also. The yarn is pleasingly soft.

RibbedCowl-1


My cat Annie decided to get in on the photo action.


RibbedCowl-2

I learned how to take my own photo in the mirror.

IRibbedCowl-3

Enhanced by Zemanta

Lentil and Chard Ragout, a delicious winter meal

I recently made a recipe from a relatively new (to me) vegan cookbook Crazy Sexy Kitchen. I bought this cookbook after attending a Whole Foods Culinary class featuring Chef Chad Sarno, one of the authors. It was a good way to use up some of the chard growing in the garden and a handful of our fresh herbs. I added peppers and okra from our garden to the recipe, to use them up before they went bad. I used the beluga (black) lentils called for in the recipe, the first time I’d ever had them. Beluga lentils are smaller and denser than other lentils. It was a very healthy and flavorful meal that my husband and I enjoyed all week.

The recipe started by sautéing shallot and garlic in oil.

ChardRagout-2 ChardRagout-3

Next, deglaze the pan with sherry and add beluga (black) lentils. I had peppers from the garden so I threw those in to add some spice. Garden fresh okra also went into the pan.

ChardRagout-4

Add vegetable stock and simmer until the lentils are tender.

ChardRagout-5

After the lentils were tender, add the chard, frozen peas, nutritional yeast, lemon zest, parsley, thyme and salt and cook on low for a few more minutes.

ChardRagout-1

ChardRagout-6

At the end, stir in a bit of butter (vegan if that’s what you prefer) and cracked pepper. Yum!

ChardRagout-7

Enhanced by Zemanta

A quick & easy holiday gift – felt coasters

A very short post to show you one of the gifts I made for my family this Christmas – felt coasters. I came across a blog post about geometric coasters by Ciera Design on Pinterest that inspired me. However, cutting all of the individual hexagons she uses became overwhelming right away so I created my own larger designs.

I used my paper cutter to cut 4″ x  4″ squares out of a stiff felt fabric. I then created paper patterns that I traced with marker onto the softer contrasting felt pieces so that I could cut them out by hand. I used a fabric glue to glue down the contrasting pieces on the stiff coaster bottom.  Below you can see a sampling of the coasters I made. I created 6 sets in all. Still have to make myself a set!

Coasters-1

Enhanced by Zemanta

Fixing my Timbuk2 Maya bag

So I bought a custom Timbuk2 shoulder bag to act as my purse on our recent Europe trip because it was big enough to fit a water bottle, kindle, guidebook, camera lens… and more. It arrived the night before we left. Strangely, it had a twisted strap that I hurriedly fixed so the bag would still work. Timbuk2 and their perpetually great customer service gave me a partial refund for their mistake.

Yay! My new bag took off for Ireland with me.

On the fifth night of our trip I set the bag down on a table at the pub and walked up to the bar to order. I came back to our table and smelled something odd… It was a candle, slowly melting a hole in my lovely bag 😦

image


I looked for a patch to cover up the hole for the rest of our trip but only found patches that were orange and green, and they didn’t look that great on my bag.

Very soon after our vacation I was reading Bicycling and they conveniently had a blurb about patches, with one that matched my bag perfectly. Doesn’t it look great??

image

image

Enhanced by Zemanta

Simple felt hand-embroidered ornaments

I’ve gotten into the habit of making ornaments each year to give to my family as gifts. Last year I made simple hand-embroidered felt ornaments after seeing this post from nini on Pinterest. Once I got started, I ended up making two kinds, one with 3 hearts like nini made and another with just 2 hearts.

Embroidered ornaments, one uses 3 hearts and the other uses 2 hearts.

Embroidered ornaments, one uses 3 hearts and the other uses 2 hearts.

To make these ornaments, I used the following supplies:

  • Off white felt fabric
  • Red embroidery floss and appropriate sewing needle
  • Red ribbon
  • Vanishing fabric marker
  • Paper to make a pattern, pins, scissors

The first step was to create my heart patterns. I made two different sizes for the two ornaments. I used the elementary school trick of folding my piece of paper in half and then drawing half of a heart and cutting it out to make sure that my patterns were symmetrical.

The two different heart patterns for the ornaments

The two different heart patterns for the ornaments

Next, I pinned down the hearts and cut the fabric.

Pinning down the heart pattern to cut the fabric.

Pinning down the heart pattern to cut the fabric.

I used the large pattern for the ornament with two hearts and the small pattern for the ornament with three hearts.

I used the large pattern for the ornament with two hearts and the small pattern for the ornament with three hearts.

Once the hearts were cut out, I used a vanishing fabric marker to draw the word I wanted to embroider on each heart. The ink vanishes quite quickly, so I drew each word right before embroidering.

Drawing the word before embroidering.

Drawing the word before embroidering.

Next, I used a simple backstitch to embroider the word.

Embroidered words for the ornaments.

Embroidered words for the ornaments.

For the ornament with two hearts, I matched them up and then did a simple stitch around the edges. I found it easiest to add the ribbon for hanging the ornament if I positioned the ribbon before I finished sewing the hearts together. I also used some scrap felt in the middle of the ornament to add a bit of “puff”.

Sewing the edges together.

Sewing the edges together.

One side of the larger ornament.

One side of the larger ornament.

Side two of the larger ornament.

Side two of the larger ornament.

For the ornament with three hearts, I sewed together the straight edges of the smaller hearts so that they formed a sort of triangle shape. I also used the red thread to to attach the three hearts at their apex and then looped the hanging ribbon around that thread. This also made it so that you don’t see the back side of each heart when you look at the ornament from the top.

Ornament using three hearts.

Ornament using three hearts.

The ornaments were well received by their recipients last year 🙂

Enhanced by Zemanta

Preserving basil from the garden as pesto

It’s getting to be towards the end of summer growing season in Austin. Our two basil plants are still crazy large, as in, overflowing our garden by a lot. We haven’t used it nearly as much as we should so I decided to preserve some to use throughout the winter. I’ve read about a number of ways to preserve basil, but for today I decided to make my own version of pesto and then freeze it. Maybe I’ll use another method next week.

First I brought in a huge sinkful of basil.

Basil-1

Next I washed it and separated the good leaves from the stems.

Basil-2

After running the leaves through the salad spinner (I had 3 bowls!) I put them in batches into my food processor.

Basil-3

I added olive oil, white miso paste, water, salt, pepper, pine nuts and feta cheese in batches with the basil until the pesto tasted the way I wanted it to.

Basil-4

To freeze the basil, I spooned it into an ice cube tray. I use a tray that has a lid so that I can easily stack things on top of it if I need to. I also had enough pesto to fill up a separate round container. The idea is to thaw individual cubes as needed for a single meal. After the pesto froze, I removed it from the tray and put the cubes in a freezer bag.

Basil-5 Basil-6

Enhanced by Zemanta

A brain slug for a baby

I recently finished a knitted gift for our friend’s baby. It arrived in their hands only a day or two before his birth. Whew! I made a brain slug hat. What, you don’t know what a brain slug is??

Anyhow, I felt a geeky hat would be perfect for the baby of our friends. We also sent him things like periodic table blocks and a book called Calculus for Infants. Obviously, a brain slug would fit right in. I found the pattern on Ravelry.

I’m happy with the results, but I could never get the white knitted eye part to have the right shape. The instructions weren’t very clear so I ended up just using white felt and cutting out a shape that worked instead.

BrainSlug-3 BrainSlug-2 BrainSlug-1


Update! A picture of our friend’s baby wearing the brain slug. Apparently the hat should have been a bit wider. But what a cutie!

IMG_6503