
I’ve gotten into the habit of making ornaments each year to give to my family as gifts. Last year I made simple hand-embroidered felt ornaments after seeing this post from nini on Pinterest. Once I got started, I ended up making two kinds, one with 3 hearts like nini made and another with just 2 hearts.

Embroidered ornaments, one uses 3 hearts and the other uses 2 hearts.
To make these ornaments, I used the following supplies:
- Off white felt fabric
- Red embroidery floss and appropriate sewing needle
- Red ribbon
- Vanishing fabric marker
- Paper to make a pattern, pins, scissors
The first step was to create my heart patterns. I made two different sizes for the two ornaments. I used the elementary school trick of folding my piece of paper in half and then drawing half of a heart and cutting it out to make sure that my patterns were symmetrical.
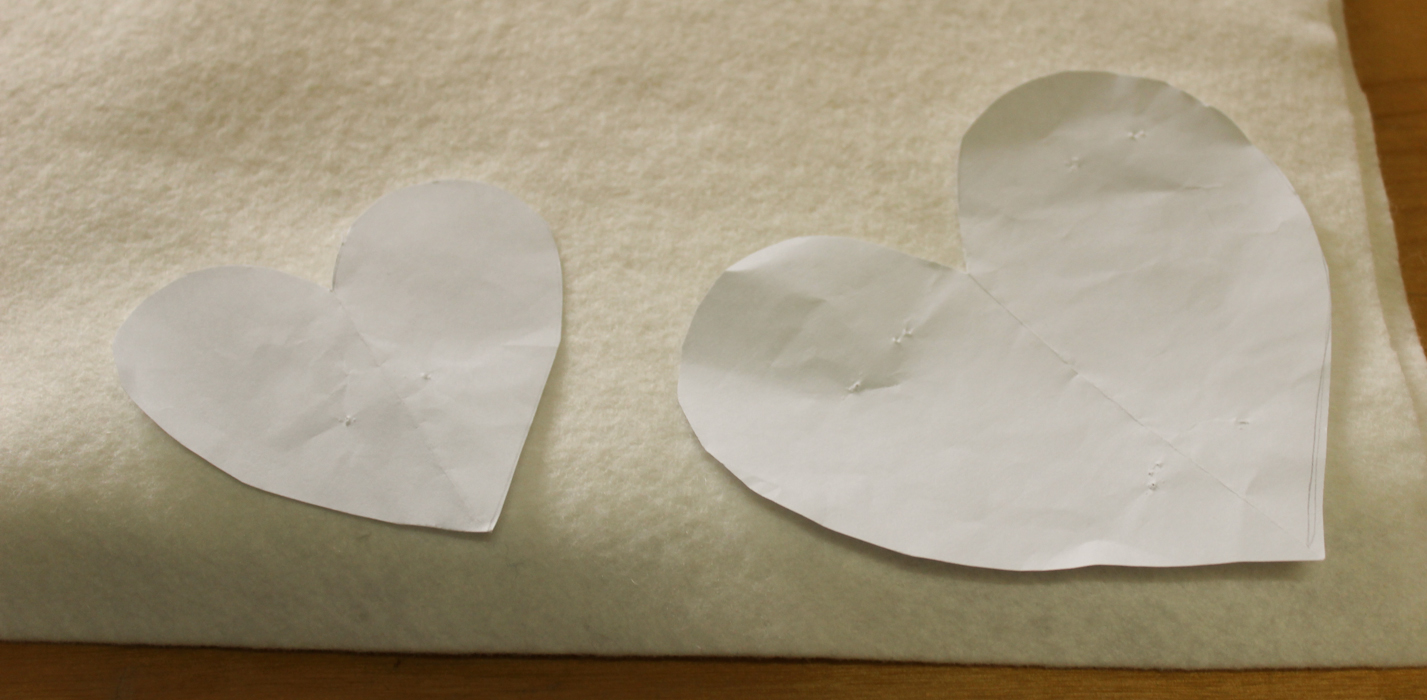
The two different heart patterns for the ornaments
Next, I pinned down the hearts and cut the fabric.
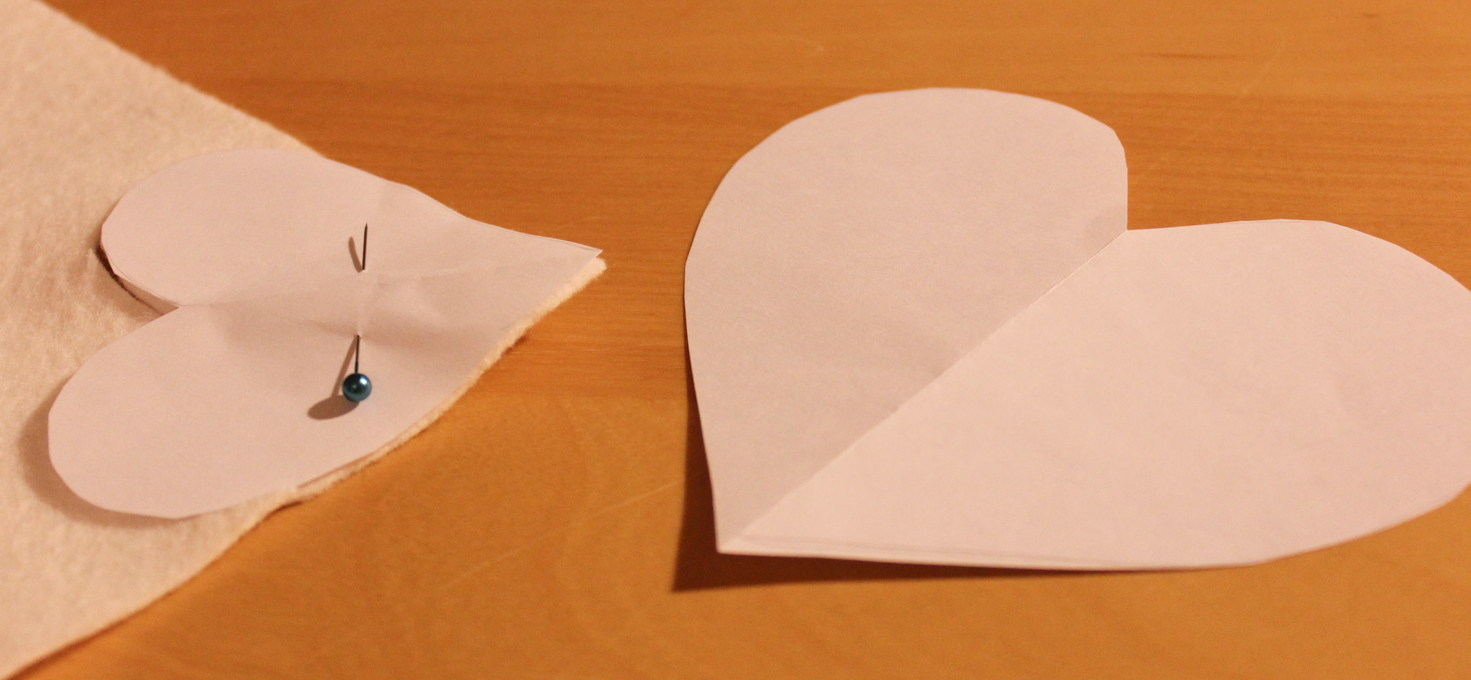
Pinning down the heart pattern to cut the fabric.
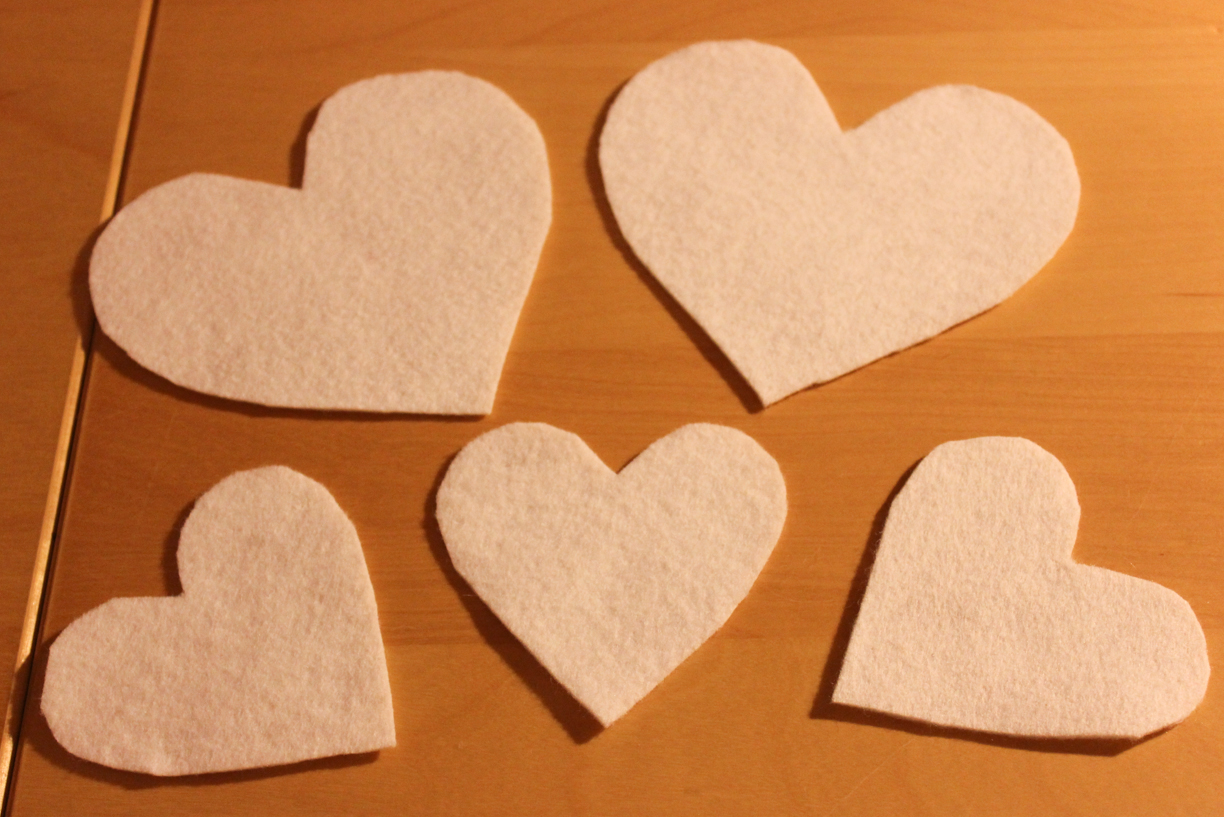
I used the large pattern for the ornament with two hearts and the small pattern for the ornament with three hearts.
Once the hearts were cut out, I used a vanishing fabric marker to draw the word I wanted to embroider on each heart. The ink vanishes quite quickly, so I drew each word right before embroidering.
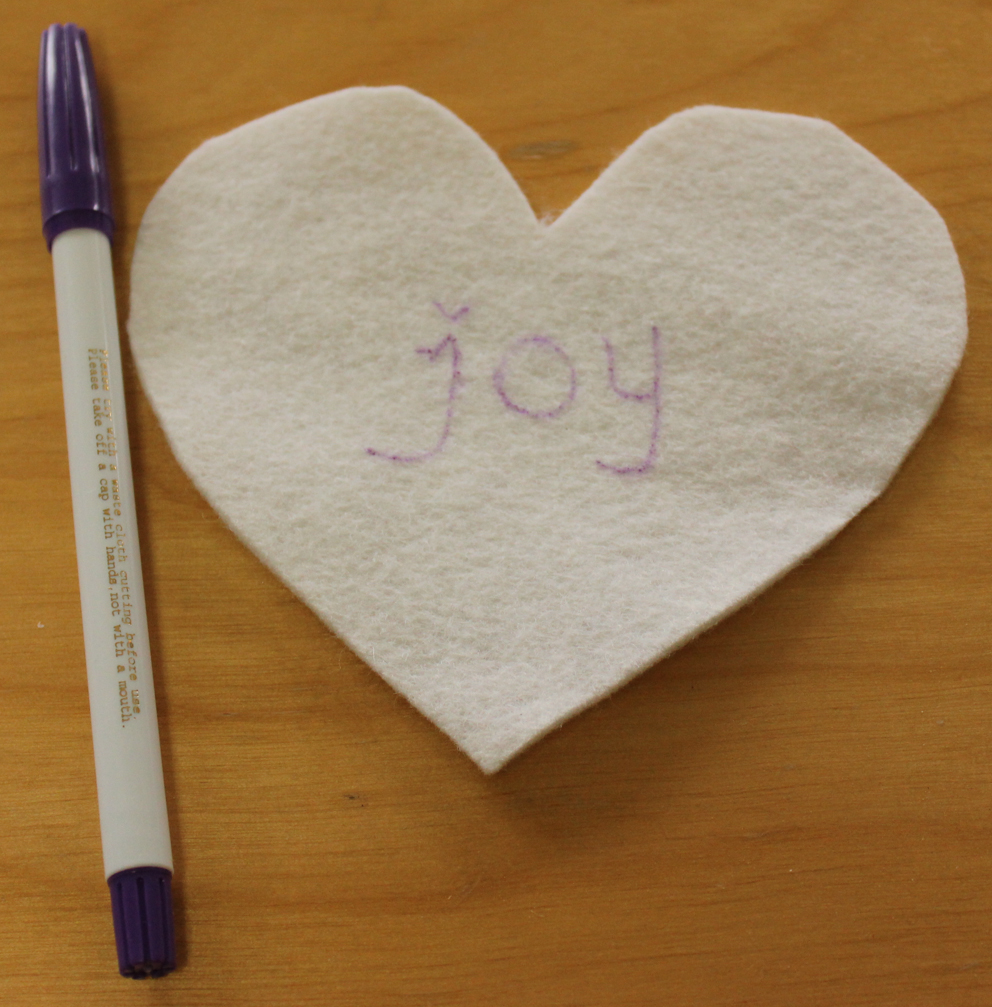
Drawing the word before embroidering.
Next, I used a simple backstitch to embroider the word.

Embroidered words for the ornaments.
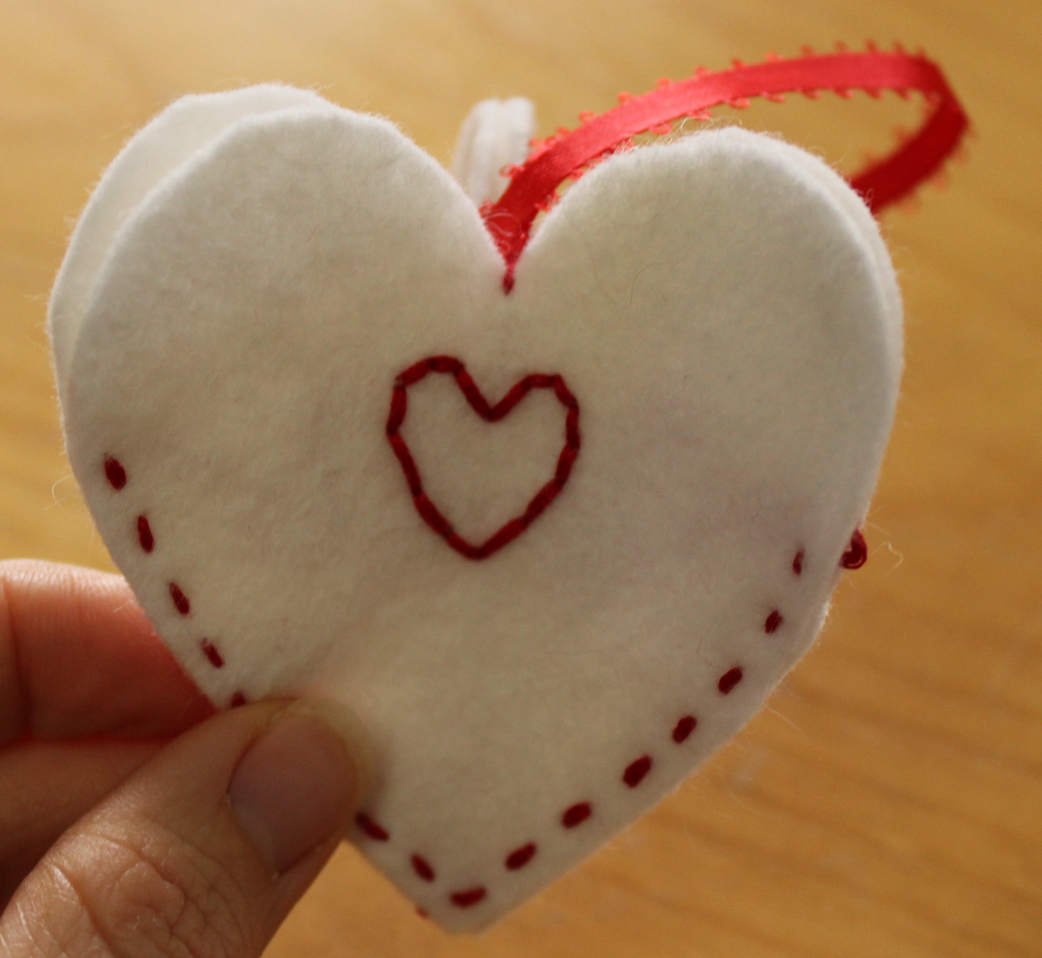
For the ornament with two hearts, I matched them up and then did a simple stitch around the edges. I found it easiest to add the ribbon for hanging the ornament if I positioned the ribbon before I finished sewing the hearts together. I also used some scrap felt in the middle of the ornament to add a bit of “puff”.

Sewing the edges together.

One side of the larger ornament.

Side two of the larger ornament.
For the ornament with three hearts, I sewed together the straight edges of the smaller hearts so that they formed a sort of triangle shape. I also used the red thread to to attach the three hearts at their apex and then looped the hanging ribbon around that thread. This also made it so that you don’t see the back side of each heart when you look at the ornament from the top.
Ornament using three hearts.
The ornaments were well received by their recipients last year 🙂


2 thoughts on “Simple felt hand-embroidered ornaments”