We made it a priority this year to get raised garden beds installed in our new back yard. And by “we” I mean that I planted a few plants, raked a bit of dirt around, moved two wheel barrows of dirt and mulched said plants. Someone else did the heavy lifting.
My husband constructed us three 4′ x 8′ raised garden beds out of cedar planks. They are about 12″ tall. Cedar is supposed to resist decay better than other types of wood. He then dug out the existing grass, leveled the ground a bit, placed cardboard in the bottom and filled them with dirt. Well, I helped with the cardboard too. Do you see how much work I did here?
We planted:
- Eight tomato varieties
- Two basil varieties
- Two chards (one red, one yellow)
- Five pepper varieties (jalapeño, bell, serrano, etc)
- Three mounds of cucumbers
- A row of okra seeds
- A row of beans from seed
- Marigolds from seed, to hopefully help keep the bugs away
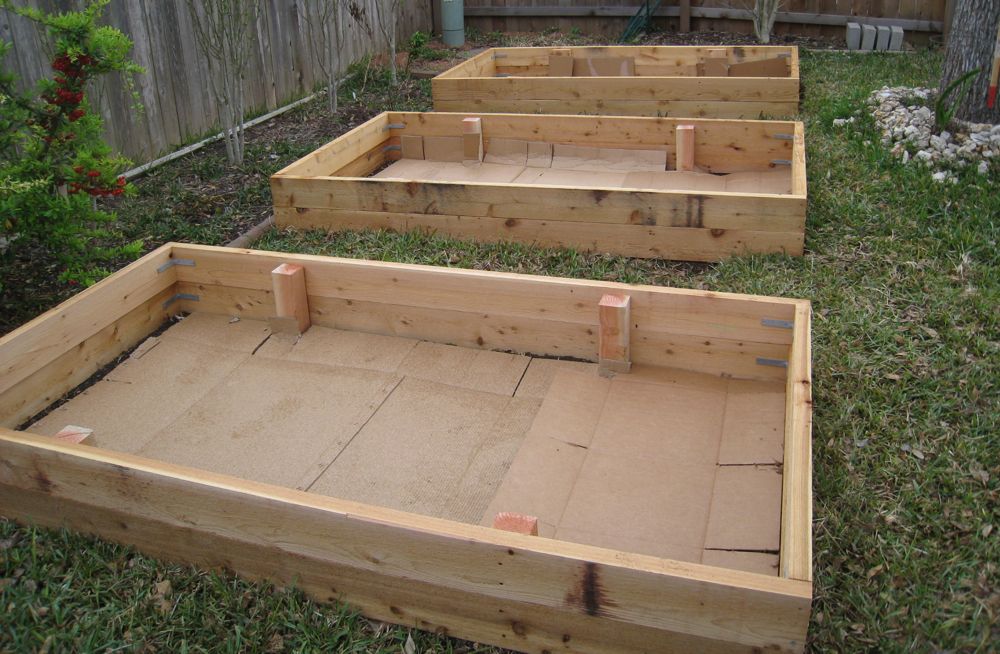
Constructed garden beds, lined with cardboard

Do you see the two wheel barrows of dirt I moved? And how I raked some of the dirt around?
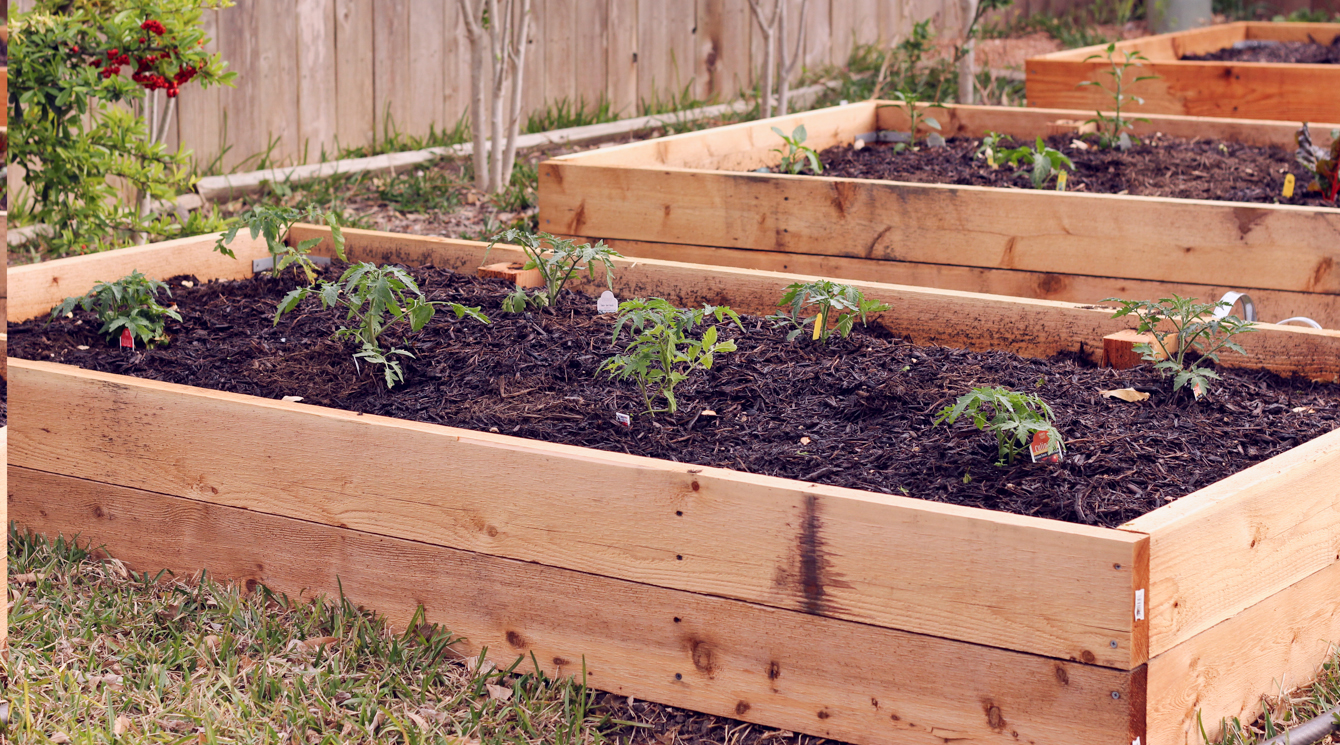
The first bed has eight tomato plants in it, all different varieties.

The second bed has two basil plants, two chard plants, and five pepper plants, all of different varieties.
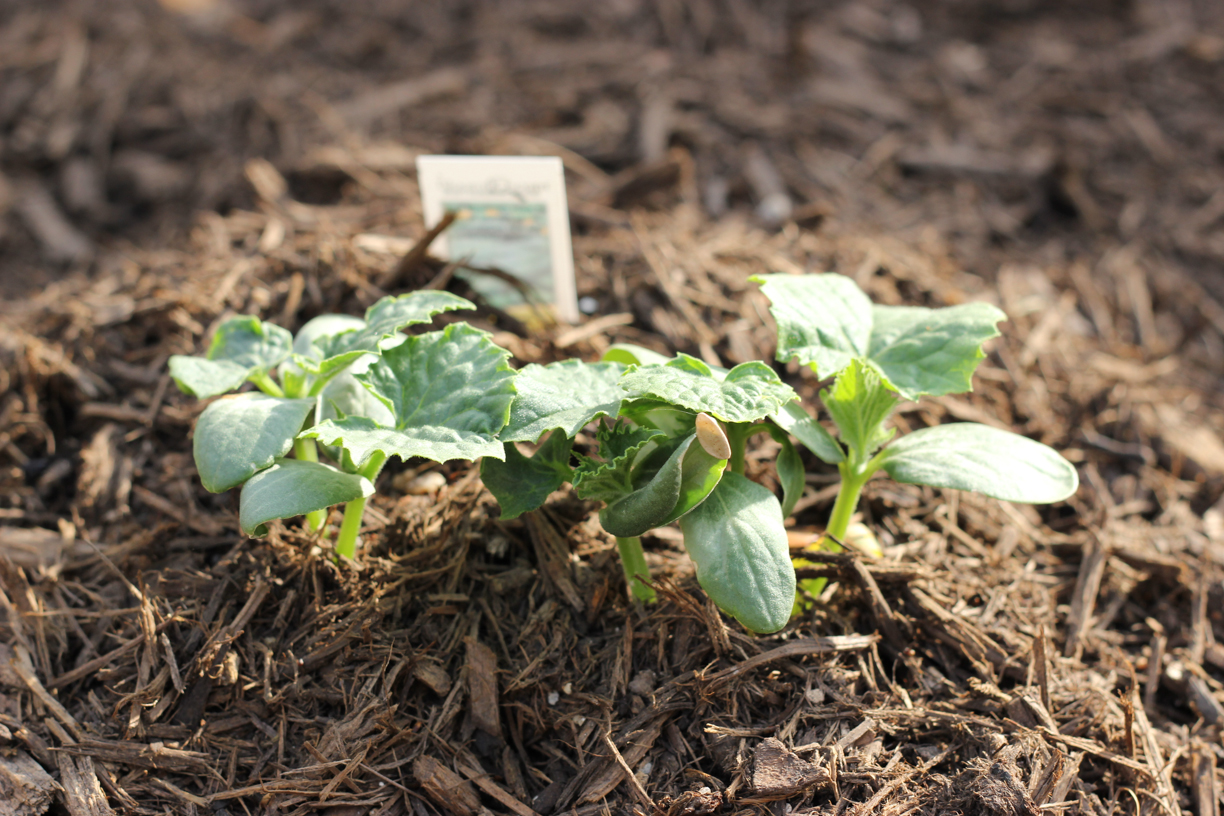
The third bed has some tiny little cucumber plants and we’re hoping to soon see some okra and beans sprouting.

One of the peppers is already blooming!
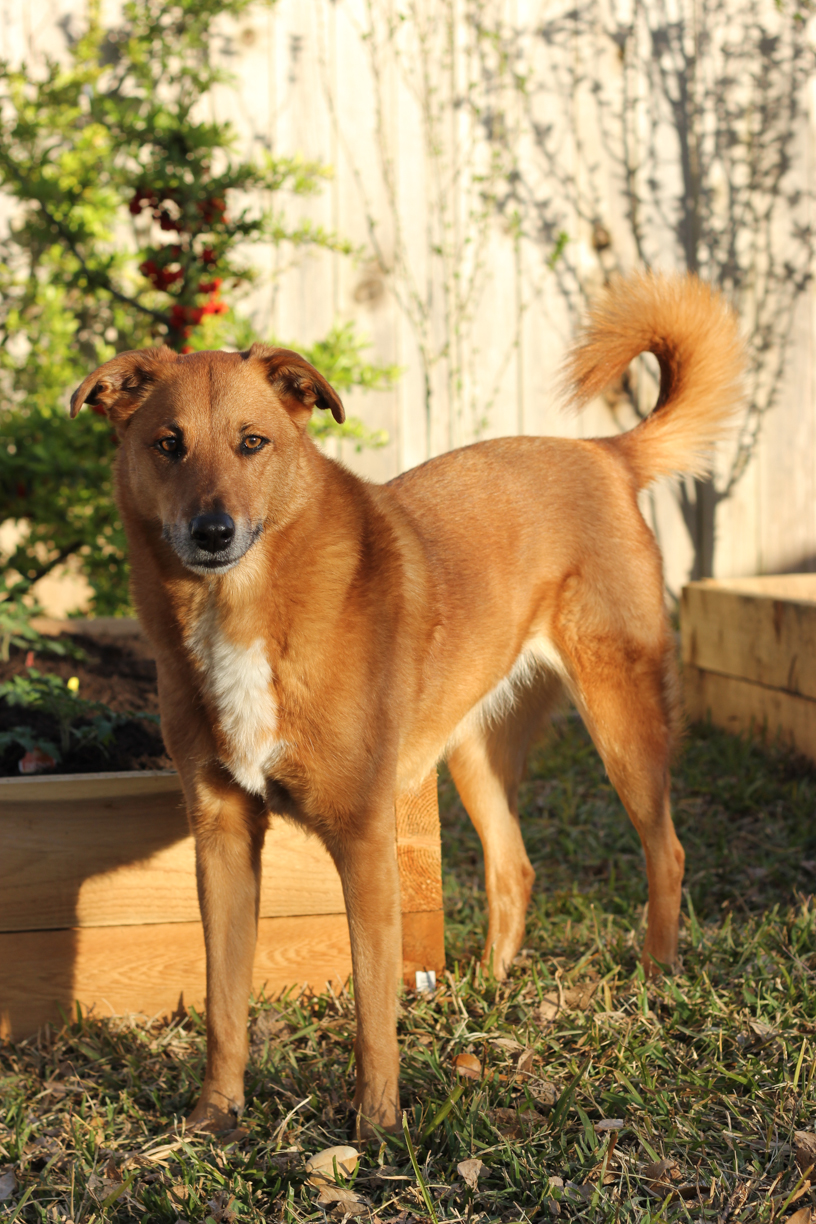
Molly guards the raised beds. Hopefully she scares away the birds, although it’s more likely that the birds will scare her.

Little tiny figs started to grow as soon as the fig tree got leaves.

Just a few days ago the figs were much larger!