Goodbye popcorn ceilings!

Guess what! We finally did it – had the rest of our downstairs popcorn ceilings removed! In the aftermath, we also painted the entryway and the living room to match the sitting and dining rooms, and replaced the hideous kitchen ceiling light. We paid a contractor to remove the popcorn ceiling texture, reapply a much lighter orange peel texture and then prime and paint. The square footage of these rooms was just too much for us to do on our own. And because the texture in the sitting room and dining room would no longer match the rest of the rooms, we also had them apply matching texture over what we had already done ourselves.

The process was a bit labor intensive, we had to move out of our house from Monday to Friday (originally it was supposed to be Thursday, but the primer didn’t dry in time due to humidity). Our pets had to move too, so Molly (our dog) stayed with us in a short term rental and the cats all went to a place that has a special cat boarding room. I think they hated it. The worst part was moving the majority of our furniture from the downstairs rooms into the garage so that the house would be ready for the contractors. We’re still working on unpacking…

Our new ceilings are SOOOO much better than the old popcorn texture. There are a few places that are less than perfect, but they aren’t really noticeable unless I show you, and I suppose the only way to have perfect ceilings is to have that texture applied to a brand new house.

The part that I was most unhappy with throughout this process was the clean up. I was under the impression that the house would be decently clean when they were done, but we had to clean the floors multiple times, wipe down doors, clean windows and we continue to find splatter on surfaces. When they came back on Saturday to finish some touch up, we had already cleaned on Friday and then they left a mess again… sigh. I know that’s the way these projects work sometimes but I hadn’t factored that into my plans.

On Sunday, while the furniture was still in the garage, we decided to paint the entryway and living rooms. It wasn’t something we planned to do immediately, but since we had the supplies, we decided to go for it. I’m glad we did, because it covers up the overspray from the ceiling paint, at least in those two rooms.

We also decided to remove the kitchen light fixture from our drop ceiling so they could texture the inside of the light cavity, and then we installed a new track light we picked up at Lowe’s. It’s so much nicer! Eventually, I’d like to renovate the whole kitchen and knock out the drop ceiling, but this will hold us over.

Before pictures:

Kitchen ceiling / light
Kitchen, viewed from dining room doorway

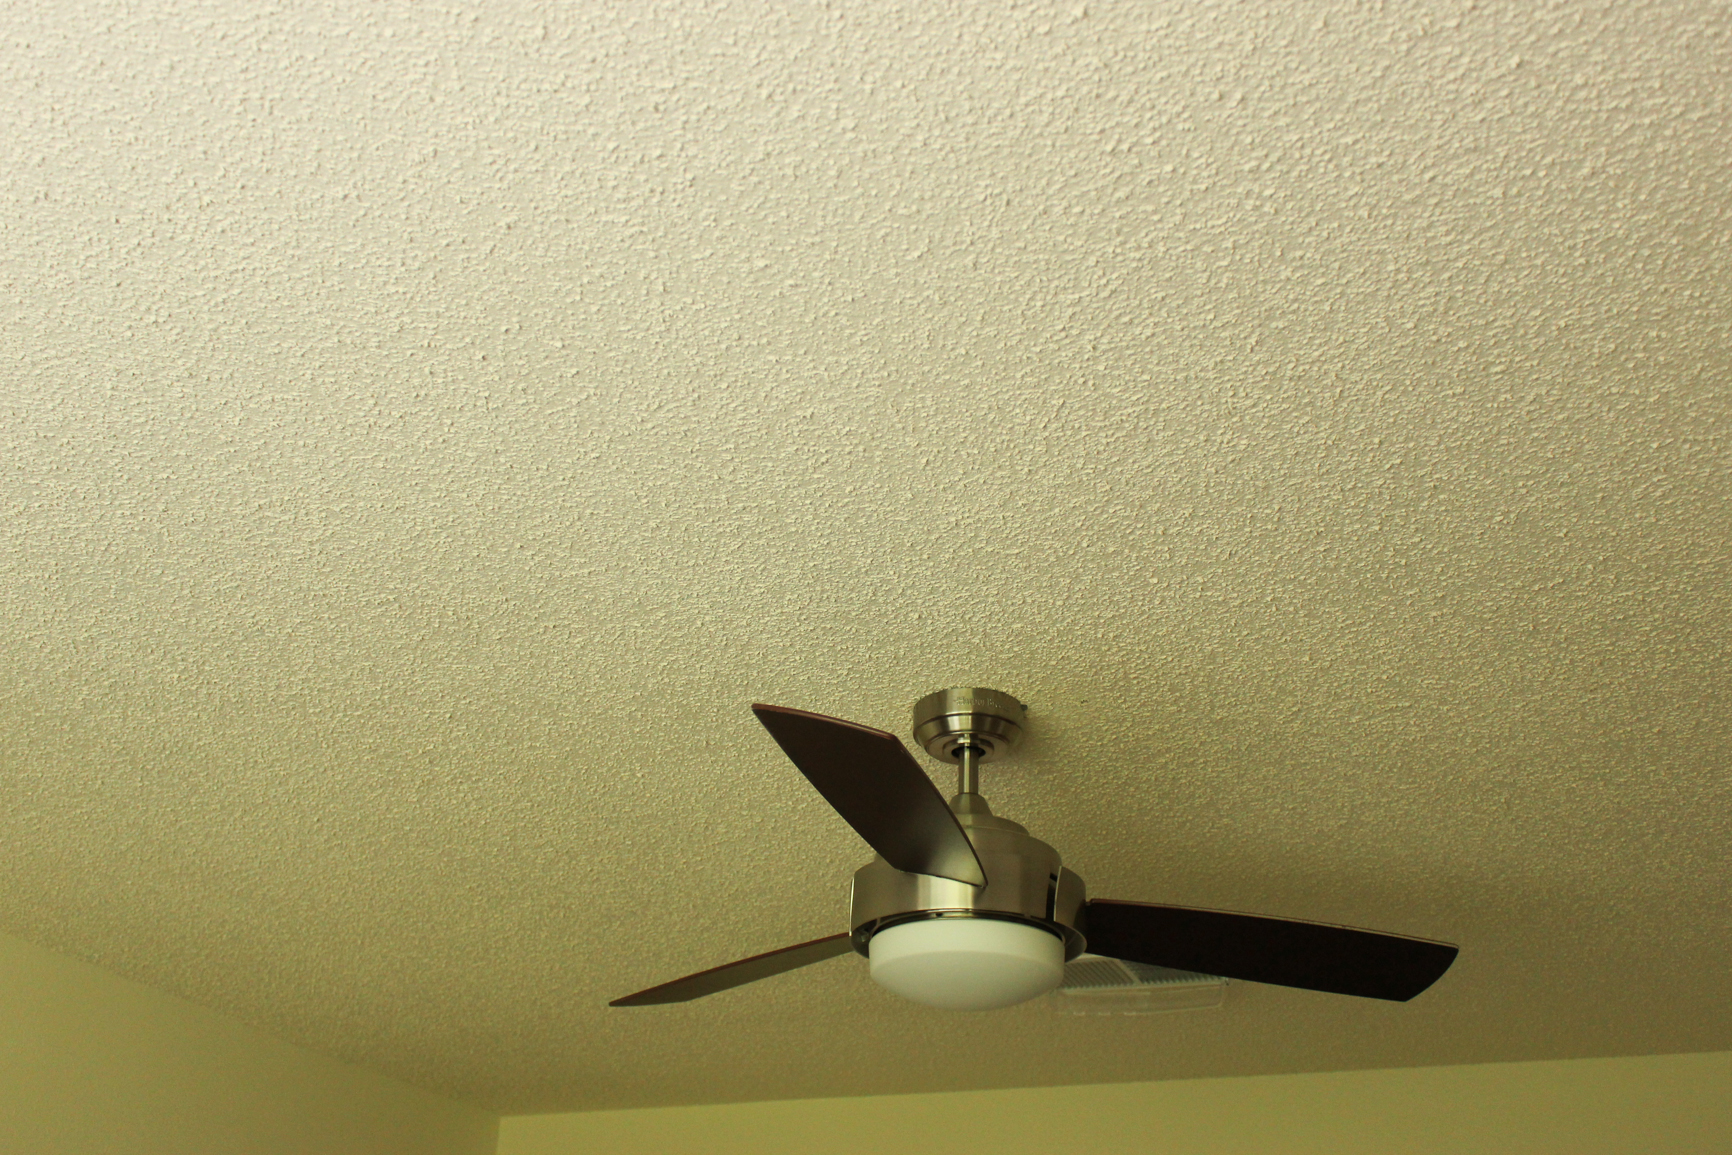
Bedroom ceiling & fan
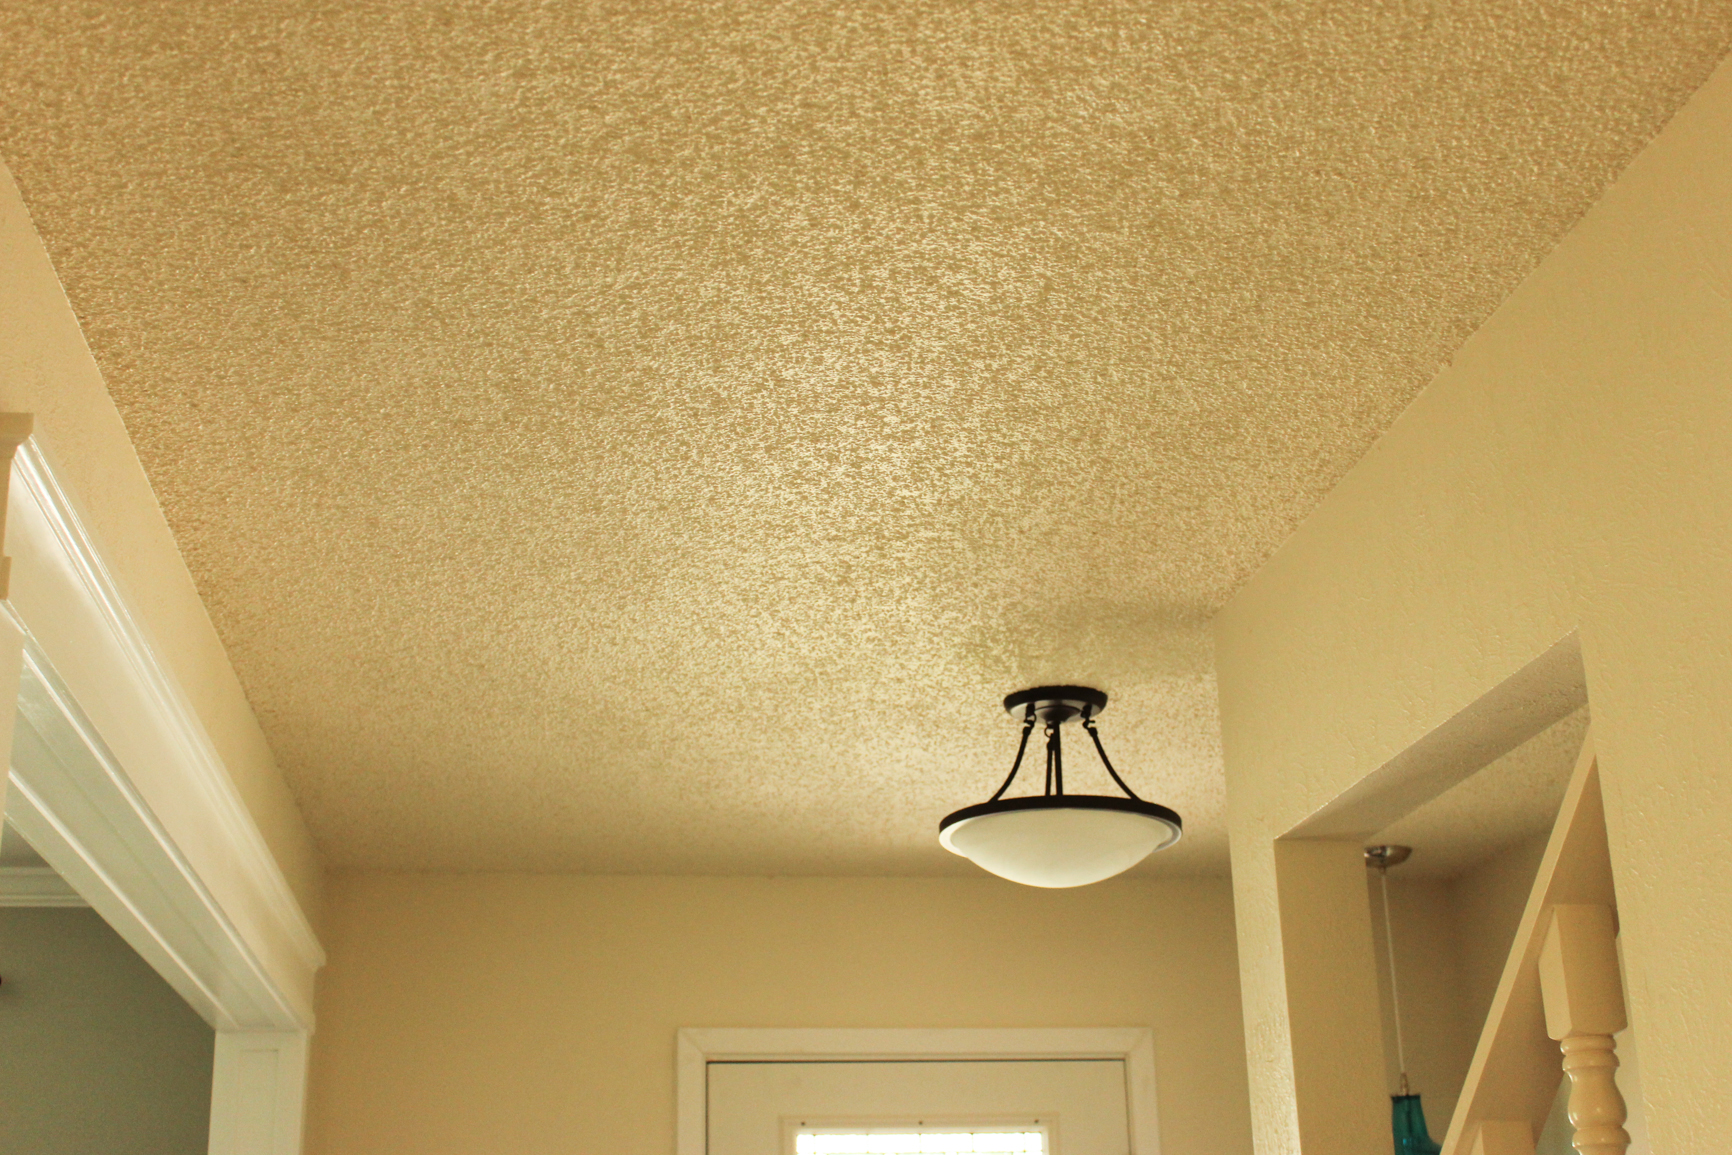
Ceilings-1


Entryway


Ceilings-2


Kitchen light – partially removed


Ceilings-3


After pictures

Kitchen ceiling & new light

Ceilings-5


Looking towards the entryway, you can see the painted walls and new ceiling texture


Ceilings-6

Looking into the living room

Ceilings-7


Our next house project is hopefully to get new wood floors where we have carpet downstairs and get all of those ugly, peeling baseboards replaced with nice white trim like in the front two rooms! I. can’t. wait.!

Related:

The renovation of our front rooms

Making a wine bottle chandelier

Ok, so I just made a small wine bottle hanging light fixture… not really a chandelier. It’s been a project in the making for quite some time and a great way to break, I mean upcycle, some wine bottles.

A preview of the finished product


First, I had to figure out how to cut the bottom off of wine bottles. The internet was ripe with methods that didn’t work. First I tried a crazy idea where you dip string in acetone, tie it around a bottle and catch it on fire.

Yeah, that didn’t work.

Next, I found a YouTube video that demonstrated how to use a makeshift jig to score bottles with a cheap glass scorer and then use the temperature difference between hot and cold water to crack the bottle. I was never able to get my jig to create a straight enough score so when the bottle did break, it just created a mess.

Oops

After multiple rounds of trying to improve my jig, I settled on purchasing this Generation Green Bottle Cutter. After setting it up I got to practicing. And practicing. Getting the bottles to actually crack was the hardest part. I found that heating the bottle in the oven to 225 and then dipping it in ice water just ended in spider cracks everywhere. However, dipping the water in hot and then cold water took many dips for the most part and the hot water cooled down very quickly. It was important to keep the hot water very hot which I ended up doing by microwaving the bowl of hot water every few minutes. Pouring boiling water from a teapot onto the score slowly for a few seconds sometimes worked as well.

Dipping the bottle in hot and cold water

When the score cracked, I could hear it and see the fact that the bottle was beginning to crack. It often took a number of additional temperature changes before the bottle would separate altogether. The Generation Green Bottle Cutter came with a tapping tool that could be used to separate the bottle along the score if it wouldn’t crack. I tried this a few times but never created a straight cut. Even when just using the water a straight cut was rare. I think I created a perfectly straight cut 2 or 3 times and unfortunately only once with the color of bottle I wanted to use. I finally got 3 bottles cut close to straight so that I could use them in my chandelier.

Once I had the cut bottles, it was time to create the light fixture. I picked up the following:

  • A swag kit that included a chain, hooks, wired plug and switch
  • 3 Candelabra sockets
  • Candelabra bulbs
  • Heat shrink tubes
  • Electrical crimp connectors
  • A piece of pine lumber

I then got my handy helper to cut the lumber into two 1 foot sections. One of the sections was split down the middle. We attached two hooks on either end of the wider piece, drilled 3 holes for wires and installed metal staples to use to fasten the wires. We then glued the two smaller pieces to the wider one in a U shape and I stained the wood.

The board before gluing on the sides

After the U was constructed and stained, It was time to insert the candelabra sockets in the bottles and start wiring them up to the plug. I used the crimp connectors to wire the three sockets in a parallel circuit.

Wiring the sockets through the wood holder

After the wiring was complete, I covered the connections with heat shrink wrap and electrical tape.  It was then time to hang the mini chandelier! After hanging it above a dresser, I found the best place to insert the switch that came with the swag kit.

No flash, shows the color of the bottles

Above the dresser

Enhanced by Zemanta