
So this project was a long time in the making… like August 2013 until March of this year perhaps? Probably because we could only do it a bit at a time and I was hesitant to call it complete before I did things like hang curtains. Of course, it’s not 100% complete because I still have two or three minor decor tasks on my mind.
The two rooms we renovated are the ones in the very front of our house – the dining room and what we call the sitting room (we have a much larger living room in the back of the house). The entry way also got a bit of love, but not nearly enough as you’ll see in a bit.
This is the before view – dining room right after we moved in, before getting a new dining table:
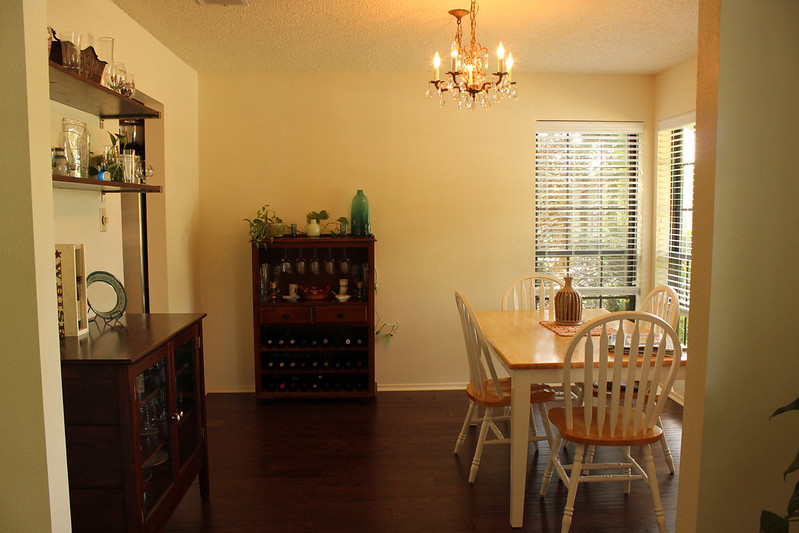
The sitting room (I think I purposely cut off the ugly light fixture because of it’s ugliness, but check out that dining light fixture in the background)

And a view back towards the entry way. I think I was taking photos of the dog bed that I had just built.

The planning of my front room renovations was quite a while in the making. I started pinning ideas to my Pinterest board basically as soon as we decided to buy this house in 2012. My ideas were full of white trim and wainscoting, gray walls, and furniture that had both a rustic and modern look – metal combined with dark wood. I wanted the accent color to be teal. Oh, and to remove the hideous popcorn ceiling. I’m very happy with the end product. Taking such a long time to plan my ideas really drove my furniture, light fixture and decor purchases into a more cohesive style then I normally end up with.
With the before pictures out of the way, let’s dig into what we did. First up:
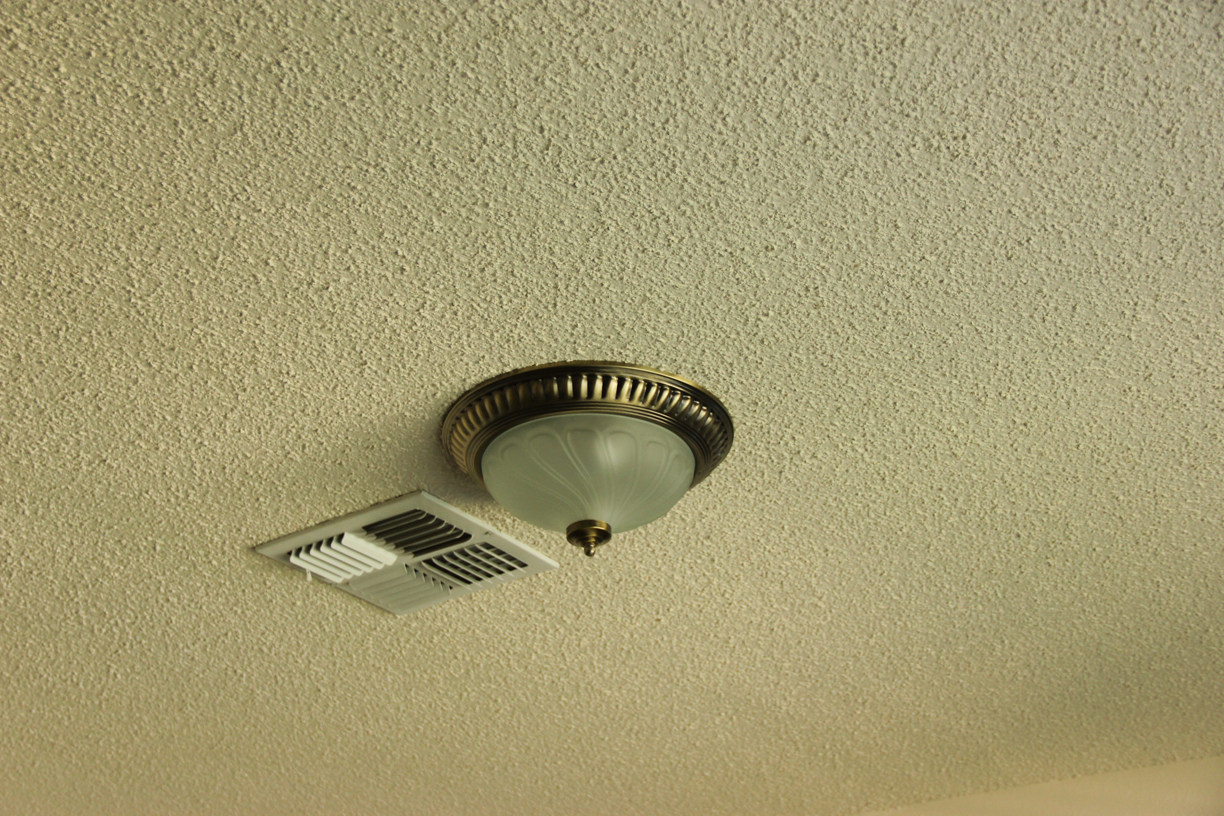
REMOVING POPCORN CEILINGS
This part was a pain in the … you get my drift. I now know that having a professional do this task isn’t as cost prohibitive as I initially thought and am considering getting the remaining downstairs rooms taken care of. After reading a variety of posts we rounded up the supplies we needed: plastic sheeting, brown construction paper, a water sprayer, scraper… and got to work.
We removed the old light fixtures and then got to work prepping the room.


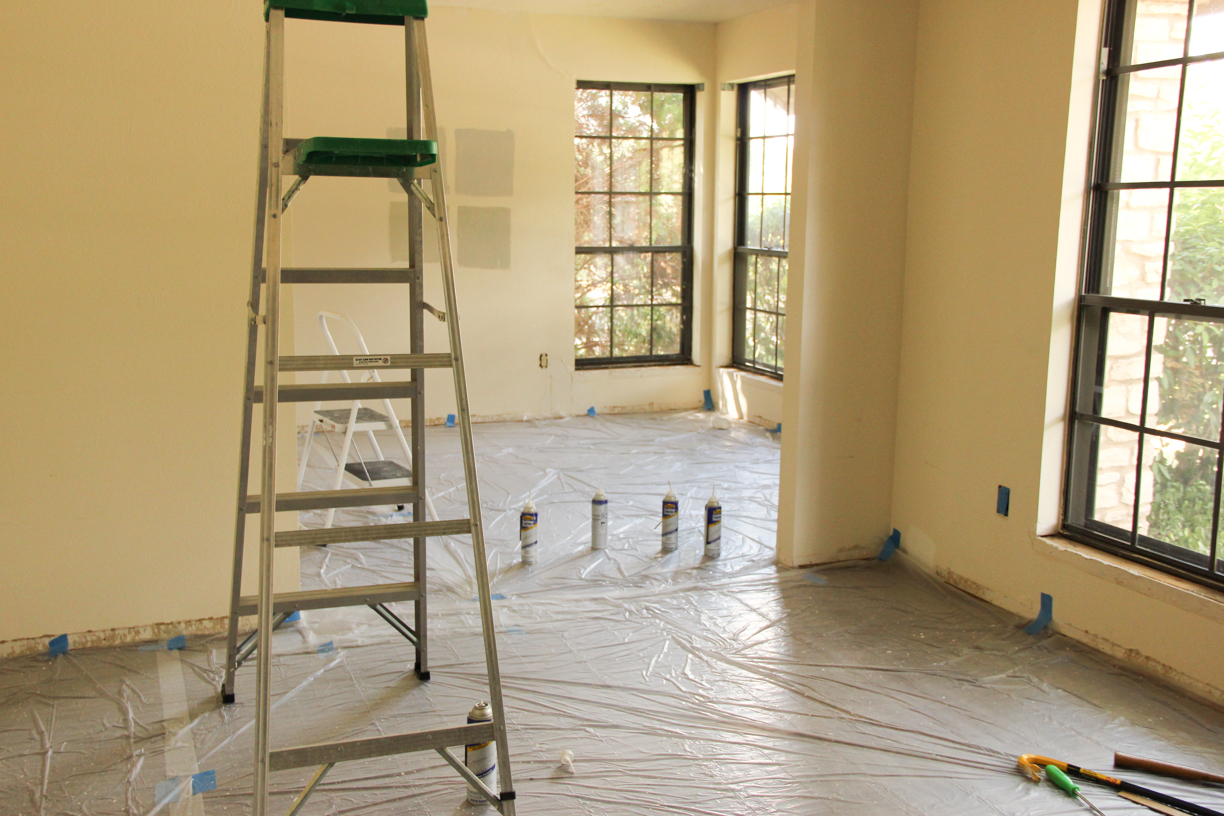
After covering the entire room with plastic we laid dow the brown construction paper.

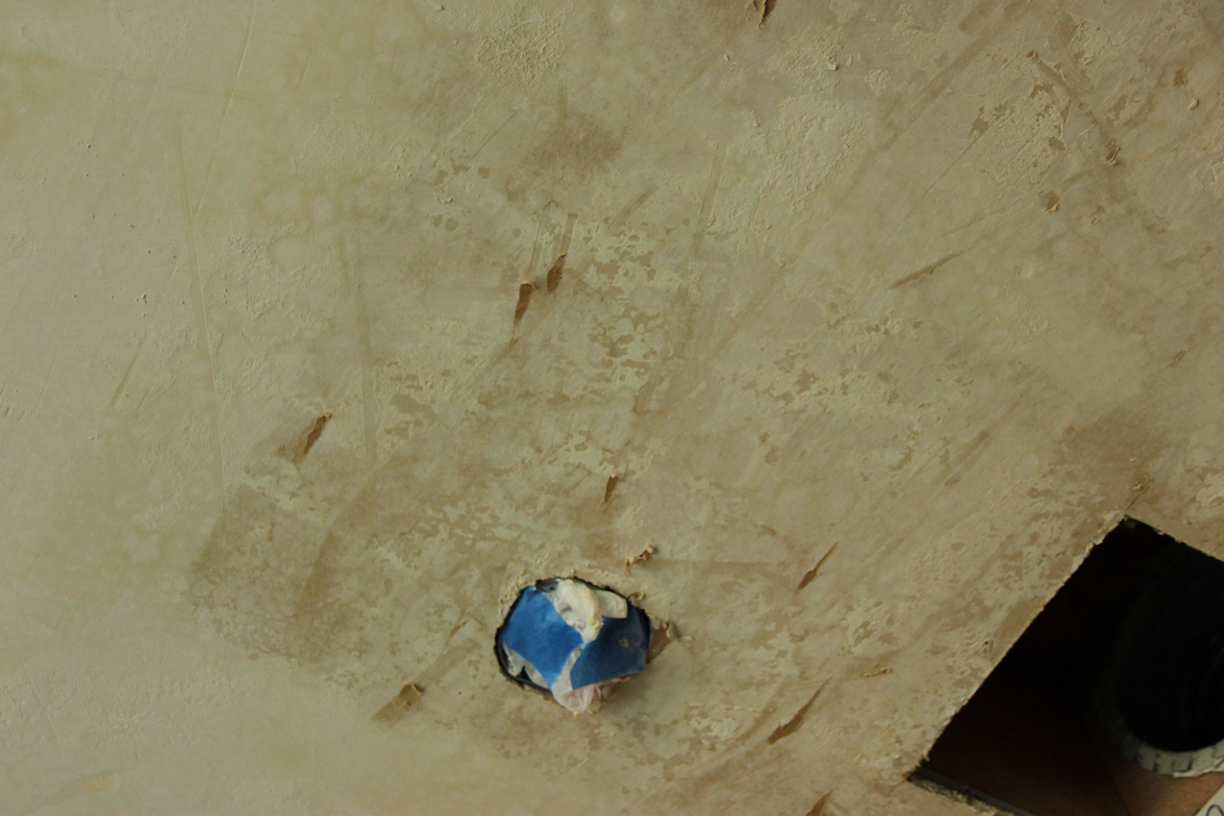
We then we got to work spraying the popcorn with water, waiting for it to soak in and then scraping it off. It was definitely a process to learn how long to let the water soak in. As we scraped some of the drywall paper came off which we patched after the ceiling dried.
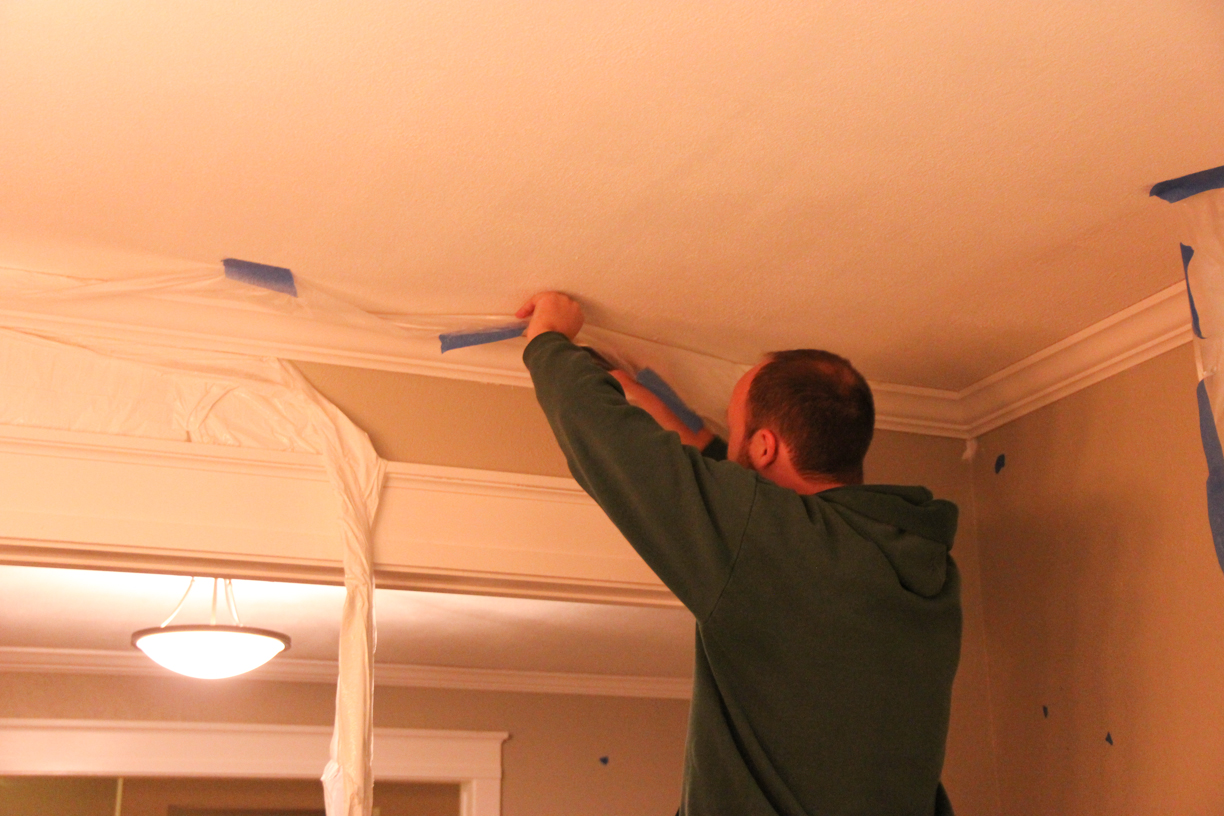
After working on the first room, my shoulder had enough and my husband had to scrape the popcorn alone in the dining room while I took his photo through the plastic.

Someone was super excited to get rid of the dining room light fixture. In fact, after we first viewed this house when it was for sale, we walked out and I asked him what he thought, he said, “We’d get rid of that dining room light, right?” First thing he said. I really hadn’t even noticed it since lights are easy for me to buy and him to replace.
After the ceilings were patched and dry, we primed them and I went to work trying to apply a light texture to mask the imperfections left behind.


I first tried applying a knock down texture that comes in a spray can. It was super messy and got all over me, and after it dried you could still see a lot of problems. After that, I bought a “sand” texture that you applied by mixing little silicon pellets in with the paint and then rolling it on. It worked much better than the knock down texture, but if the light hits the ceiling right you can still see imperfections. However, it’s a huge improvement over popcorn.
After the ceilings were done, I painted both rooms while my husband was enjoying a bachelor’s weekend. I painted them both Valspar Signature Marble Tile.
INSTALLING NEW TRIM
The second, and longest, stage in this project was installing new trim. To make the rooms feel fancier, I decided we needed crown molding and trim around the door openings. While it has the desired effect, it was a lot of work. Just to get enough trim we had to rent a truck to pick up the necessary trim pieces at Lowe’s.
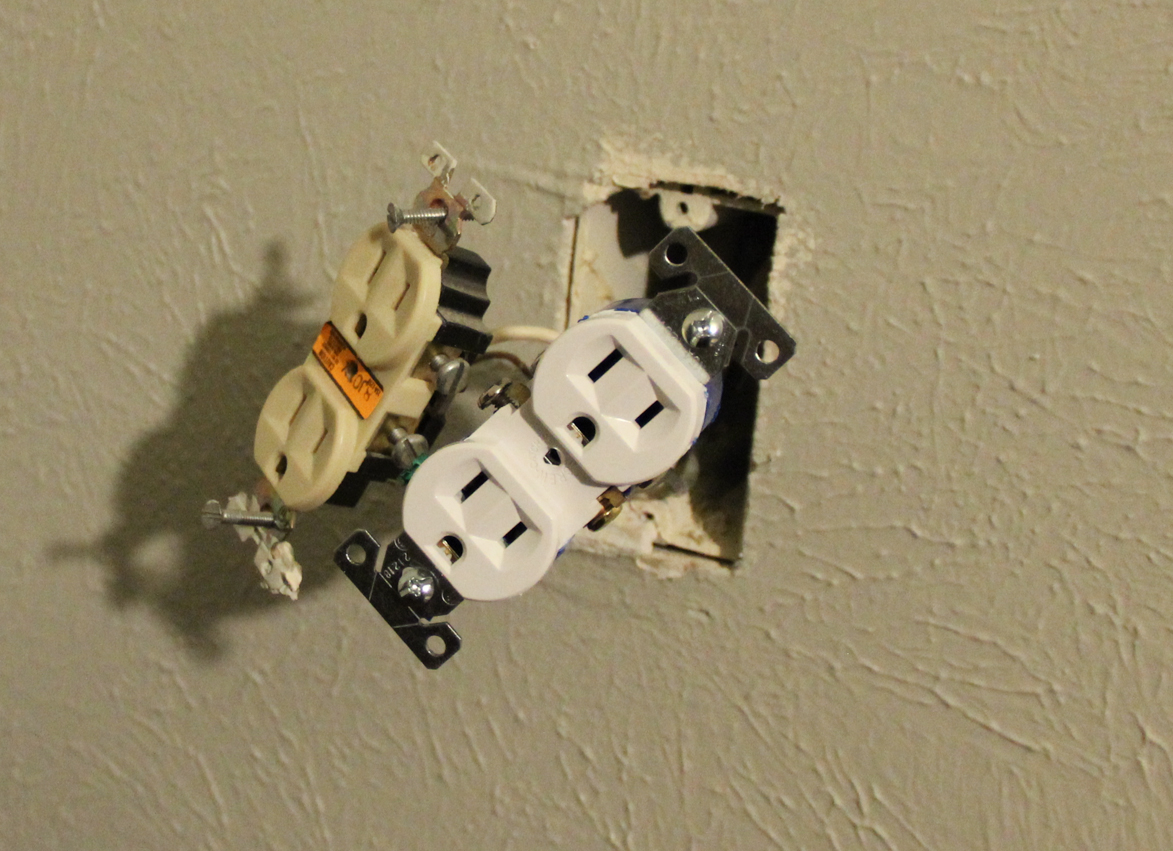
We brought the trim inside for a few days before starting the project to let it acclimate. We purchased primed pieces since we were planning to paint it all white. We also replaced all the light switches and outlets with new white outlets and switches. The old ones were gross.

I read a tutorial about how to use a paint sprayer on new trim by installing the trim over plastic, spraying, and then removing the plastic from the rooster and the hen so we decided to try it. We started with the door openings and followed the way that the charming nest DIY’d their door casings. The nail gun that came with our craftsman evolv compressor crapped out almost immediately on this project so we had to buy a nicer one. We had the original one for so long without using it that there was no way to get it replaced.

The door casings were pretty easy to install. It was the crown moulding that almost did us in. Getting the angle and length just right was hard. We ended up buying a Kreg Crown Moulding Cutting Guide, which helped, cut certainly didn’t solve all of our problems. I think the biggest problem was that the corners were often not exactly 90 degrees. I was able to decently patch the corner gaps by shoving in some paper and covering it with caulk.


After all of the trim was installed (except the windowsills because we had decided to get new windows) it was time to use the paint sprayer. We had tried to cover everything we plastic, but the sprayer blew with much more force than we were imagining and we ended up having to remove some over spray from the floors. It was too difficult to adequately spray the door casings that led into the adjoining rooms so I ended up painting those by hand. I also had to touch up some of the parts that I sprayed because it was difficult to tell while spraying that I went too light in some areas. I wouldn’t use this method of painting trim with a sprayer after it was installed again. Removing the plastic was especially annoying. It definitely didn’t just pull right out and if you cut it close to the edge, then you had an issue when trying to caulk the gaps. Of course, after caulking we had to go back and touch up paint again… it was quite the process.
NEW WINDOWS & DOOR
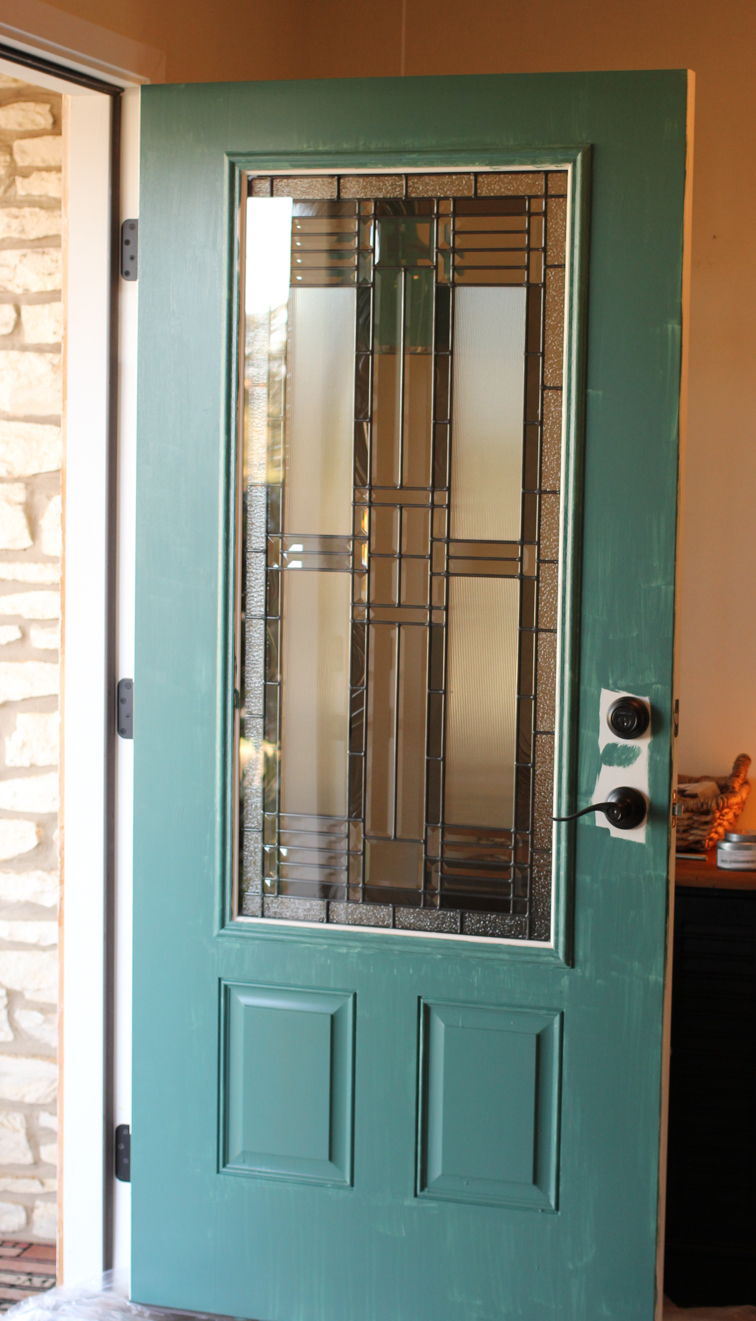
When pulling out the trim, we realized we had to do something about the windowsills. If we were going to remove the windowsills, shouldn’t we just get new windows? I was planning to get a new front door with a window, so we decided to bundle all of the work together. We ordered our new windows and door through Lowe’s. We’re very happy with the new windows. They are white with prairie trim, making them feel so much lighter then our old ones. They also fold in for easy cleaning. I want to be happy with the new door, but when I painted it, the paint peeled right off the trim around the window. I fought with Lowe’s and the door manufacturer and no one could really help me. I at least know how to fix the problem, but haven’t gotten around to it yet. So I like the door itself, but am unhappy with the service I received.


After the windows were installed, we got to work on the windowsills. This time, we painted the trim in the garage before installing it. We also put trim around the windows.

And with the windows done, all of the major work was finished. I then finished decorating. Along the way, I made and bought a slew of new furniture for these two rooms:
- Dog bed for the front window (still need to sew a new cover for it)
- Matching corner shelves
- Dining room table and chairs from West Elm
- A glass cabinet that I stained
- Dining room chandelier from Ballard Designs
- Two matching light fixtures for the foyer and sitting room from Lowe’s
- A glass light pendant from Ballard Designs for the foyer
- Sitting room couch: Elton Settee from West Elm
- A coffee table from MyHabit
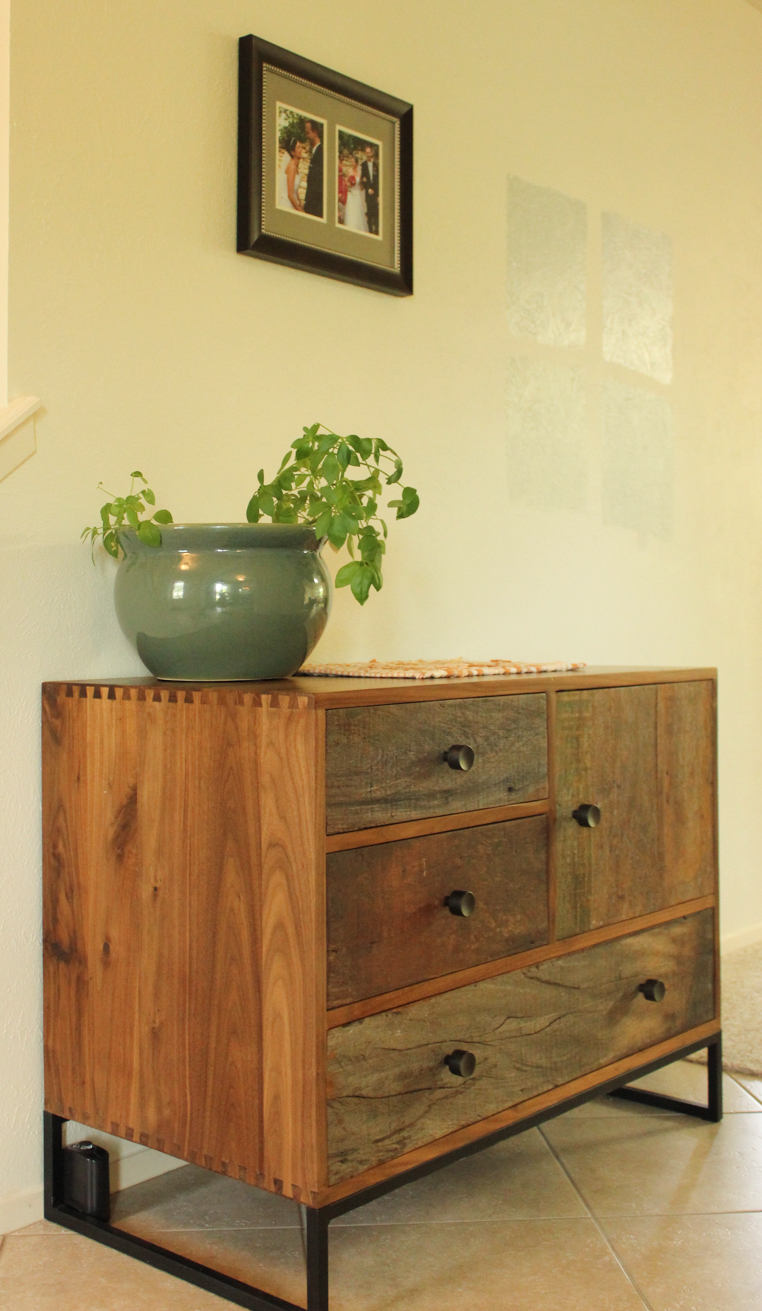
- A side table and foyer cabinet from a local furniture outlet
- A rocking chair from West Elm
- An ottoman to go with the rocking chair from Amazon
- Curtains from Target
- Fabric from Fabric Resource that I turned into an almost no-sew valance for the dining room
- A variety of picture frames, some that I spray painted oil rubbed bronze, to go on the walls
THE FINAL PRODUCT
Let’s start in the dining room with a view from the sitting room.

The cabinet with glass doors, with shelves above. I stained the cabinet and wood for shelves after we first moved in. This is where we keep lots of fancy glassware.

The wine rack and an old wooden bucket for storing magazines. I also have a wine fridge, which is why this looks so empty.

The dining room viewed from the kitchen. You can see the valances and the corner shelves I made.

Close up of the new windows, trim, and valances.

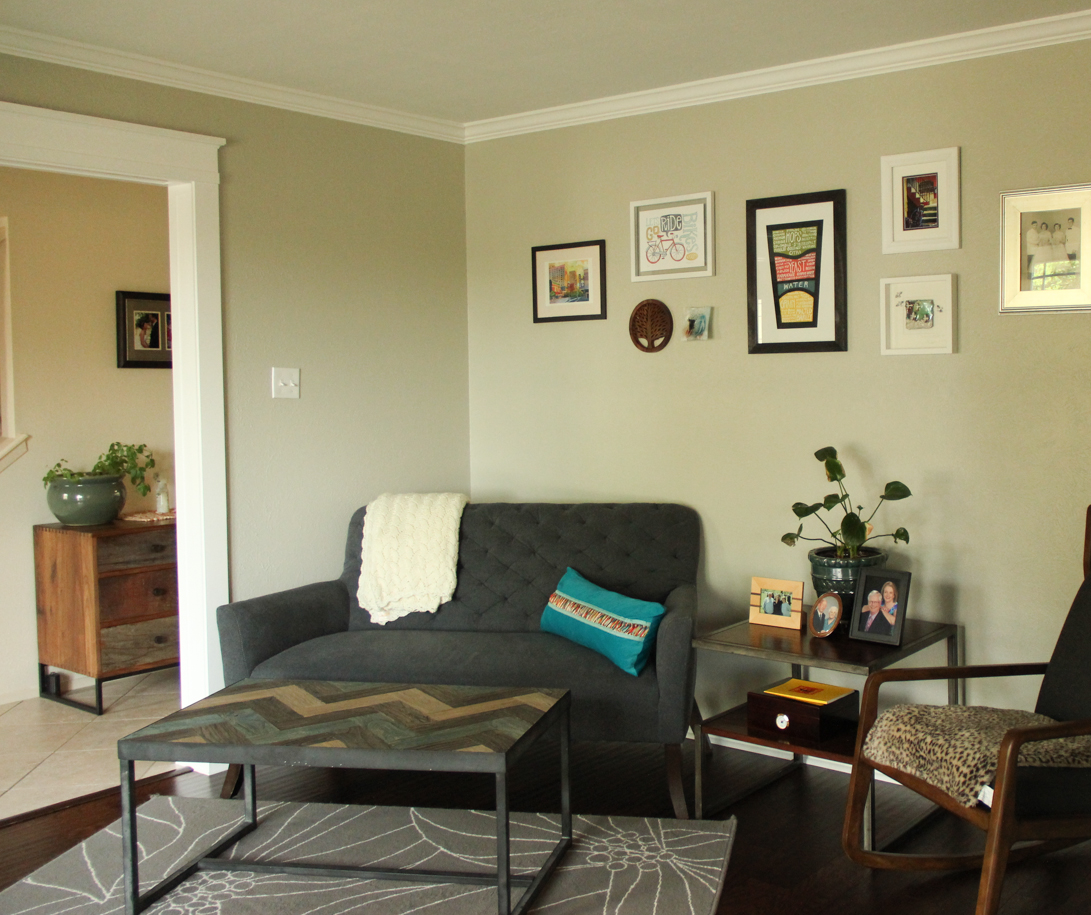
Sitting room viewed from the foyer. Yes, that’s a cat mat on the rocking chair protecting it from fur. I don’t think they’ve laid on it yet though.

View from the dining room.
Dog bed and window.

Although the foyer isn’t done, I did put in new light fixtures and a cabinet for the entry way so I thought I’d share.

That’s it for now! I have only a few tasks to complete for those rooms that I hope to get to soon. I’m also starting to plan the removal of the rest of our popcorn ceilings, but this time by a contractor. Stay tuned!
Related articles


I love your dining room almost-no-sew valance. Can you share how you did it? I didn’t find a tutorial here on your blog, and can’t seem to find something similar around the internet. Most other no-sew valances go past the edge of the window frame – I love how yours stays just inside the edge. Nice and clean.
LikeLike