
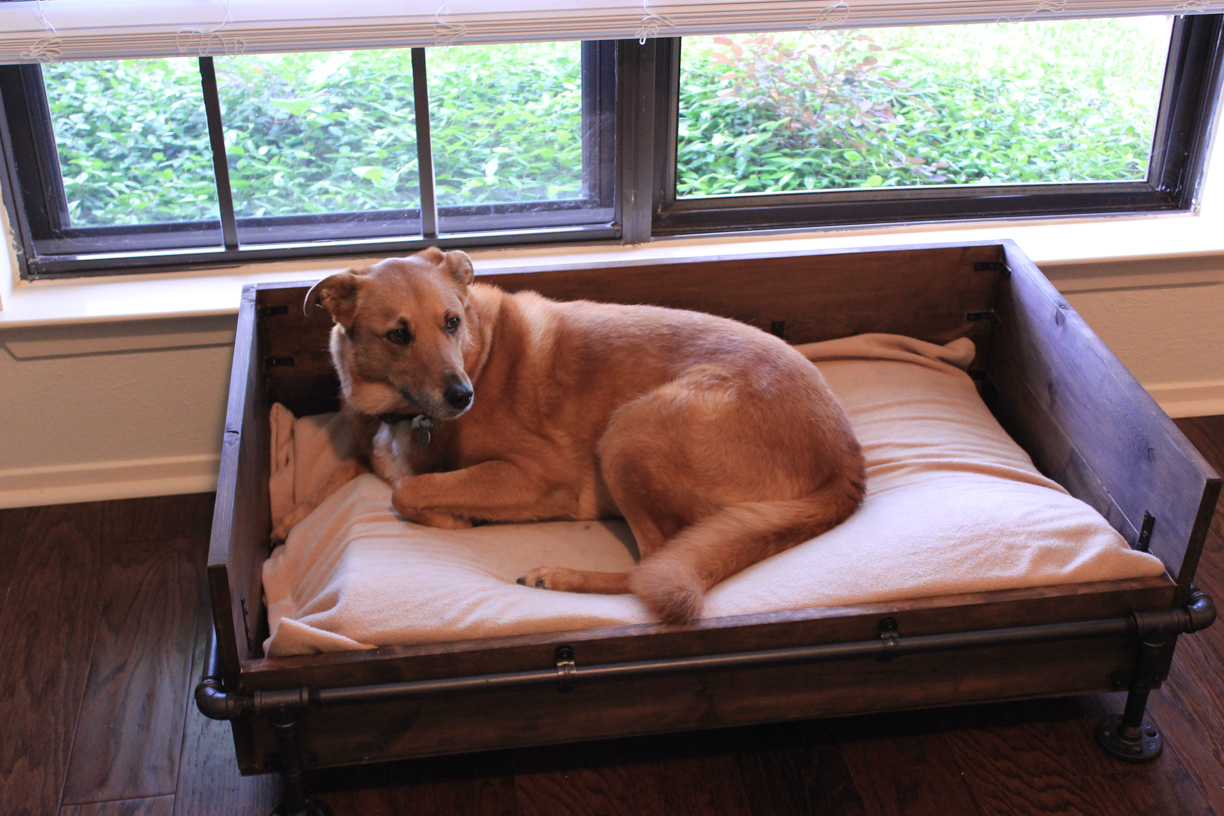
What exactly is a rustic industrial dog bed? Heck if I know. I just know that the furniture theme for my sitting and dining rooms is metal + dark or reclaimed wood. The sitting room has a low window that our dog will lay in front of, on one of her pillow style beds, and stare at the outside world. I wanted to make a dog bed that fit in with the furniture in that part of the house and that wouldn’t get pushed around by the pets or the roomba. After seeing a tutorial on a keen life where they made a set of shelves from some metal plumbing pipe and wood, I knew I found the perfect materials for my dog bed. It only took me a few months to finally get all the stars to align so I could finish it, and I’ve yet to make a new cushion for it, but at least the old dog bed cushion fits reasonably well. A preview of the finished product with my dog model:

Molly looking really sad, laying on her new bed in front of the window.
After I got the idea in my head, I picked up 6″ pine boards, an assortment of brackets, spray paint, and the metal pipe and fittings necessary to make a rectangular frame for the dog bed. After bringing home the metal pipe and fittings, my husband and I assembled the rectangular frame with short legs. Because the fittings all have to screw together, and we were trying to screw a rectangle of parts together, we were constantly tightening one corner while loosening another corner. Eventually we got all the fittings to loosely screw together with the plan to glue the joints later for a firmer hold. After creating the rectangle, I measured the inside of it to determine what size wood boards I needed.
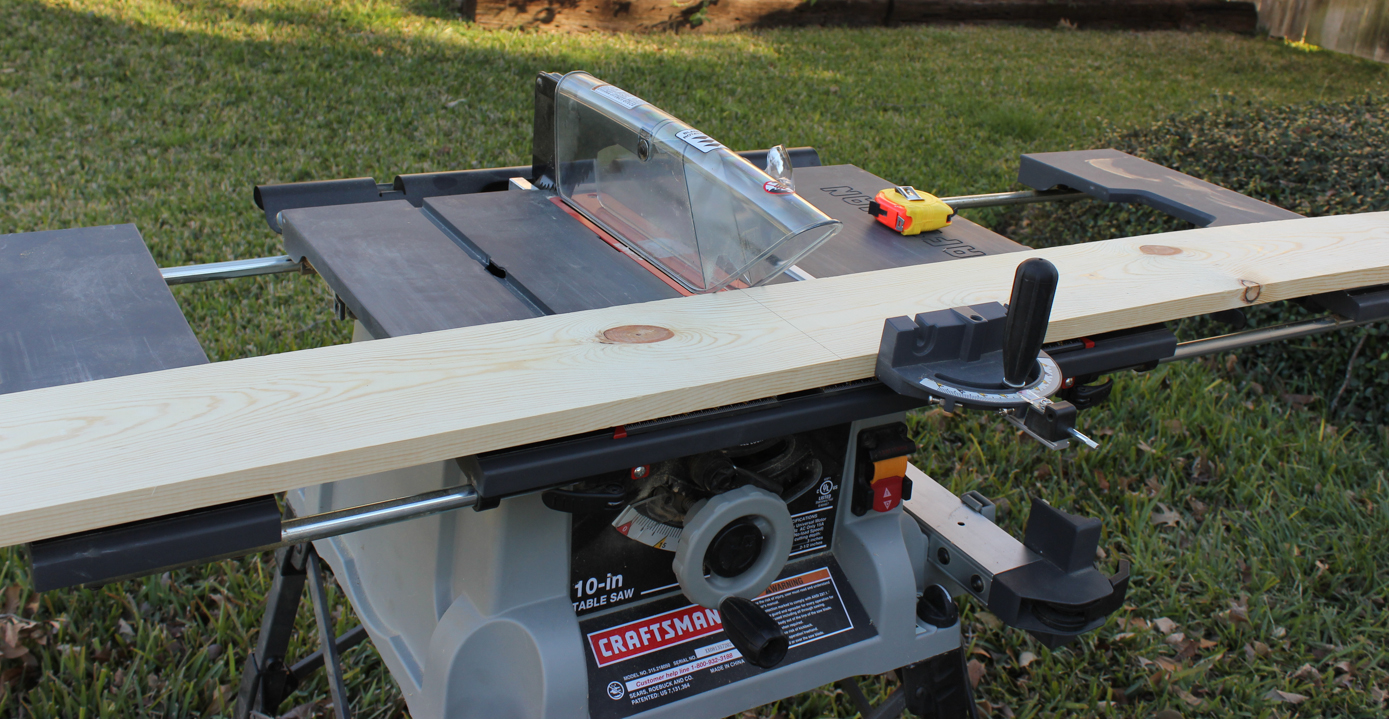
After refreshing my memory on exactly how to use the table saw, I got to work cutting my pine boards to size.

Laying out the boards in to a rectangle.

I put all the screws and brackets in a shallow box and spray painted them from all angles with Rustoleum Oil Rubbed Bronze spray paint. It took multiple coats to get all of the angles done so that no shiny silver metal was left showing.

After measuring the same length from the end of both boards, and using the brackets as a guide to mark my holes, I drilled pilot holes and then screwed in the screws.

For the corners I used L shaped brackets and for the tall sides I used flat brackets.

After the sides were assembled, I attached the bottom with L shaped brackets that had 2 or 3 screws in a horizontal line on each side.

A close up of the bracket varieties used.

The next step was to stain the wood.
I used Timbersoy wood stain, color walnut, from EcoProCrete that was left over from a previous project. The stain goes on thin, so I used a sponge applicator and applied multiple coats until it was as dark as I wanted. To seal the wood, I used Miss Mustard Seed Hemp Oil Wood Finish, also purchased for a different project. The oil is applied by rubbing it in with an old cloth. I used two coats for now. It gives the wood just a bit of sheen, which worked well for the look I was trying to create.

Leveling the legs.
After that was done, I put the metal frame around the bed and used that as a guide to help make sure the short legs were straight before I glued everything in place. I used gorilla glue and a toothpick to try to force some glue into each joint. Gorilla glue expands as it dries so after I was done I had to use a box cutter to remove the excess glue from the top of the frame where it would easily be seen. It took me three tries to get all of the joints adequately glued. The next step was to spray paint the frame.

Spray painting the frame.
After adding the gaskets to the bottom of the metal frame, it was time to attach the frame to the wood box. I used some scrap wood to set the wood box on so that it would not be flush with the floor while I attached the brackets.

Getting the bed ready for final assembly.
I used brackets that are meant to go with this pipe to attach it to the wood box. The only trouble was that the pipe doesn’t sit flush with the box because of the T and corner junctions. I improvised by using some large nuts and washers as standoffs for the brackets.
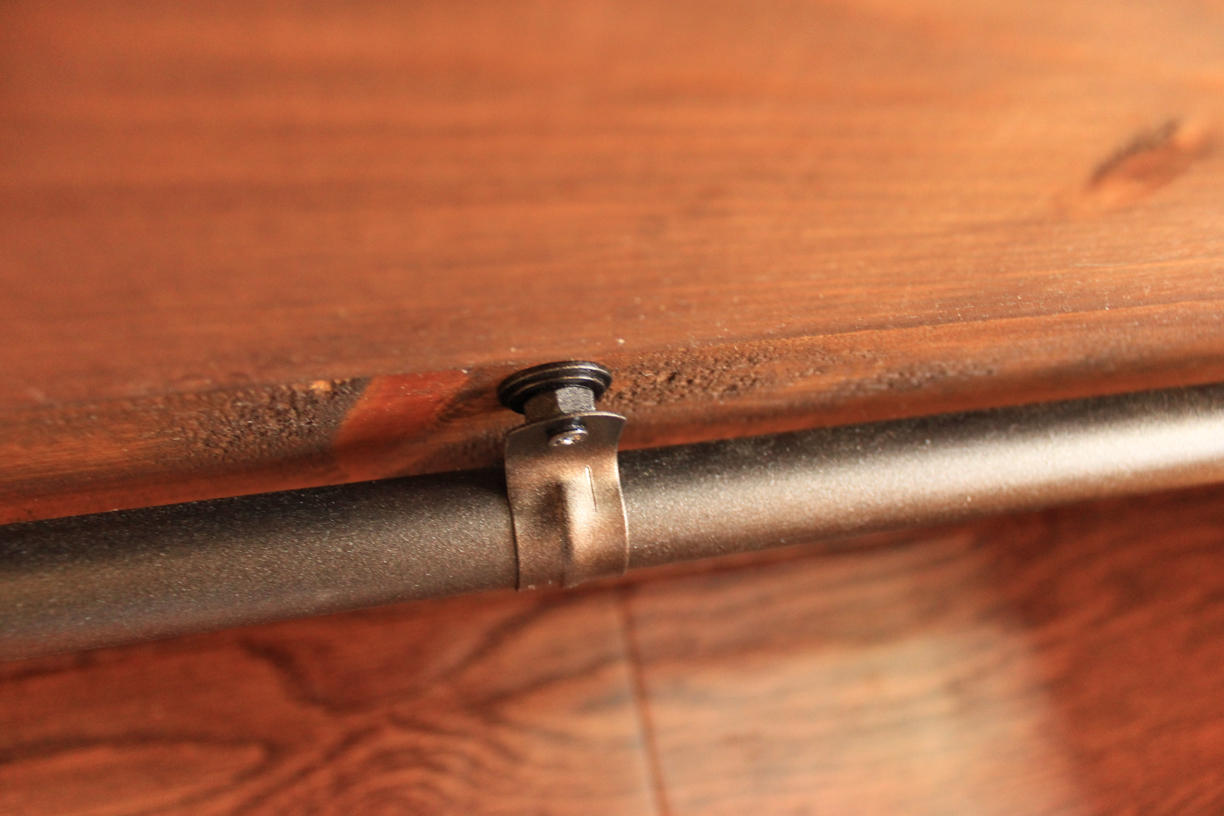
Spray painted brackets, with the washers and nuts used as standoffs to attach the wood bed to the metal frame.
I also used brackets on the four short legs in case the glue didn’t completely hold in places. I used sticky rubber furniture pads on the bottom of the frame feet to keep the floor from getting scratched.

New dog bed, old dog cushion.
Finally, completion! A few photos of the sitting room so you can see how the new bed fits in:

A view from the foyer into the sitting and dining room.
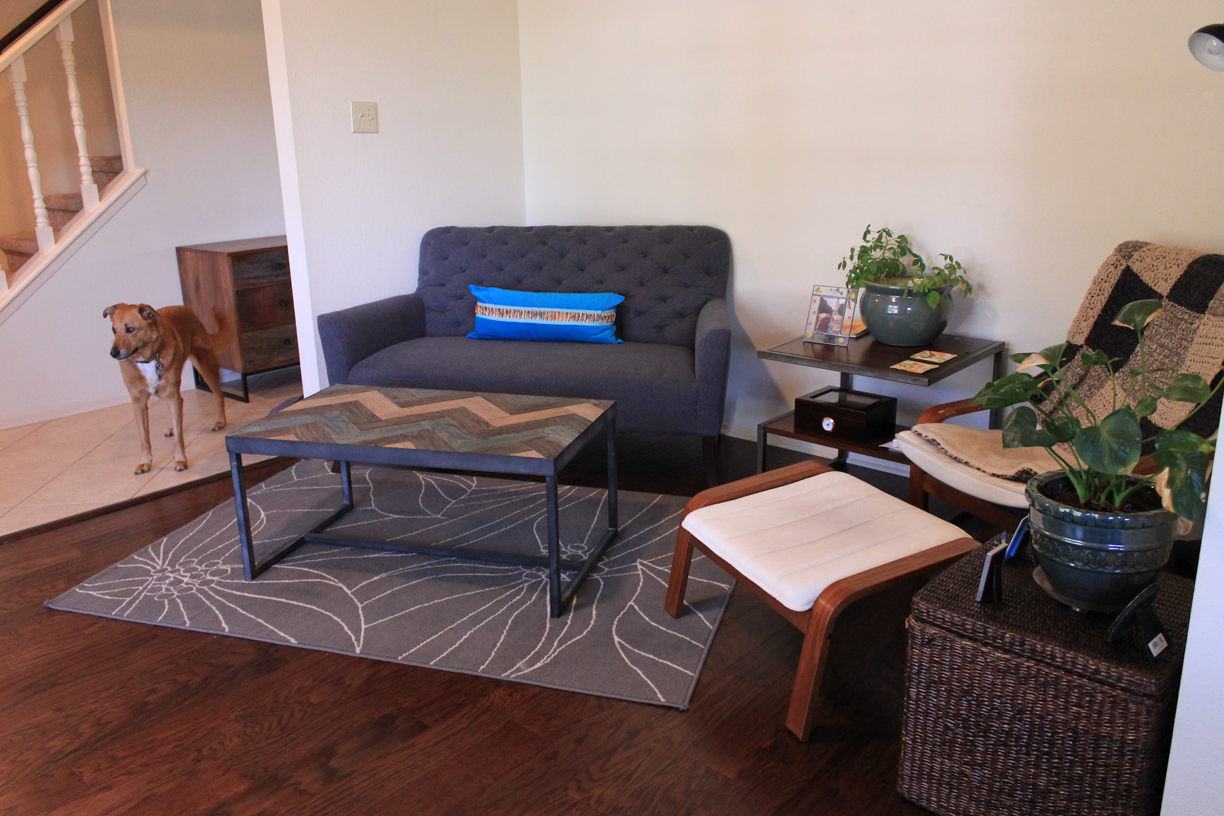
The relatively new couch, coffee table, and side table with the ancient Ikea chair. Still need to replace that chair. Oh, and the dog.
Molly forced to be a model on her new bed.

What a rough life.


