

When we moved in to our new house last April, the trim, windowsills and bathroom cabinets had all been freshly painted. After just a few months, we realized that all of this fresh paint was peeling right off those surfaces. Ugh. The master bathroom cabinets were by far the worst offenders since we’ve been touching them every day. It finally got to the point where I needed to do something about it. After talking to the Home Depot paint department, I learned that the previous owners painted latex paint over oil-based paint, causing the surfaces to peel. The fix is to remove the peeling layer, use a primer that lets you switch from oil-based paint to latex paint, and then paint with latex paint.
The entire process took me a weekend and a few days to get all of the prep work and painting done. First, I used plastic drop cloth to seal off the inside of the cabinets so paint dust didn’t get in there.

Prepping the work area

Close up of the peeling paint.
To start the paint removal process I peeled off as much paint as I could. It was much easier to peel than it was to sand.
Then I sanded it as much as I could, wearing a dust mast to avoid breathing in the paint dust. On the narrow parts where I couldn’t really sand the paint, I used Soy Gel paint remover. You brush on the Soy Gel and let it sit for a while, the longer it sits, the more layers of paint it will take off. After it set for a while, I gently used a paint scraper to remove the gel.
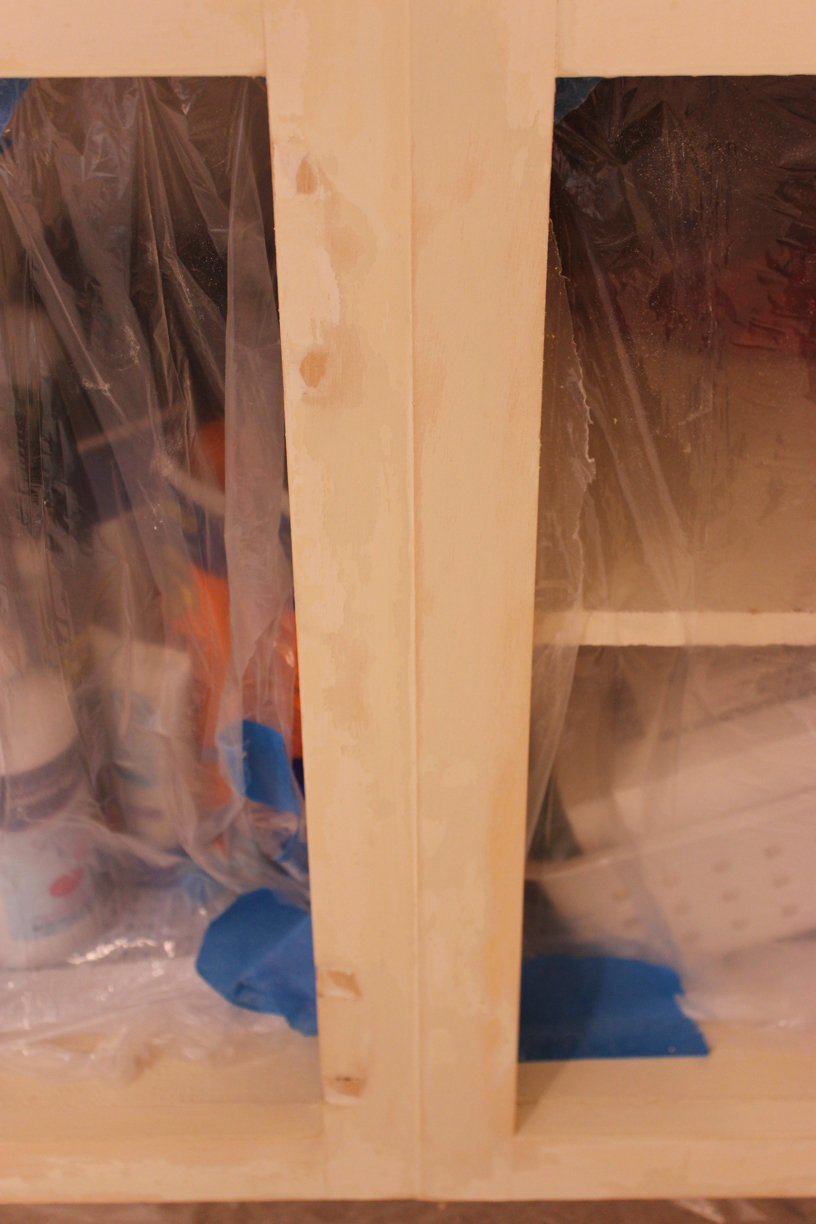
Close up of part of the cabinets where I used Soy Gel, a paint scraper and sand paper to remove the paint.
Before moving onto the primer step, I made sure to get all of the remaining loose paint off using sand paper. I used a wet rag to wipe the cabinets down to remove the paint dust and let the surface dry for a few hours.
I used a gray tinted Kilz primer and then two coats of Behr plus self-priming semi gloss enamel in color graphic charcoal. Where I could, I used a small foam roller specifically made for cabinets to get a nice smooth paint finish. For the other areas I used a nice angled paint brush. You have to be careful to not get paint drips when using the brush.
The contrast in the bathroom is so much nicer than the completely cream colored original version.
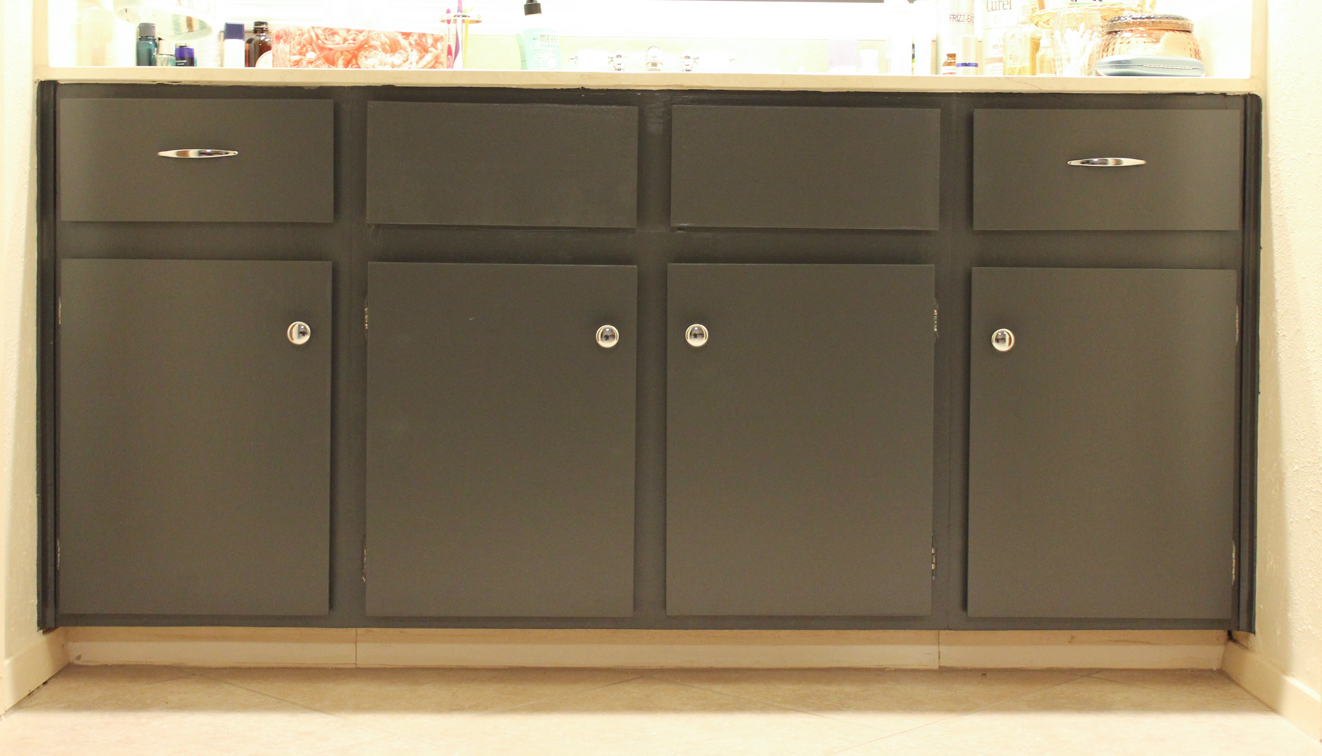
Finished cabinets
Now, I just need to keep my fingers crossed that this new paint doesn’t start to peel…


